
How to import your CSV into Clay
Import your CSV into Clay.
Within Clay you can import CSV as a source to an existing or new table.
Import your CSV
To import CSV as a source:
Step 1: Navigate to the Source panel.
To access source panel:
- For a New Tables: From your Workspace Home, select + Create new and search “CSV” to import your CSV File.
- For an an Existing Table: Open the table, click Actions, and select Import to add your CSV to the existing table.

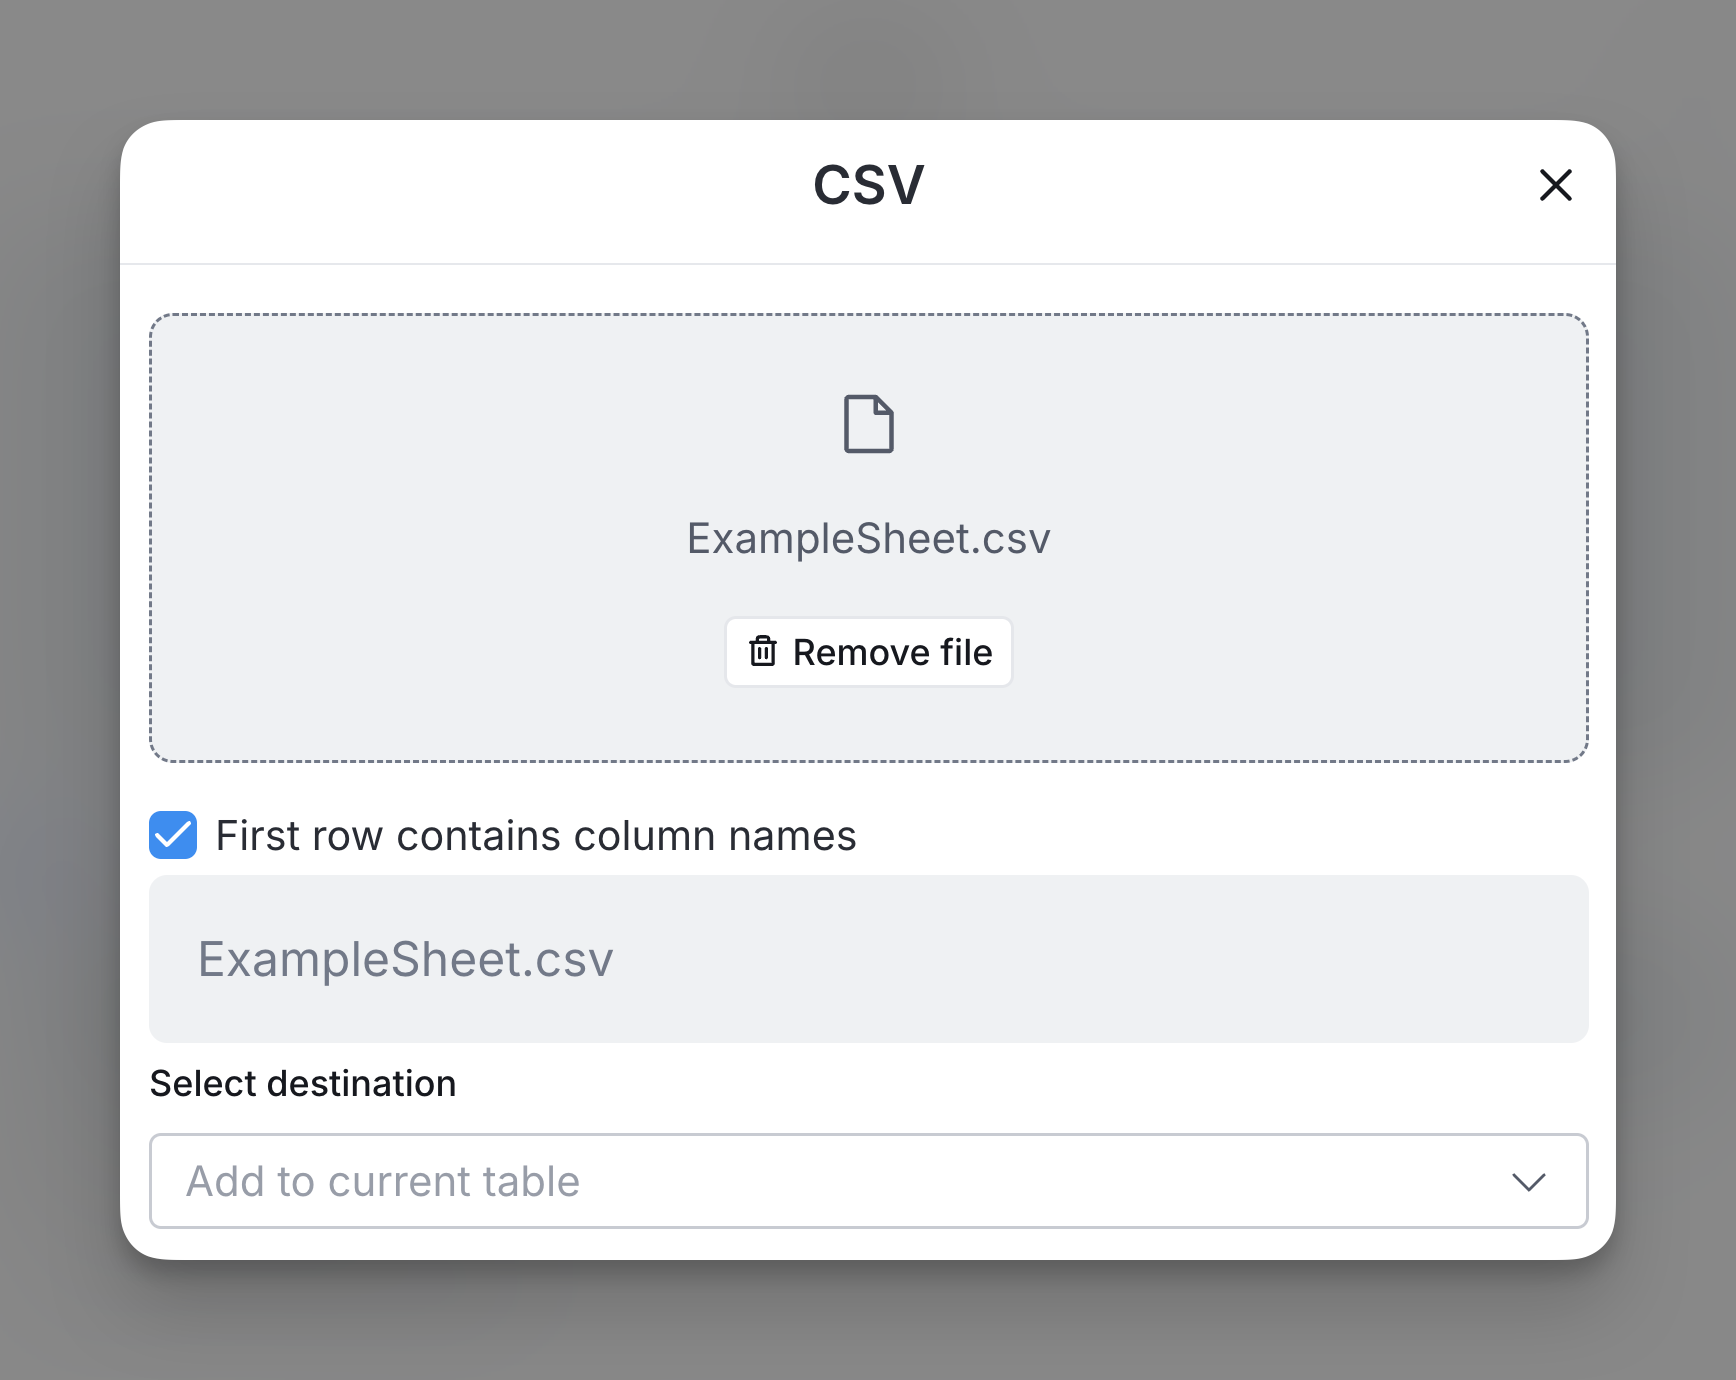
Step 2: Import the CSV.
Upload your file by clicking Browse Files or dragging and dropping your CSV into the upload area.
Select the destination for the CSV import: Add to current table, Create new table, or Replace current table.
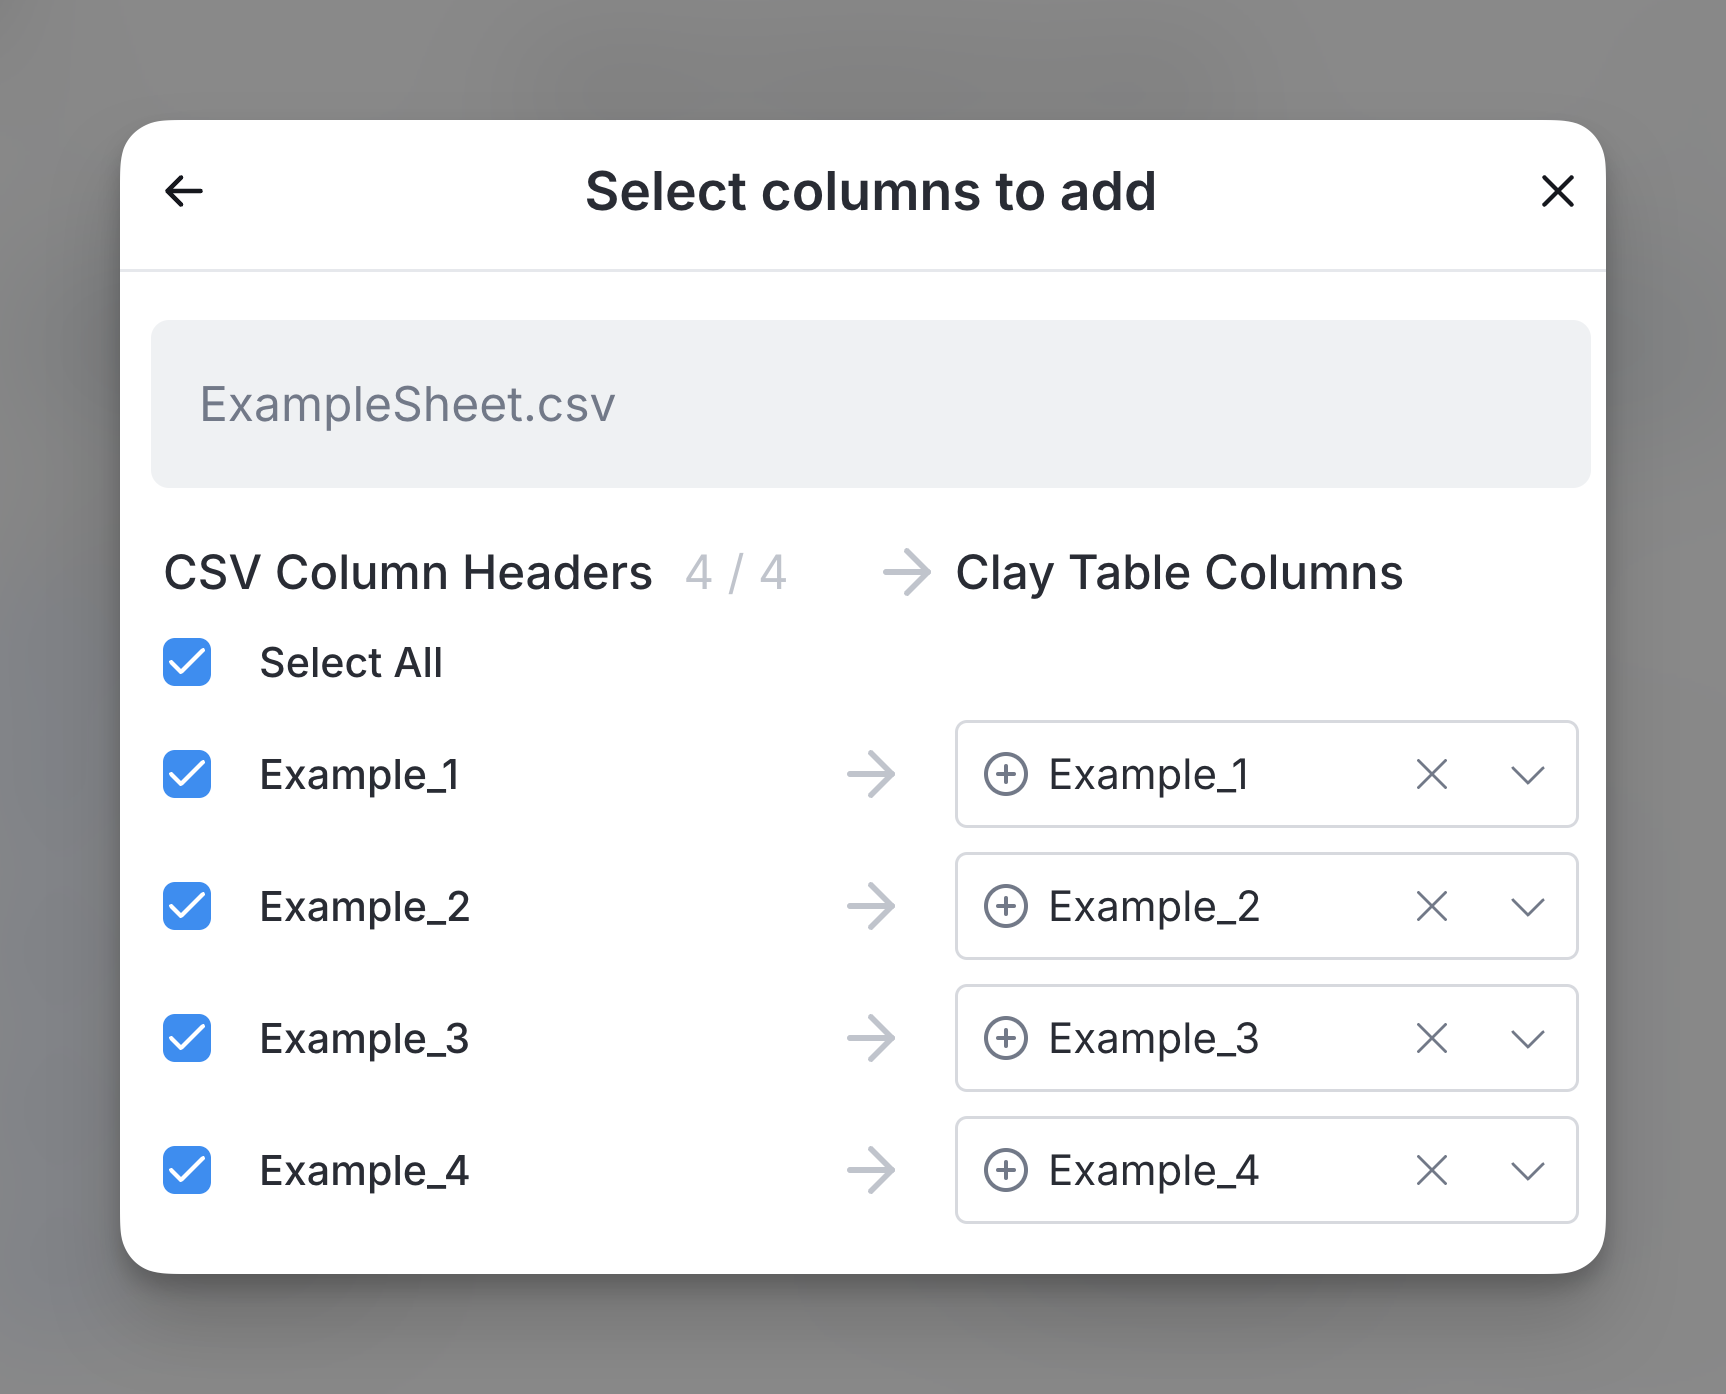
Step 3: Match CSV Columns to Clay Table Fields
Assign columns from your CSV to the correct Clay table fields.
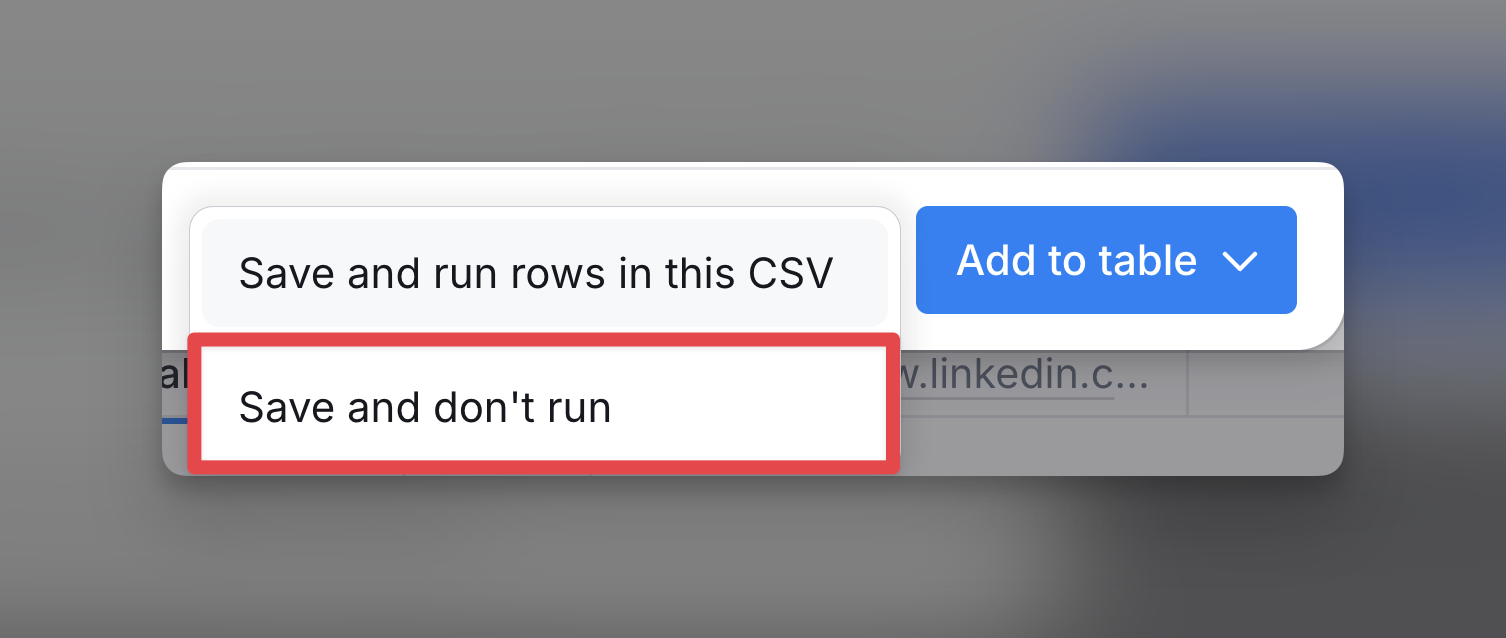
Step 4: Select action for auto-run
Decide whether to immediately run the enrichment for the rows in your CSV or save the table without running:
- Save and run rows in this CSV: This option runs the enrichment process for the imported rows immediately.
- Save and don’t run: Saves the table without processing the rows.
Starter
Explorer
Pro
Enterprise