


Get started today!
Clay 101: Fundamentals of GTM Automation
Learn all the fundamentals you need to navigate Clay seamlessly when getting started
+ 18 more lessons

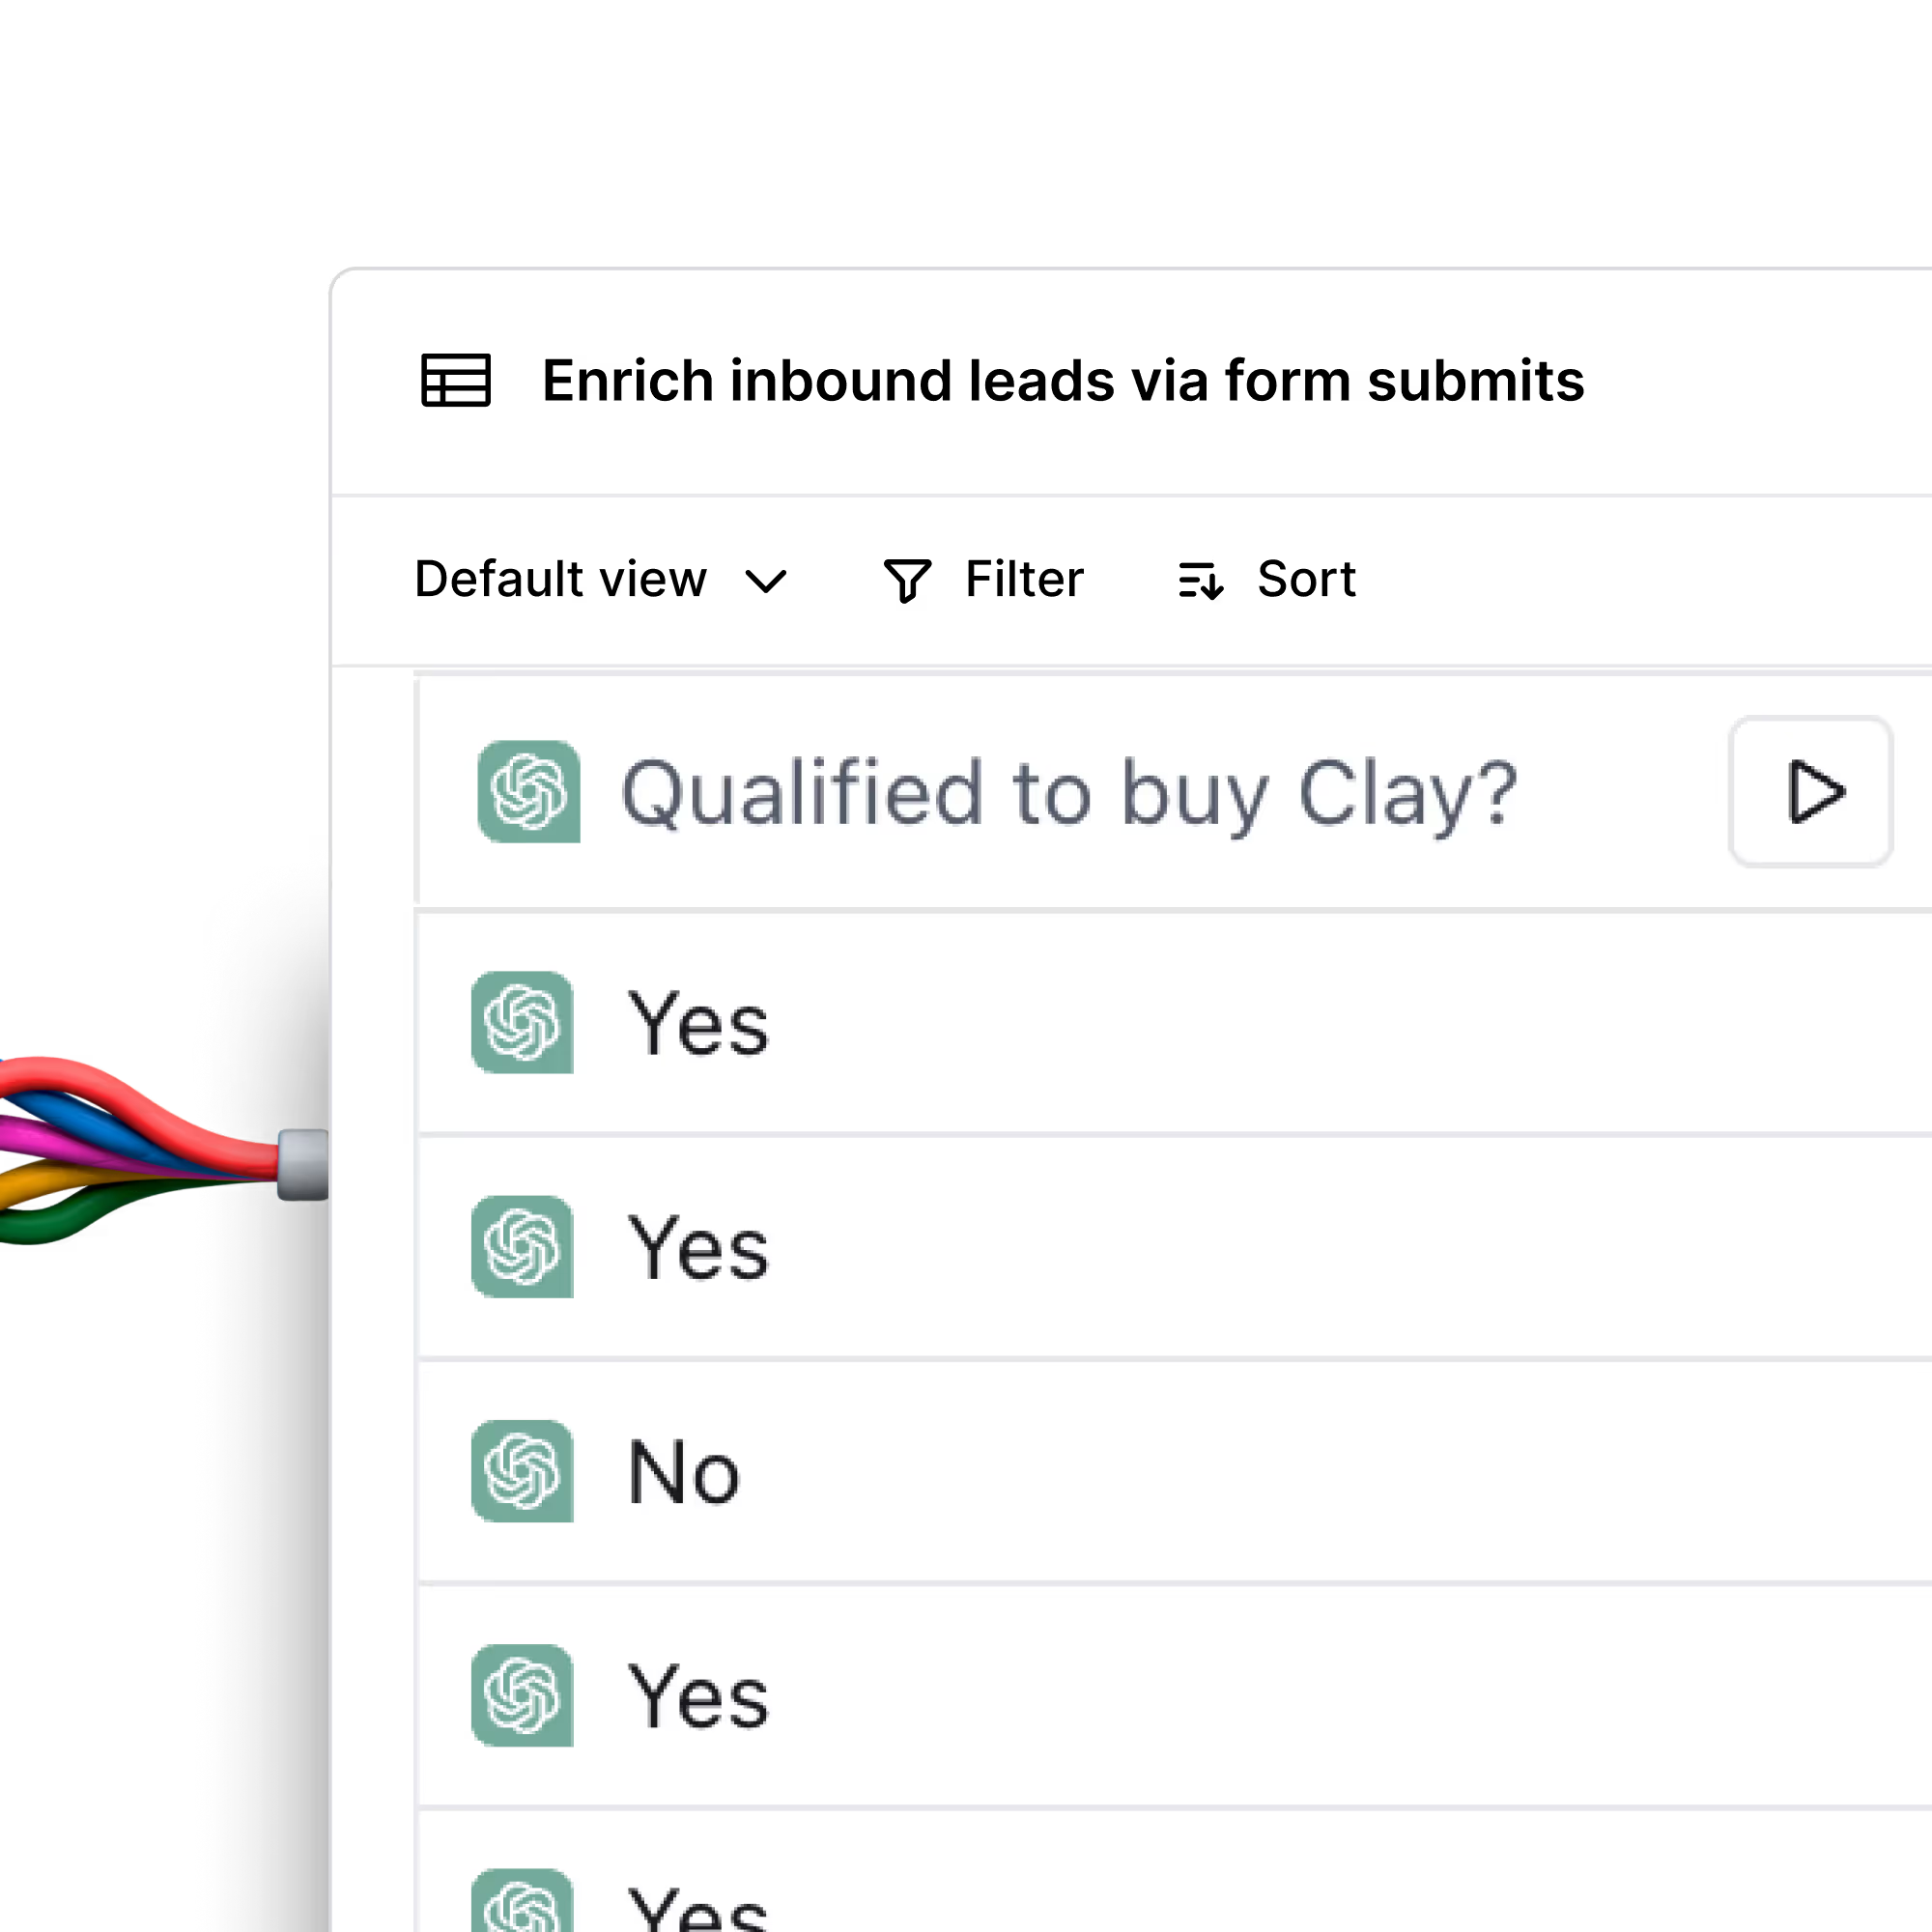
Automated Inbound
Learn how to automatically enrich, score, and follow-up with inbound leads with Clay's inbound automation engine for lightning-fast speed-to-lead.
+ 6 more lessons
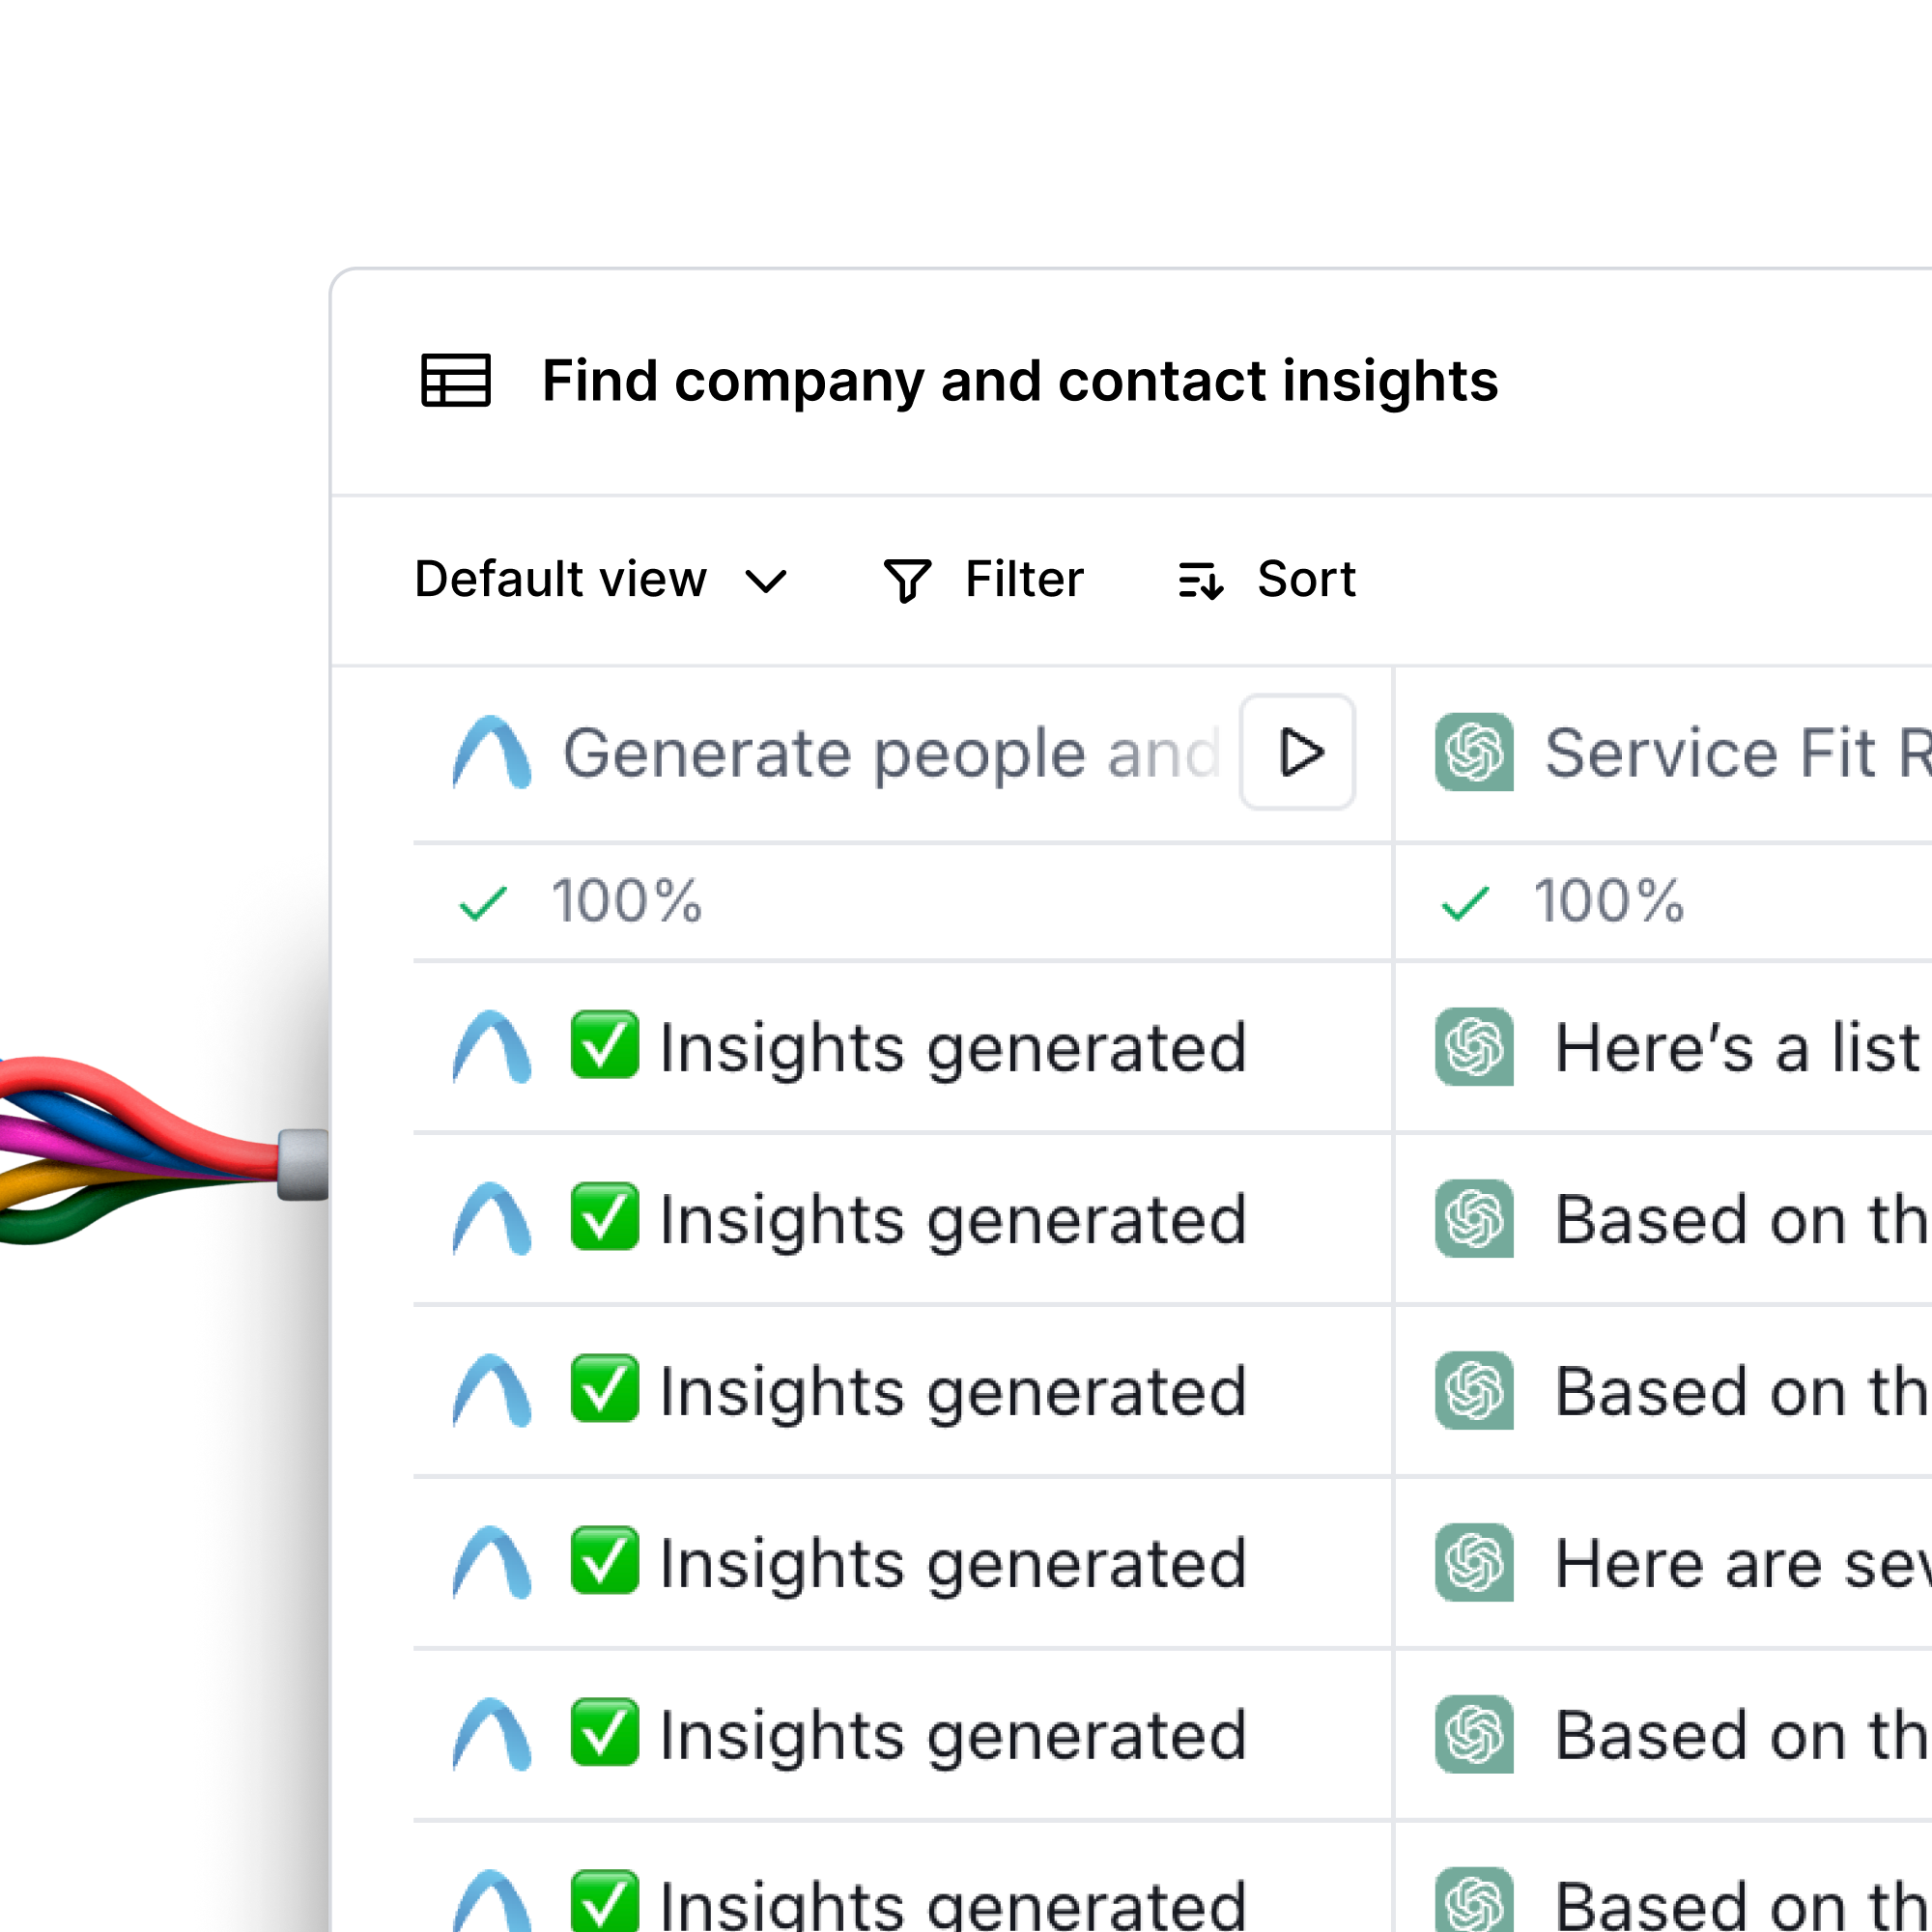
AI-Powered GTM Automation
Unlock GTM alpha with AI workflows that save time, reduce costs, and drive conversion

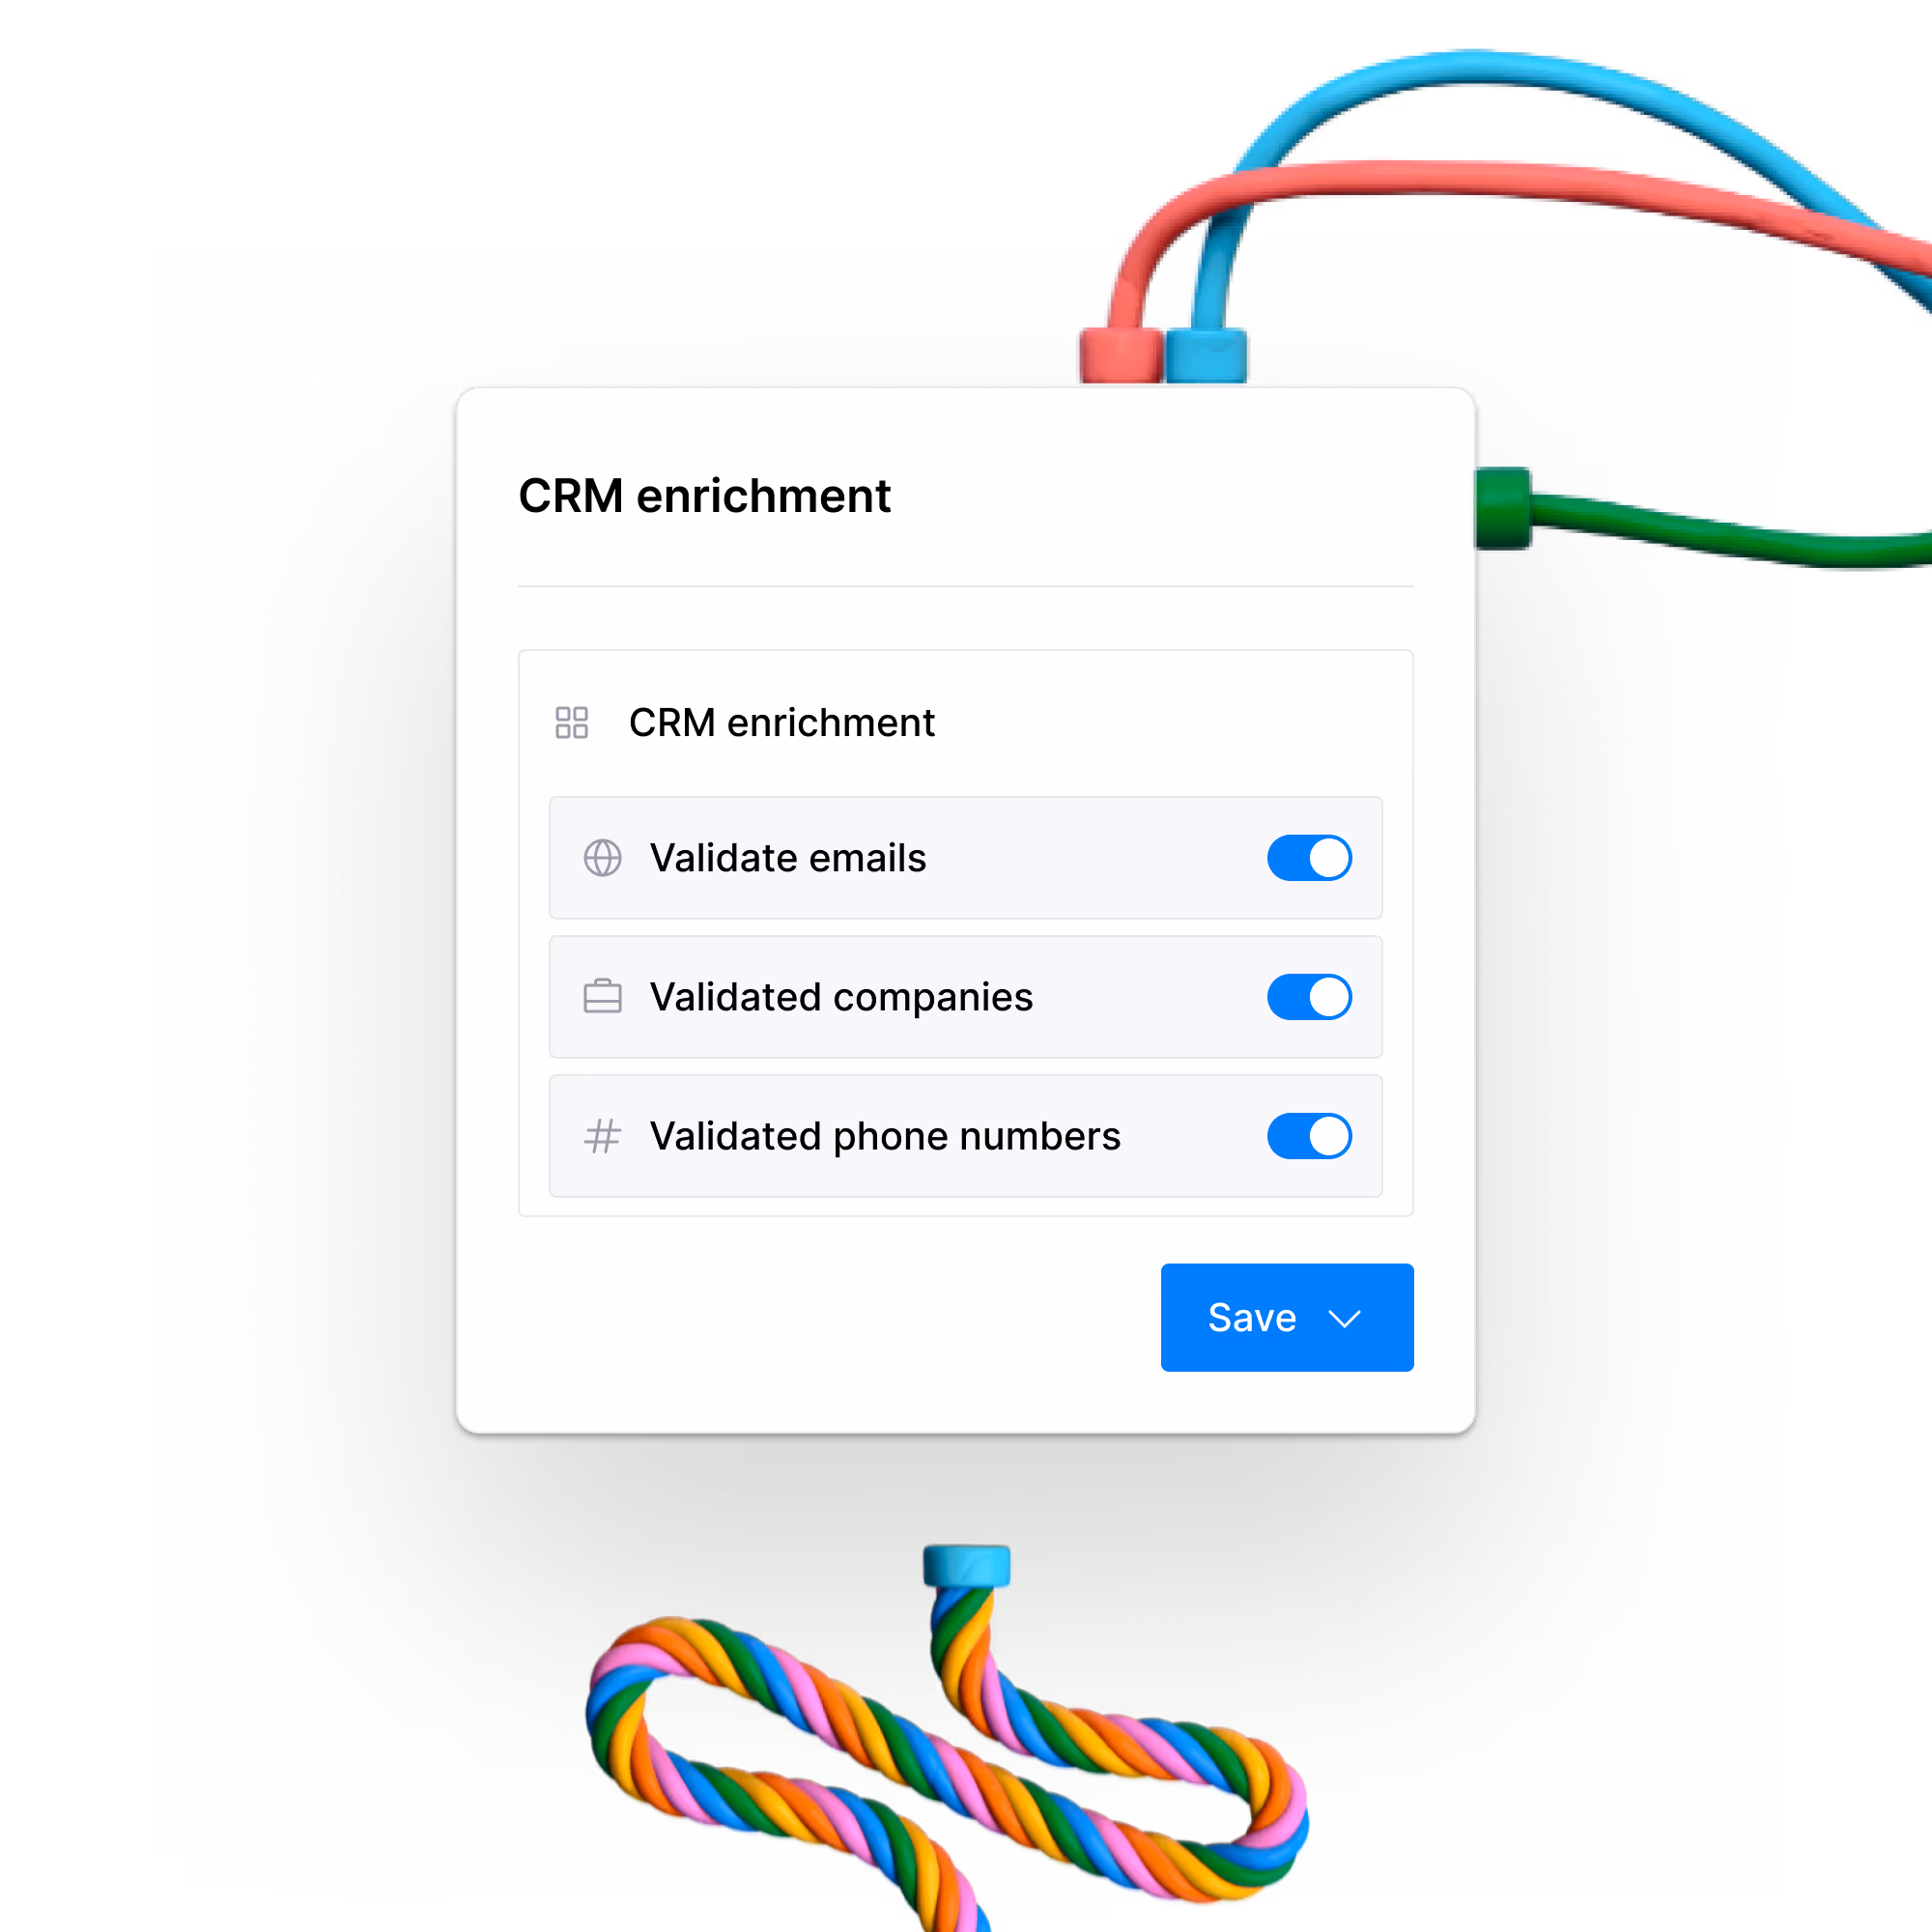
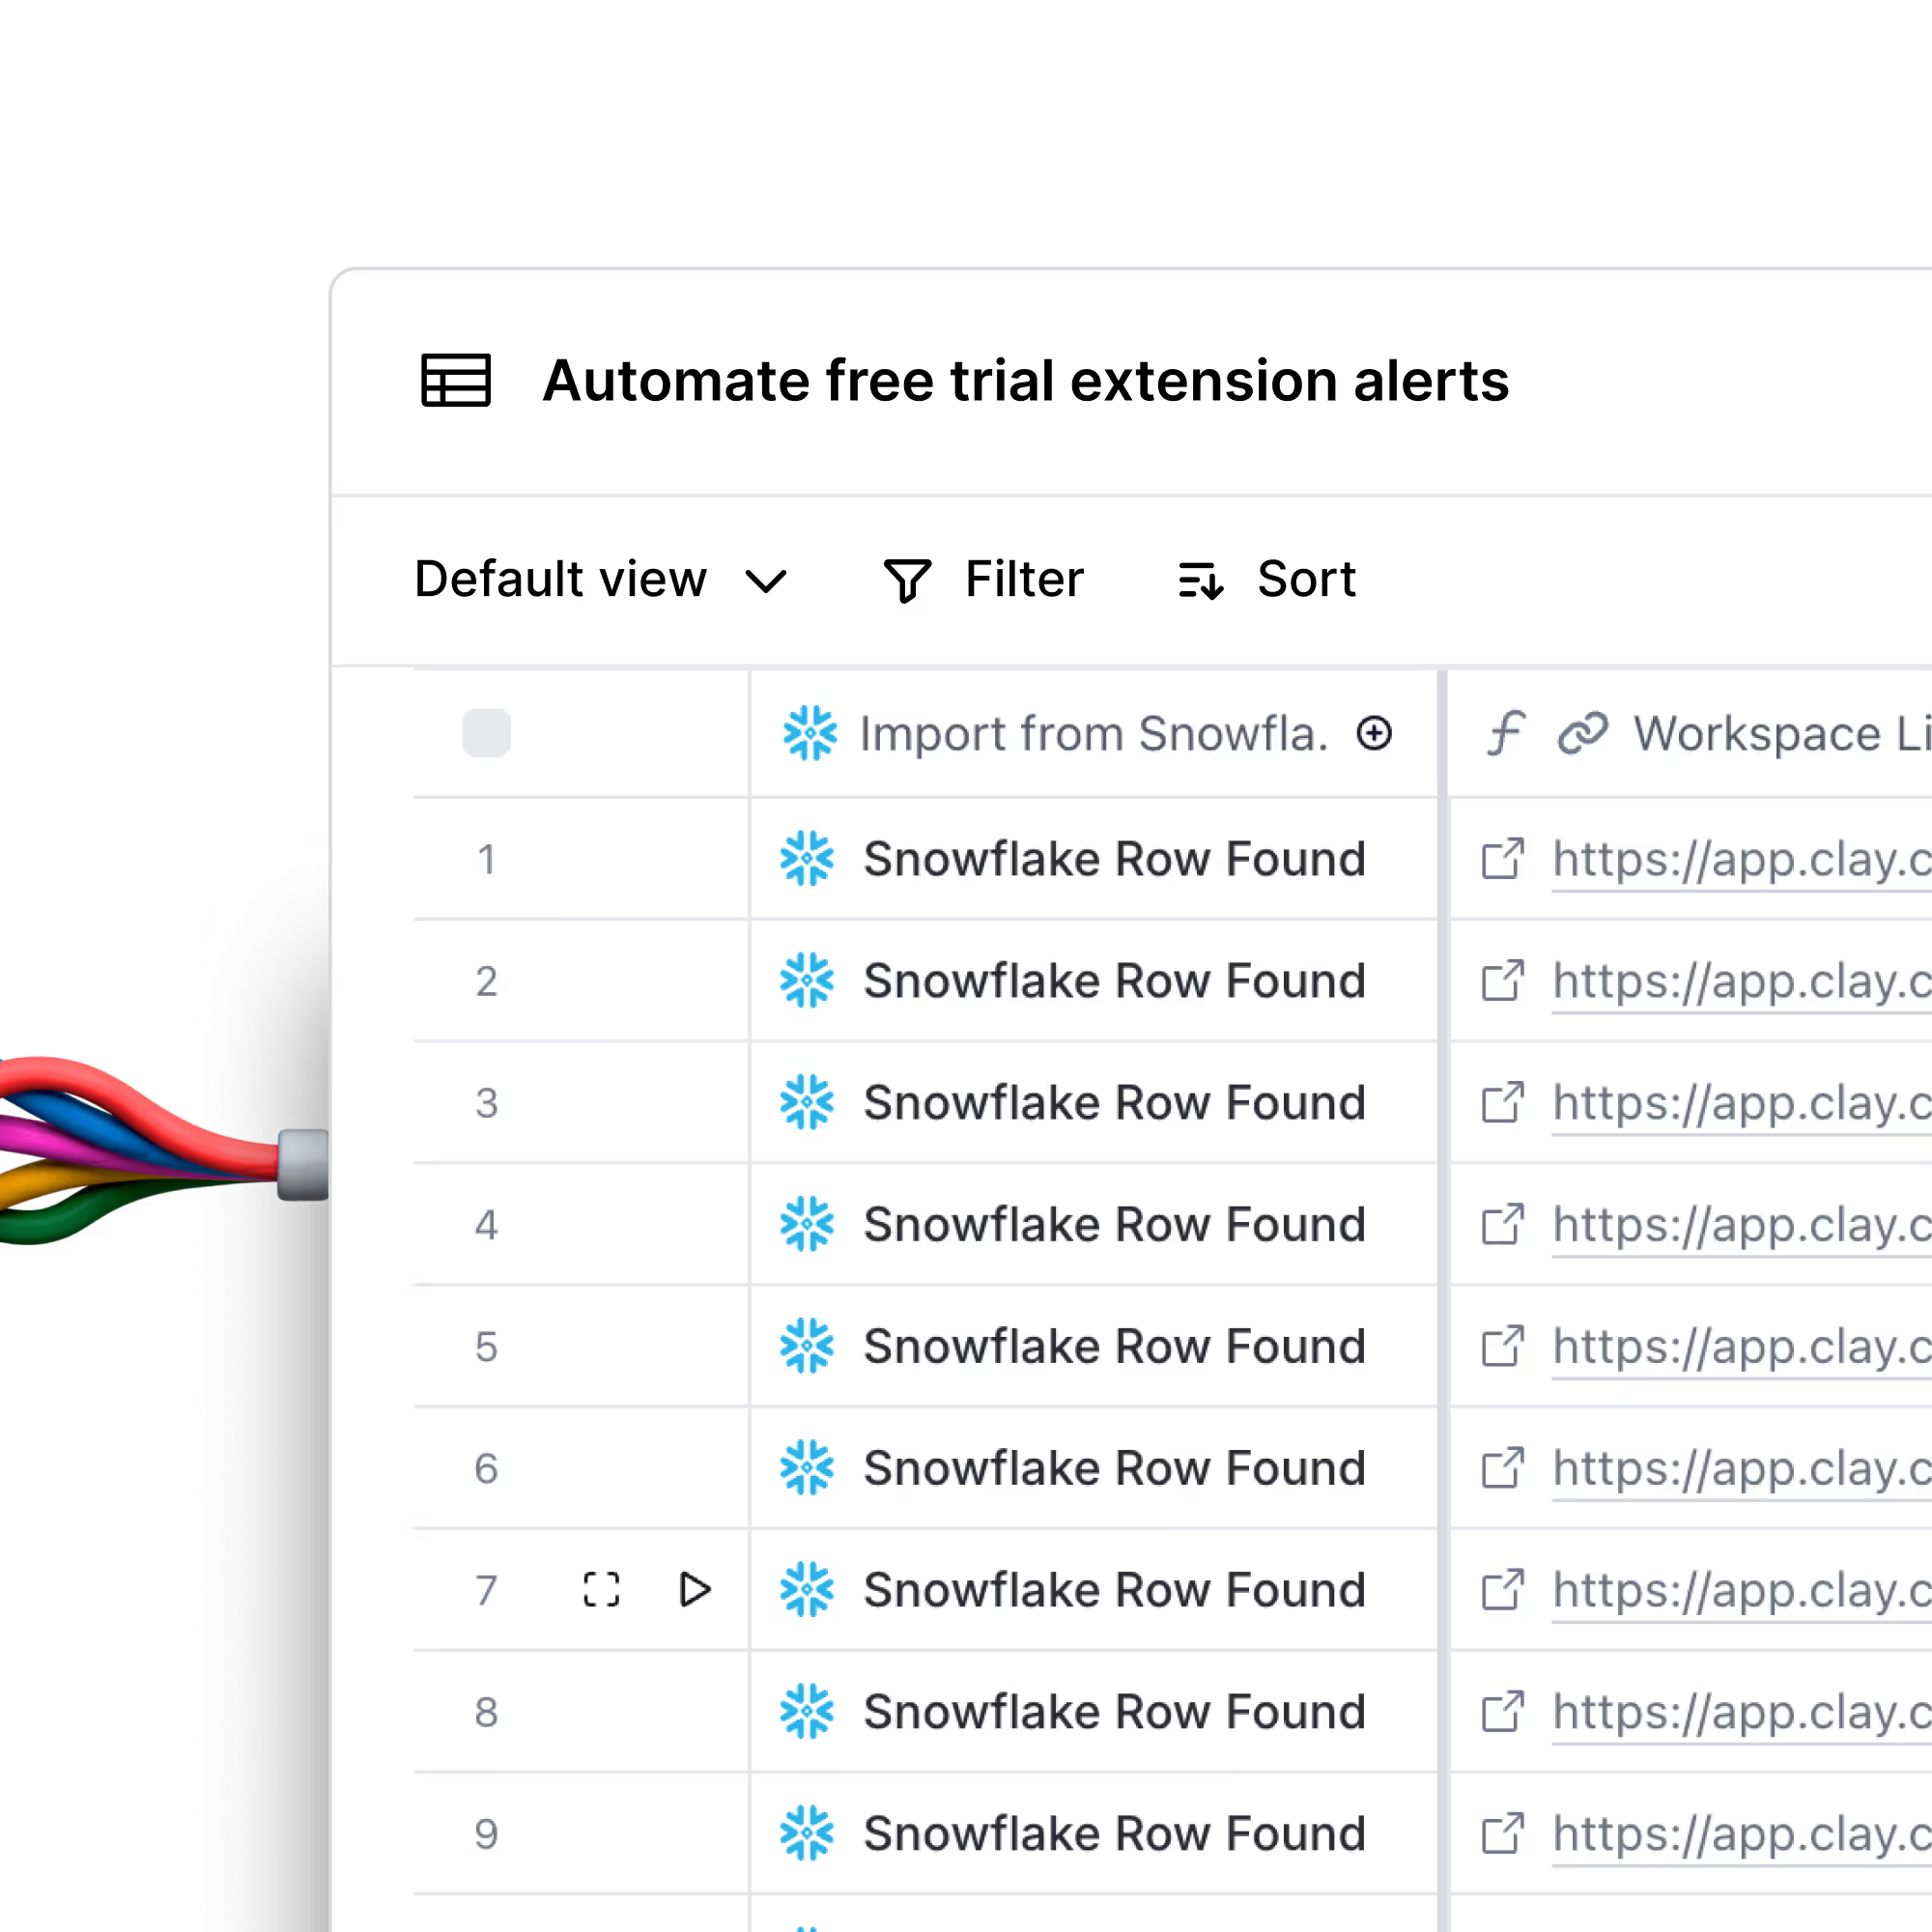
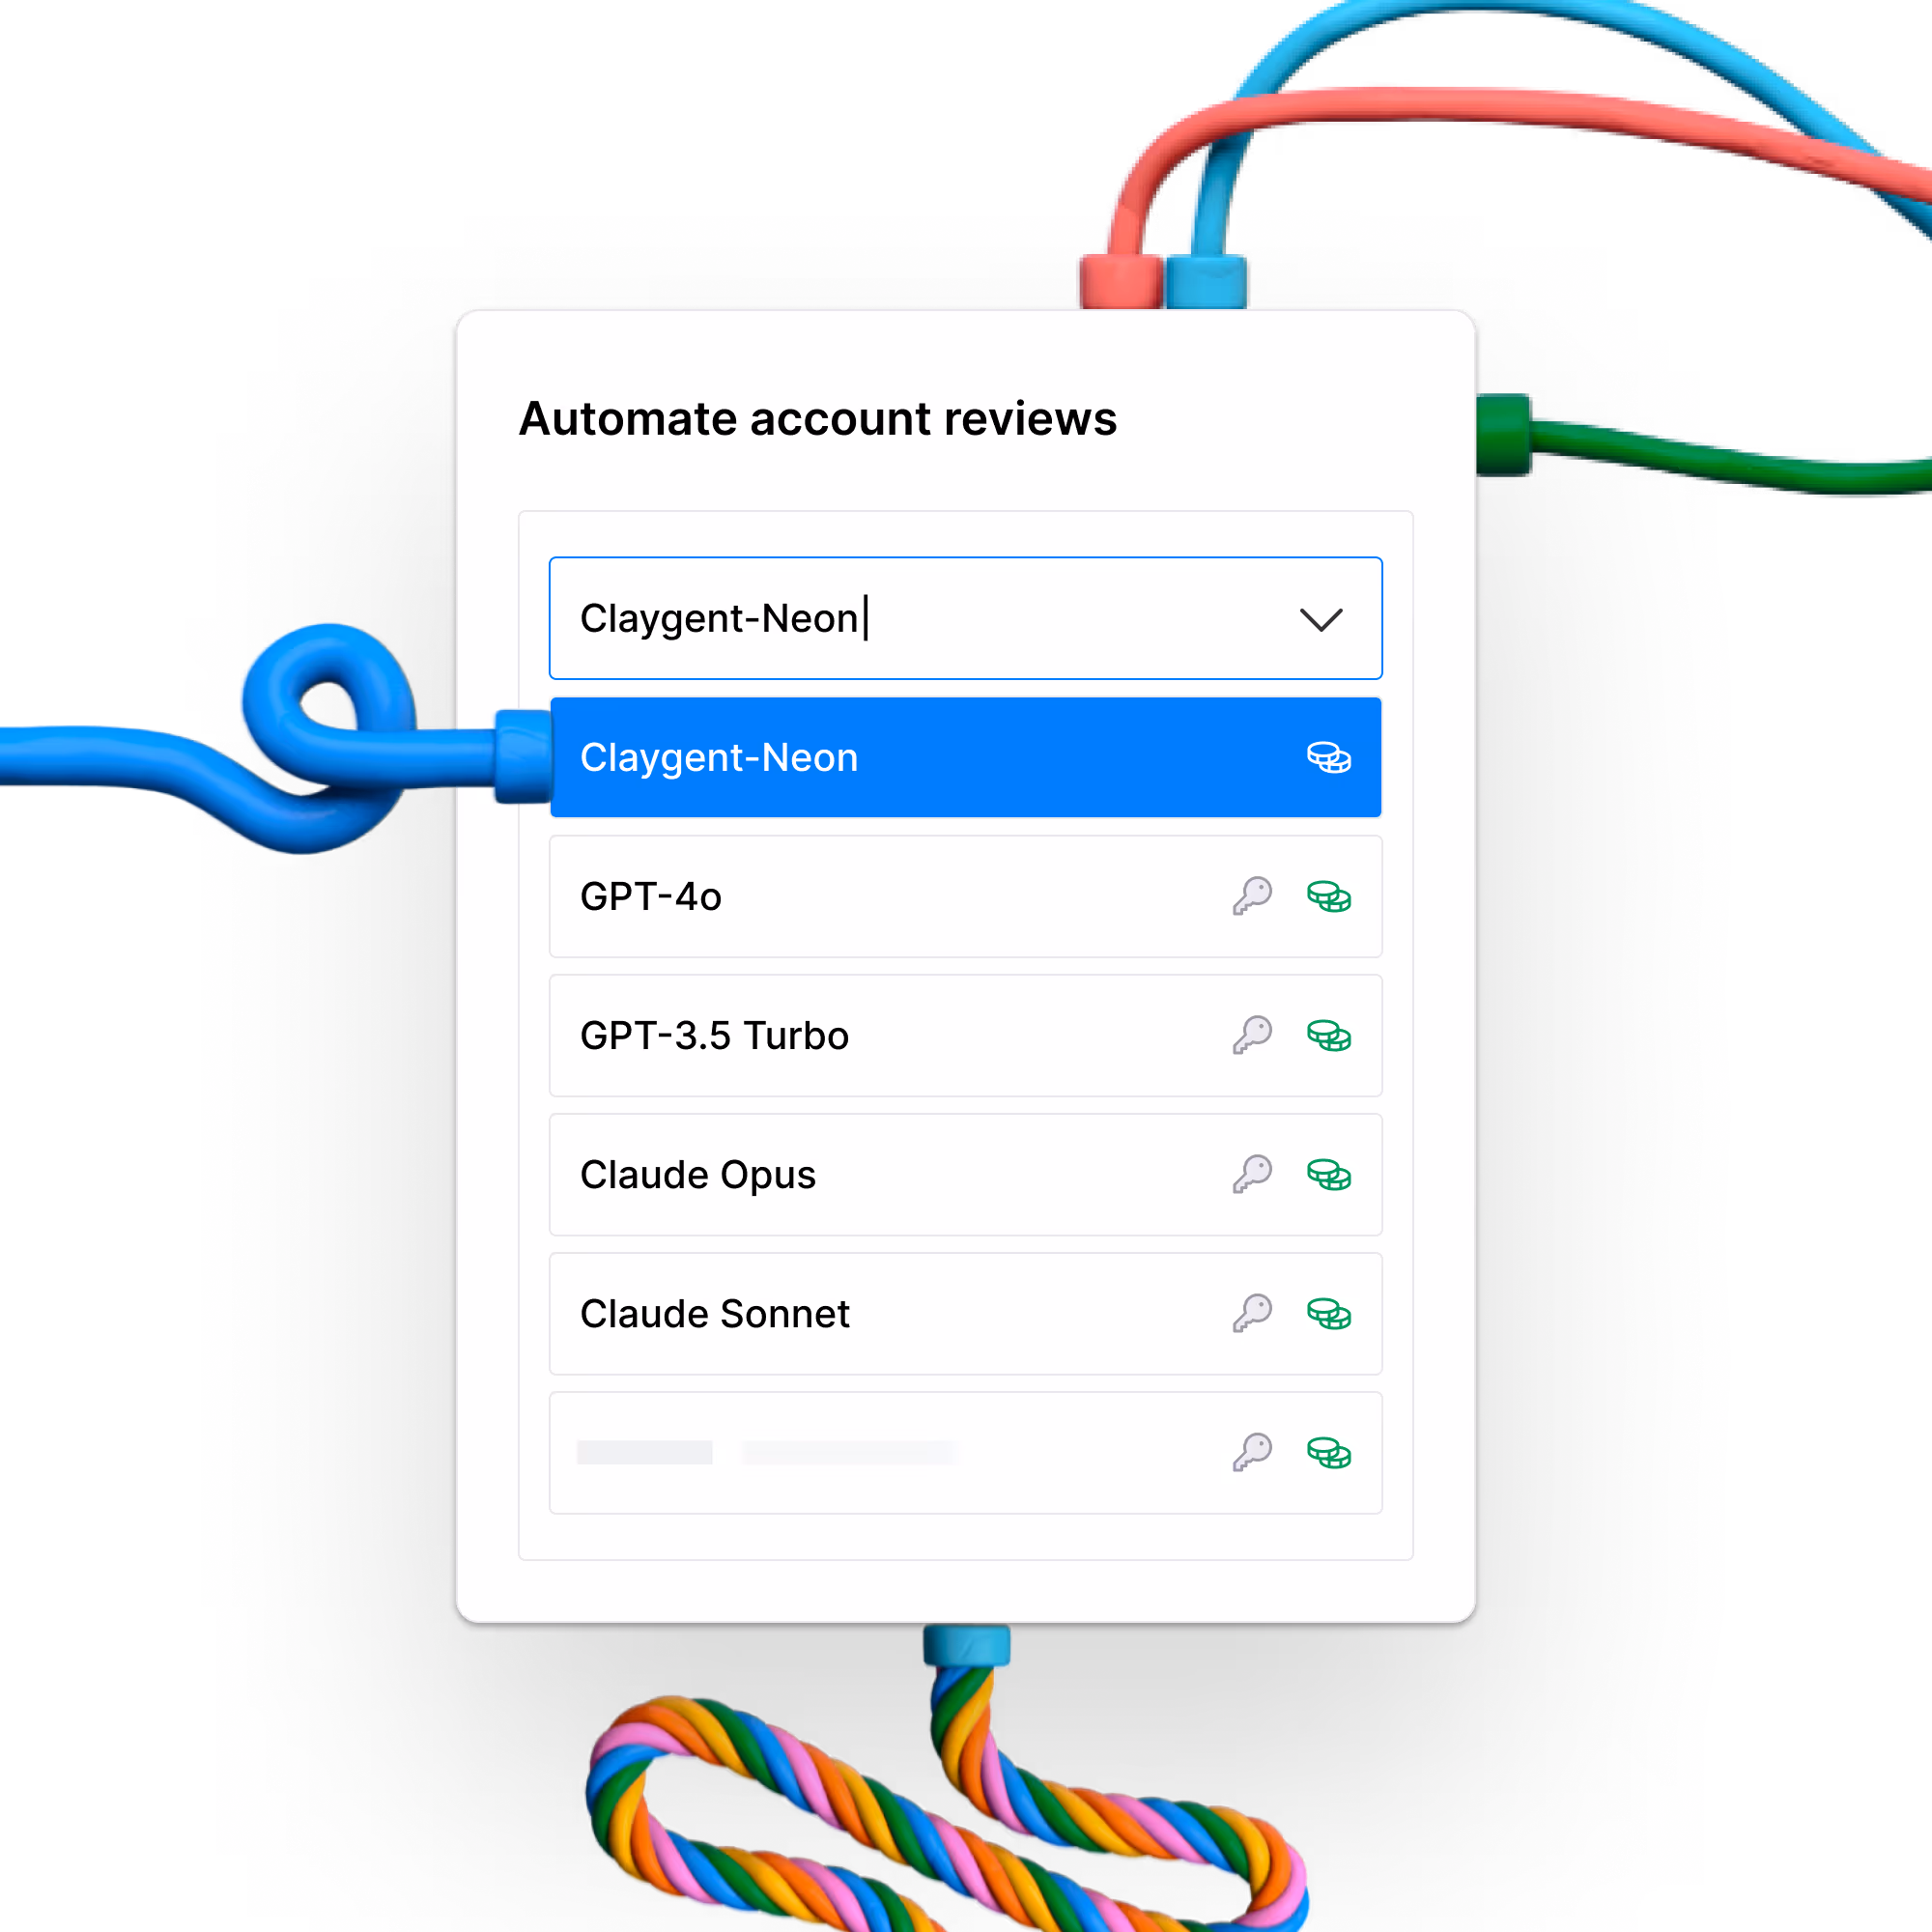
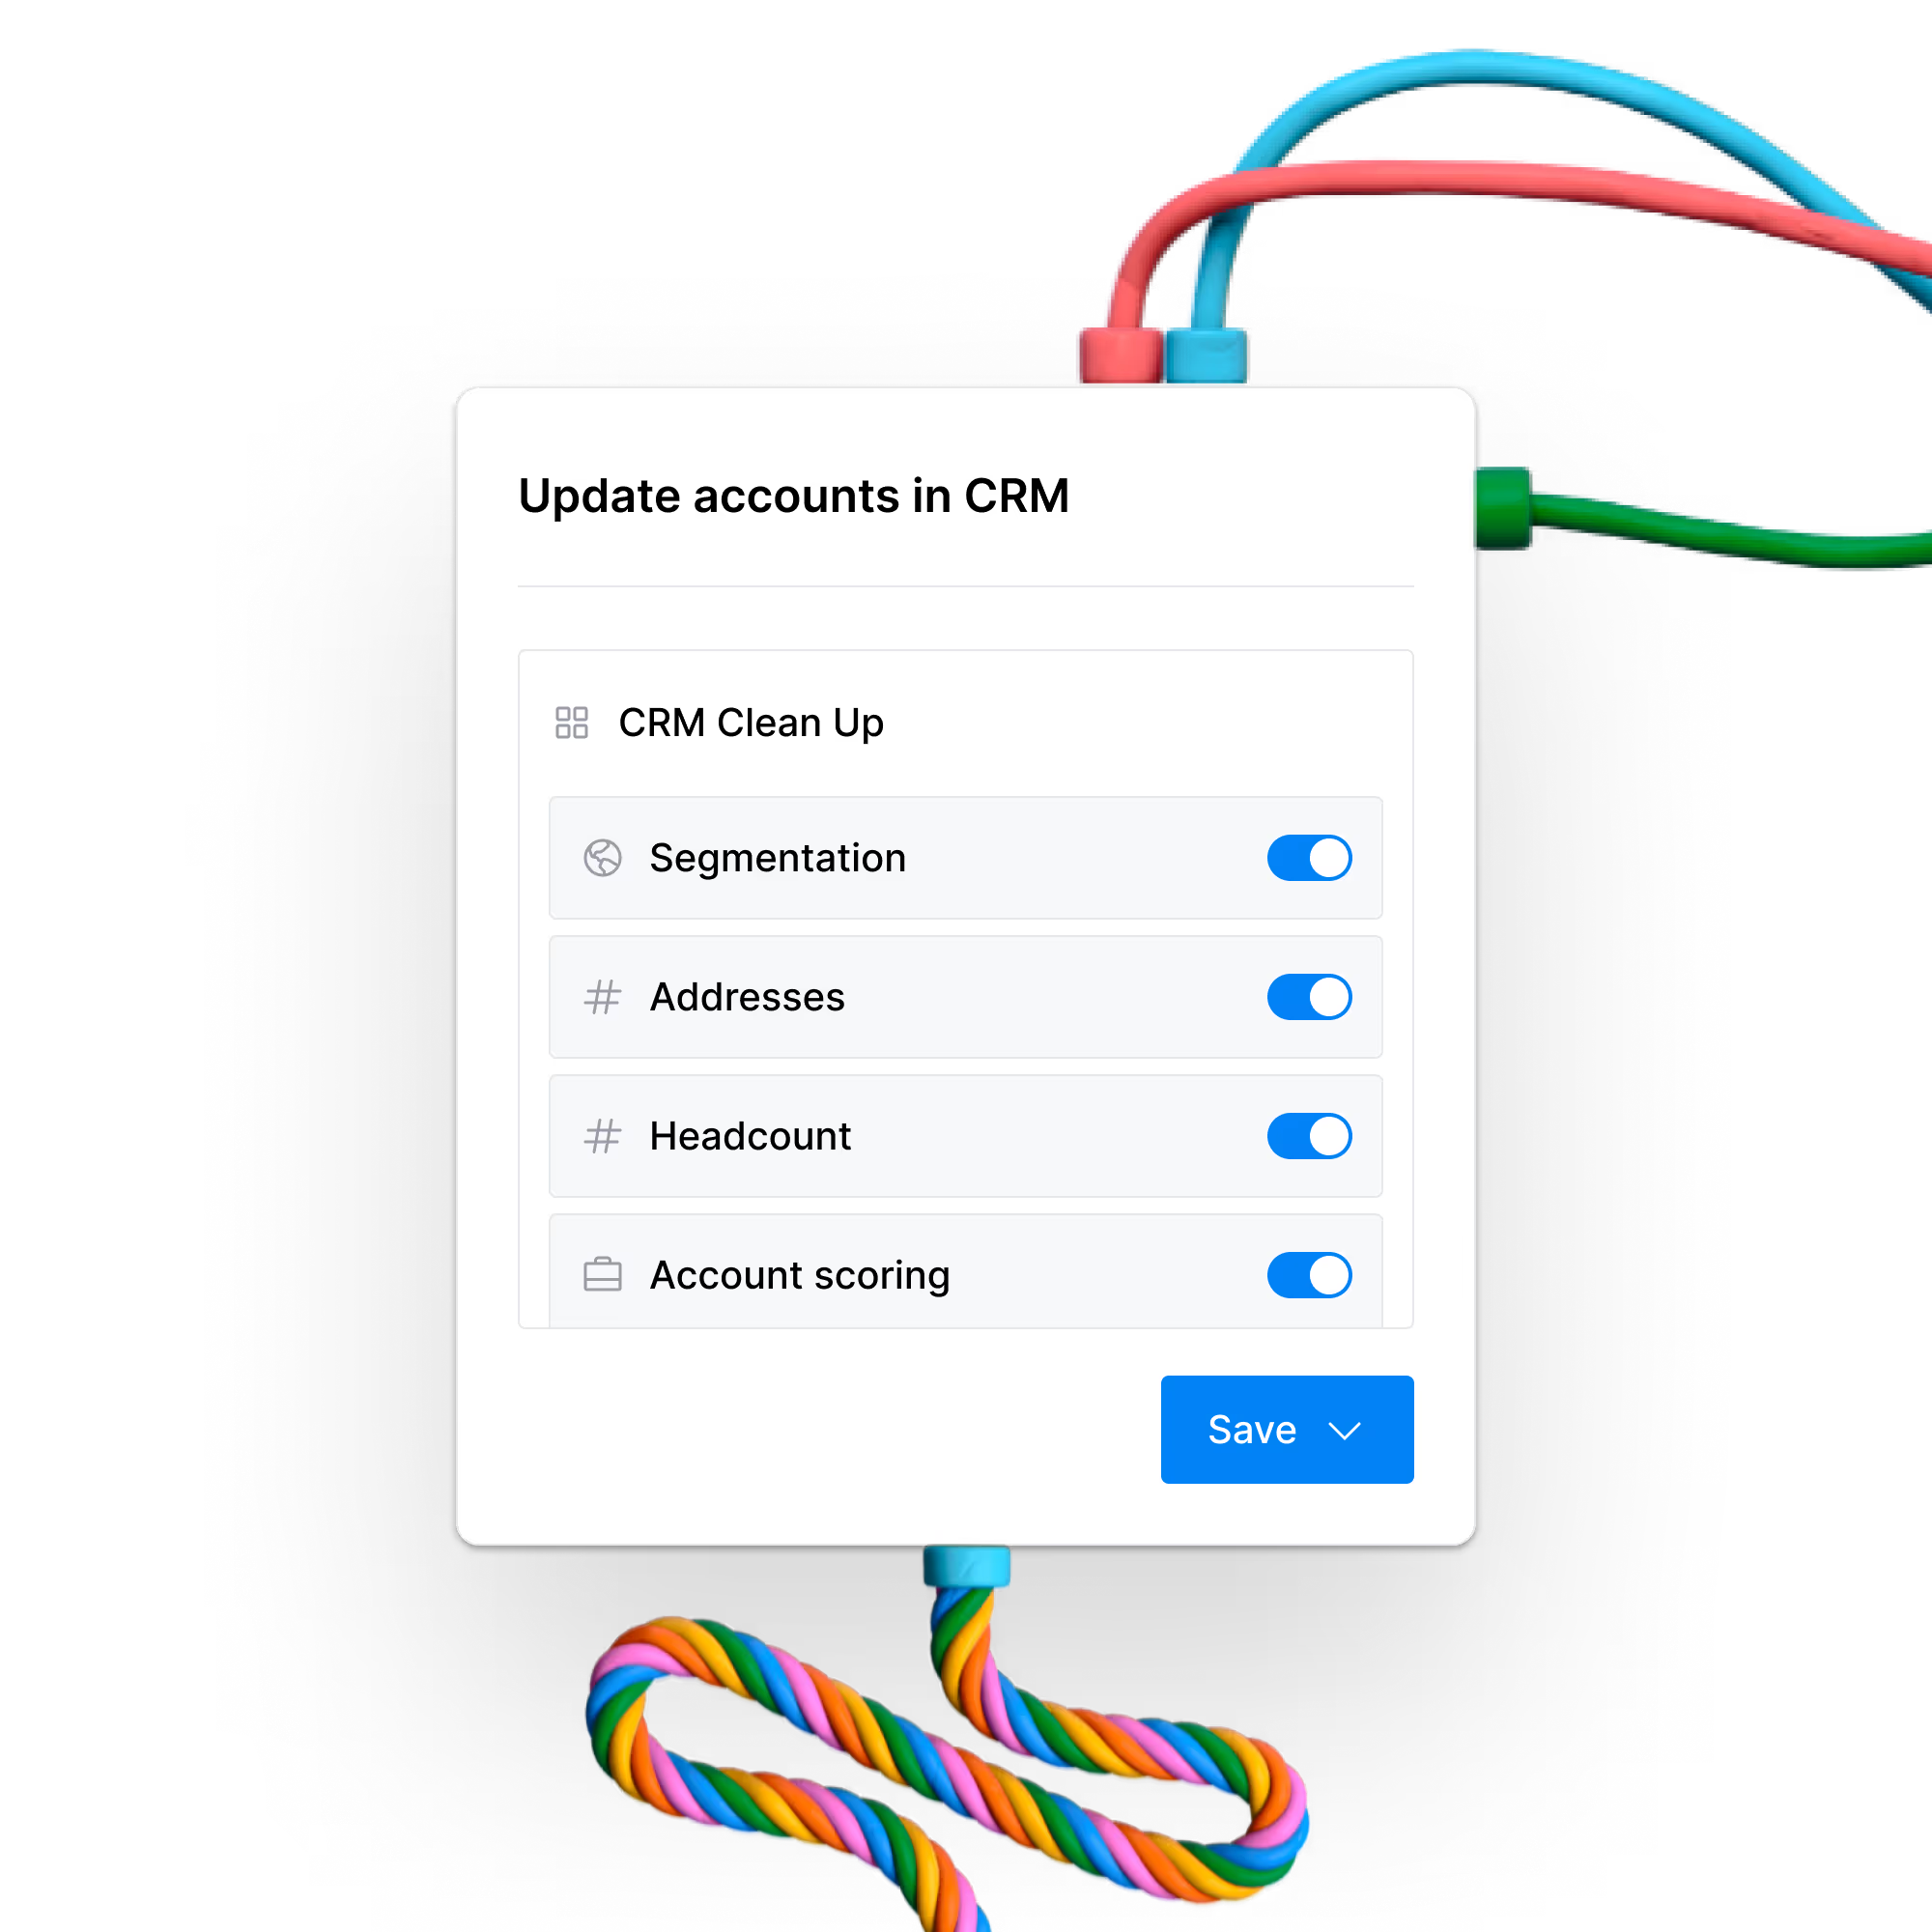
CRM Enrichment
Build data hygiene processes for your CRM at scale, and keep it automatically up-to-date.
+ 4 more lessons

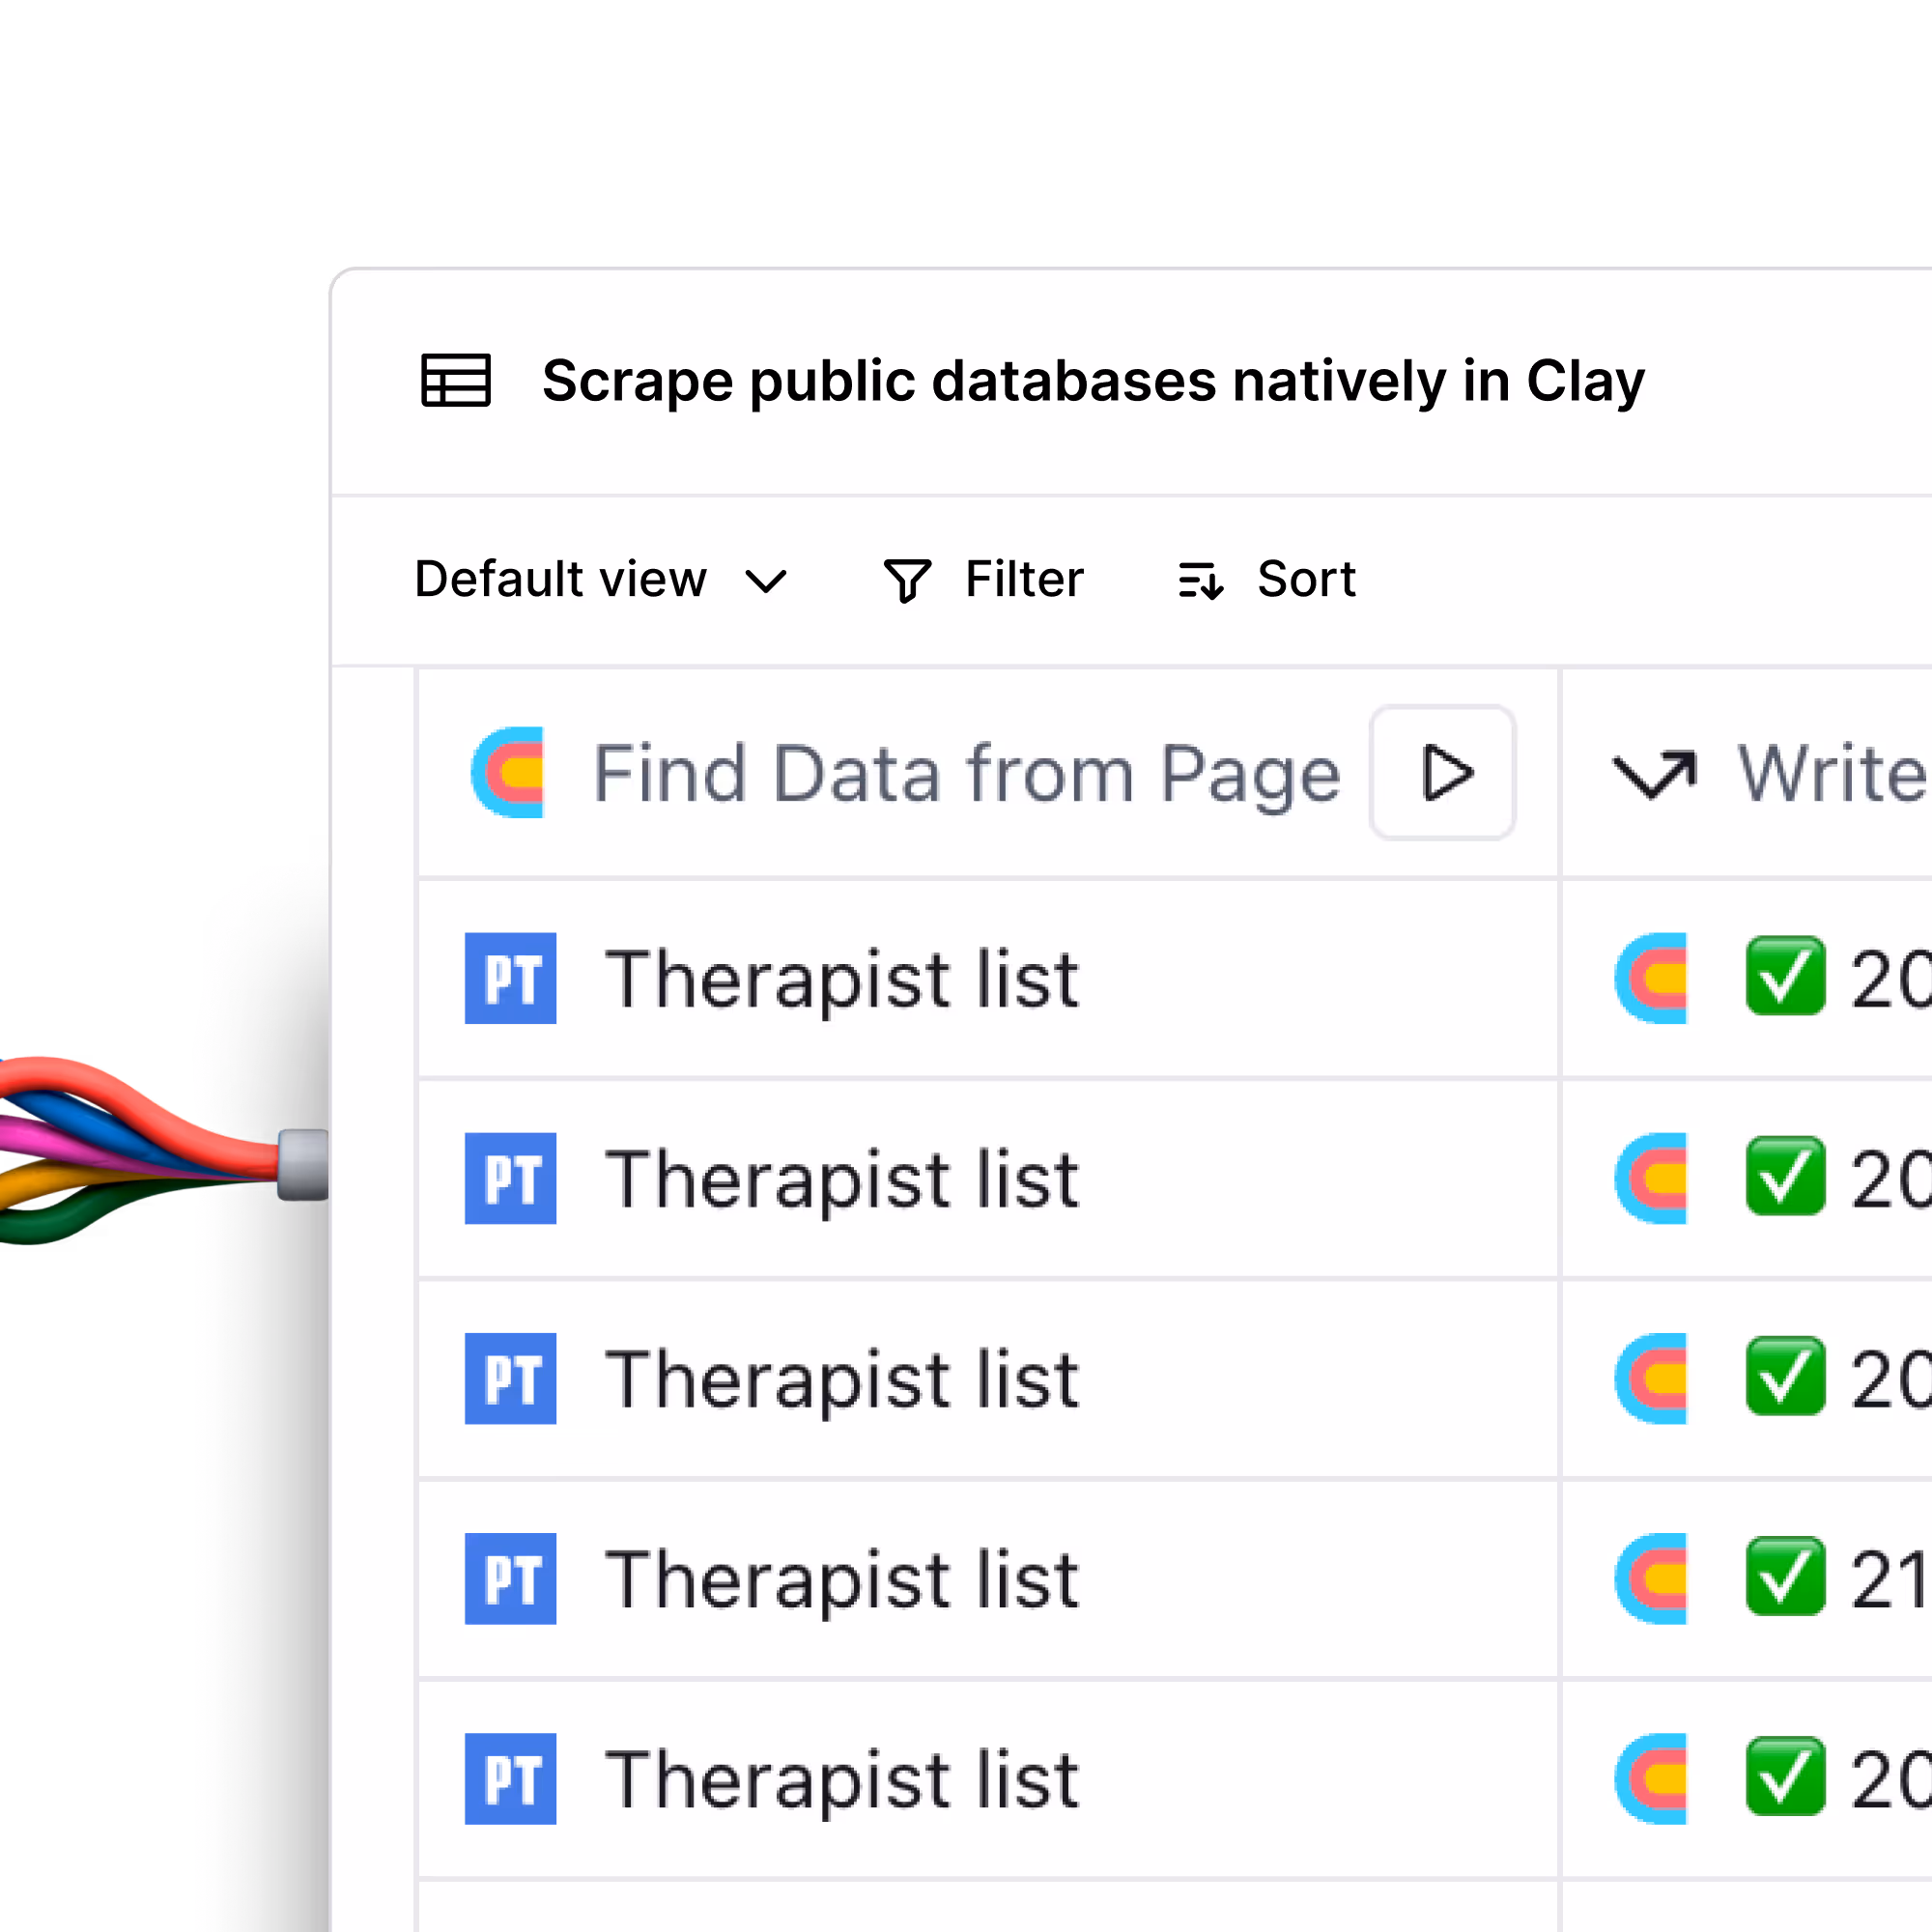
Limitless Research
Stop copy/pasting data into your CRM and learn how to harness the power of web scraping to turbocharge your revenue org
+ 4 more lessons

Automated Outbound
Learn how to build fully automated, 1:1 outbound campaigns using AI in Clay
+ 12 more lessons
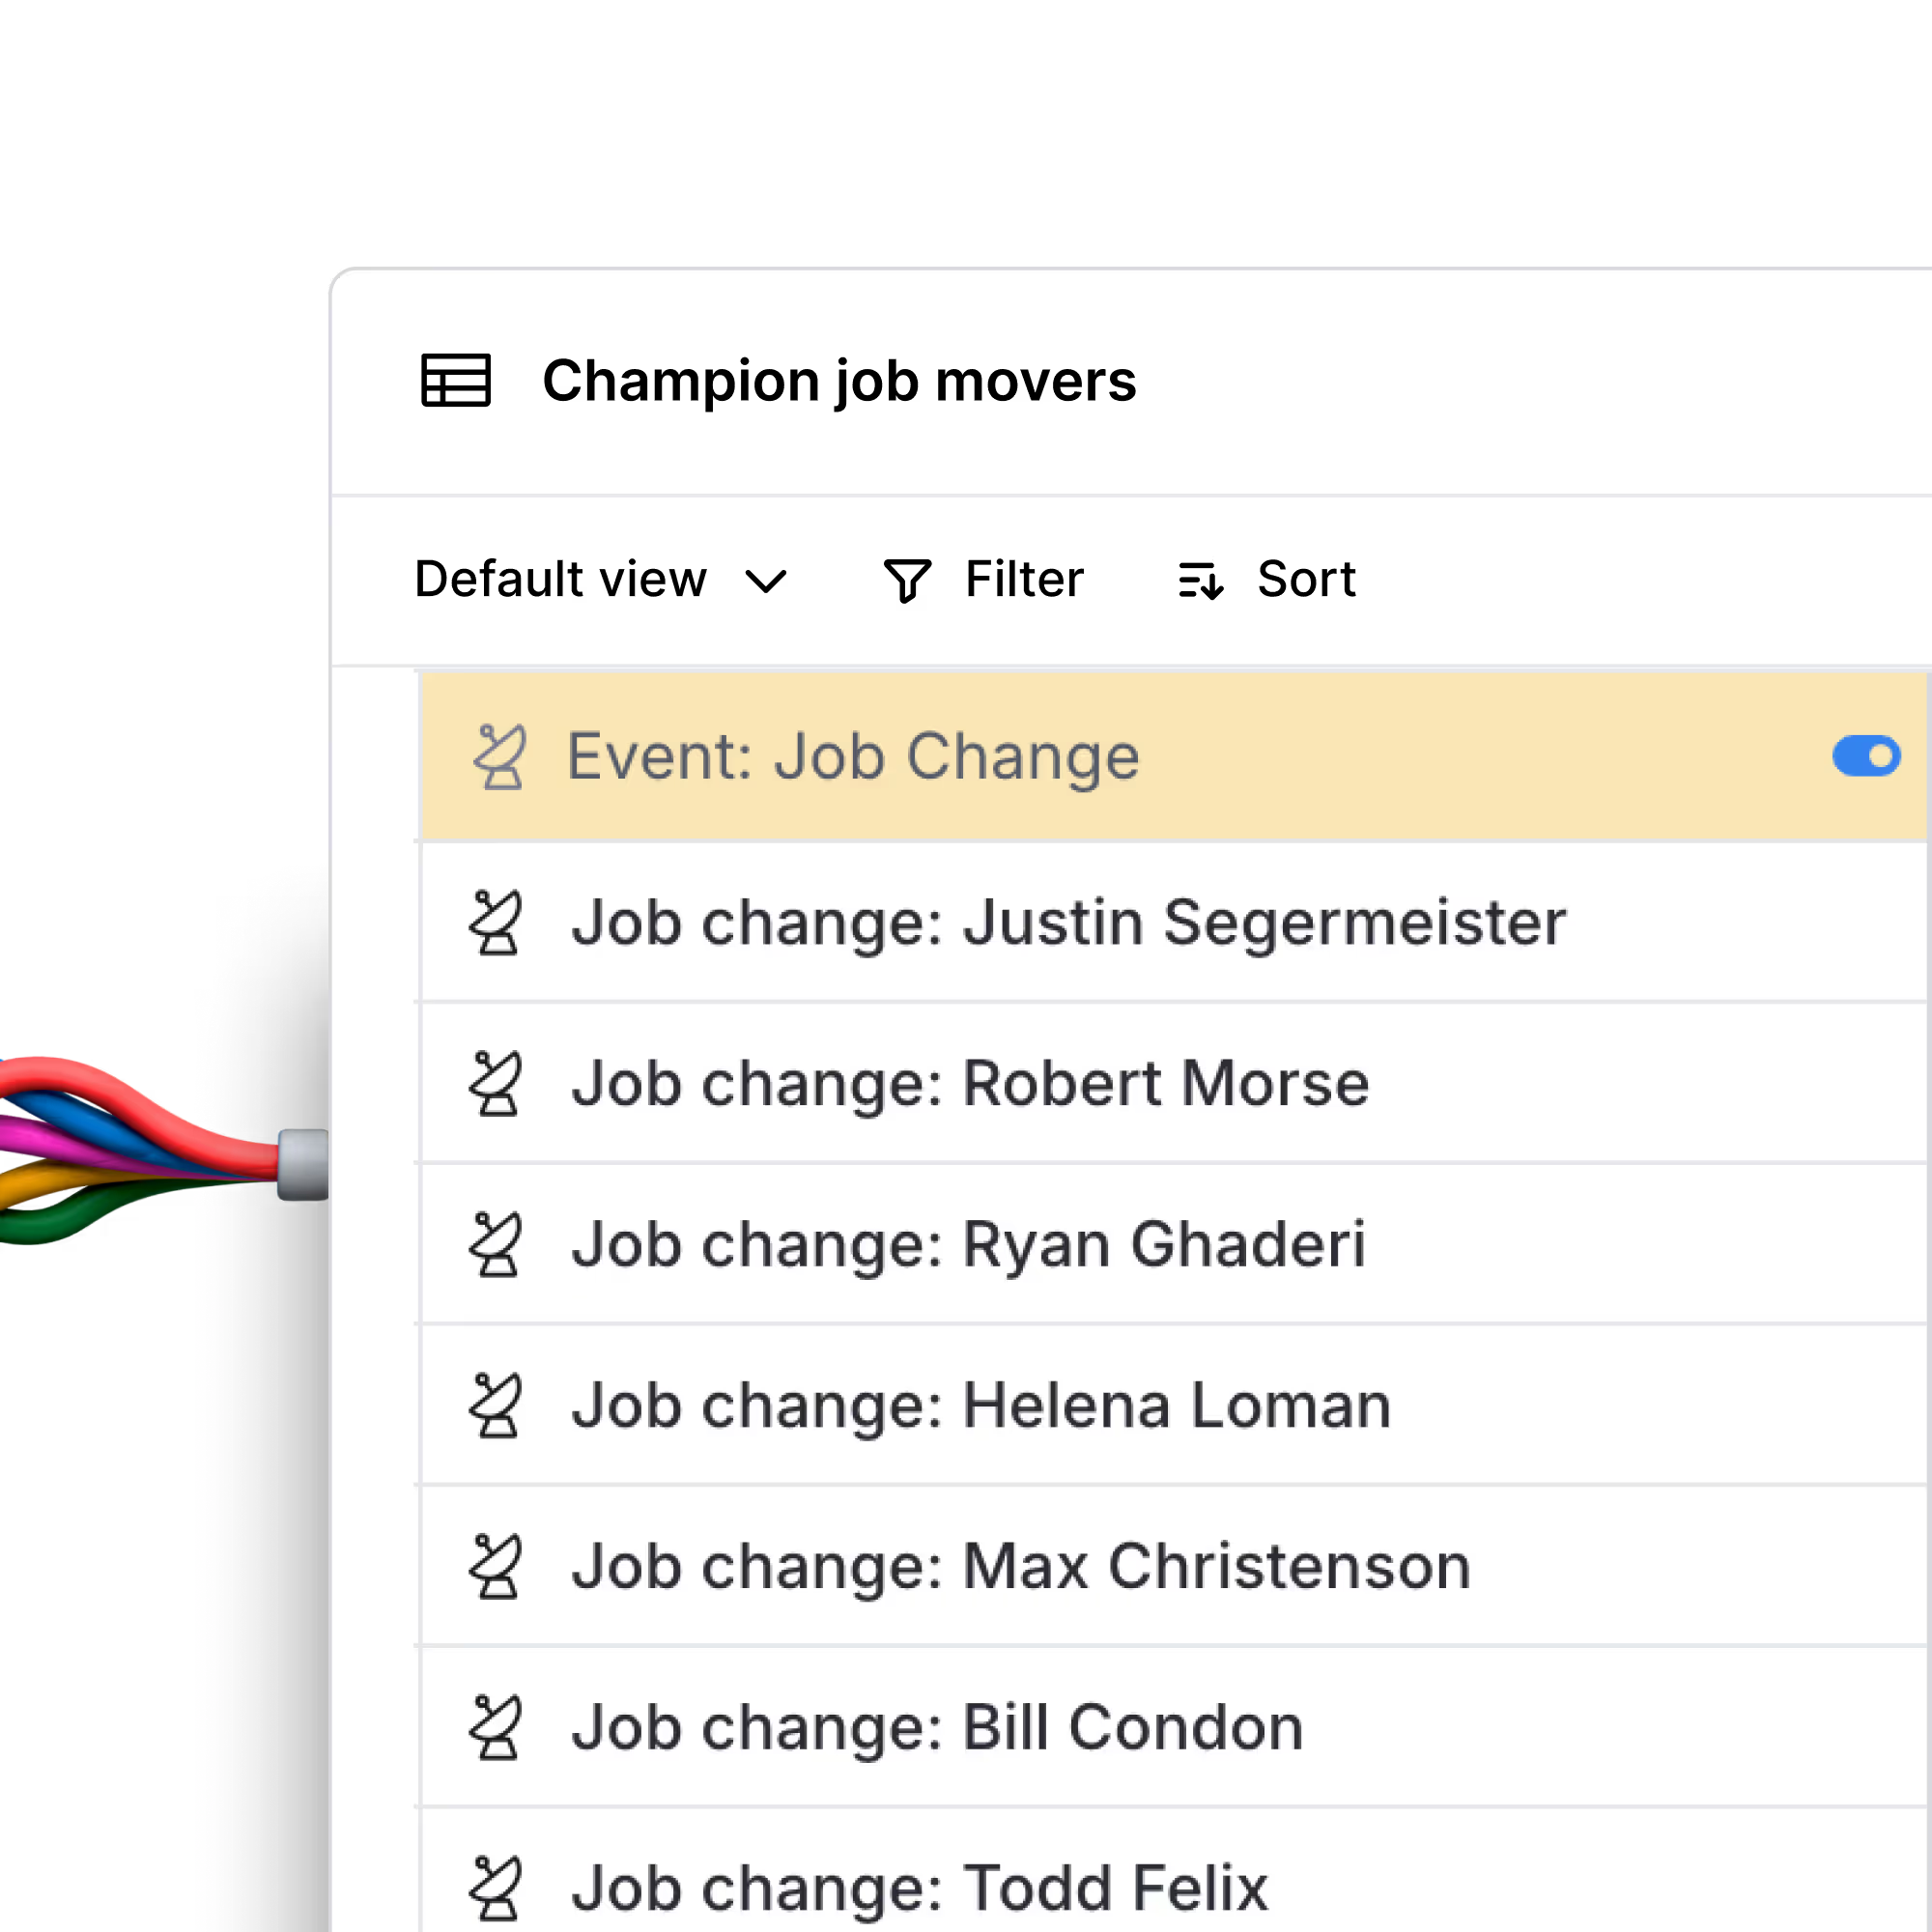
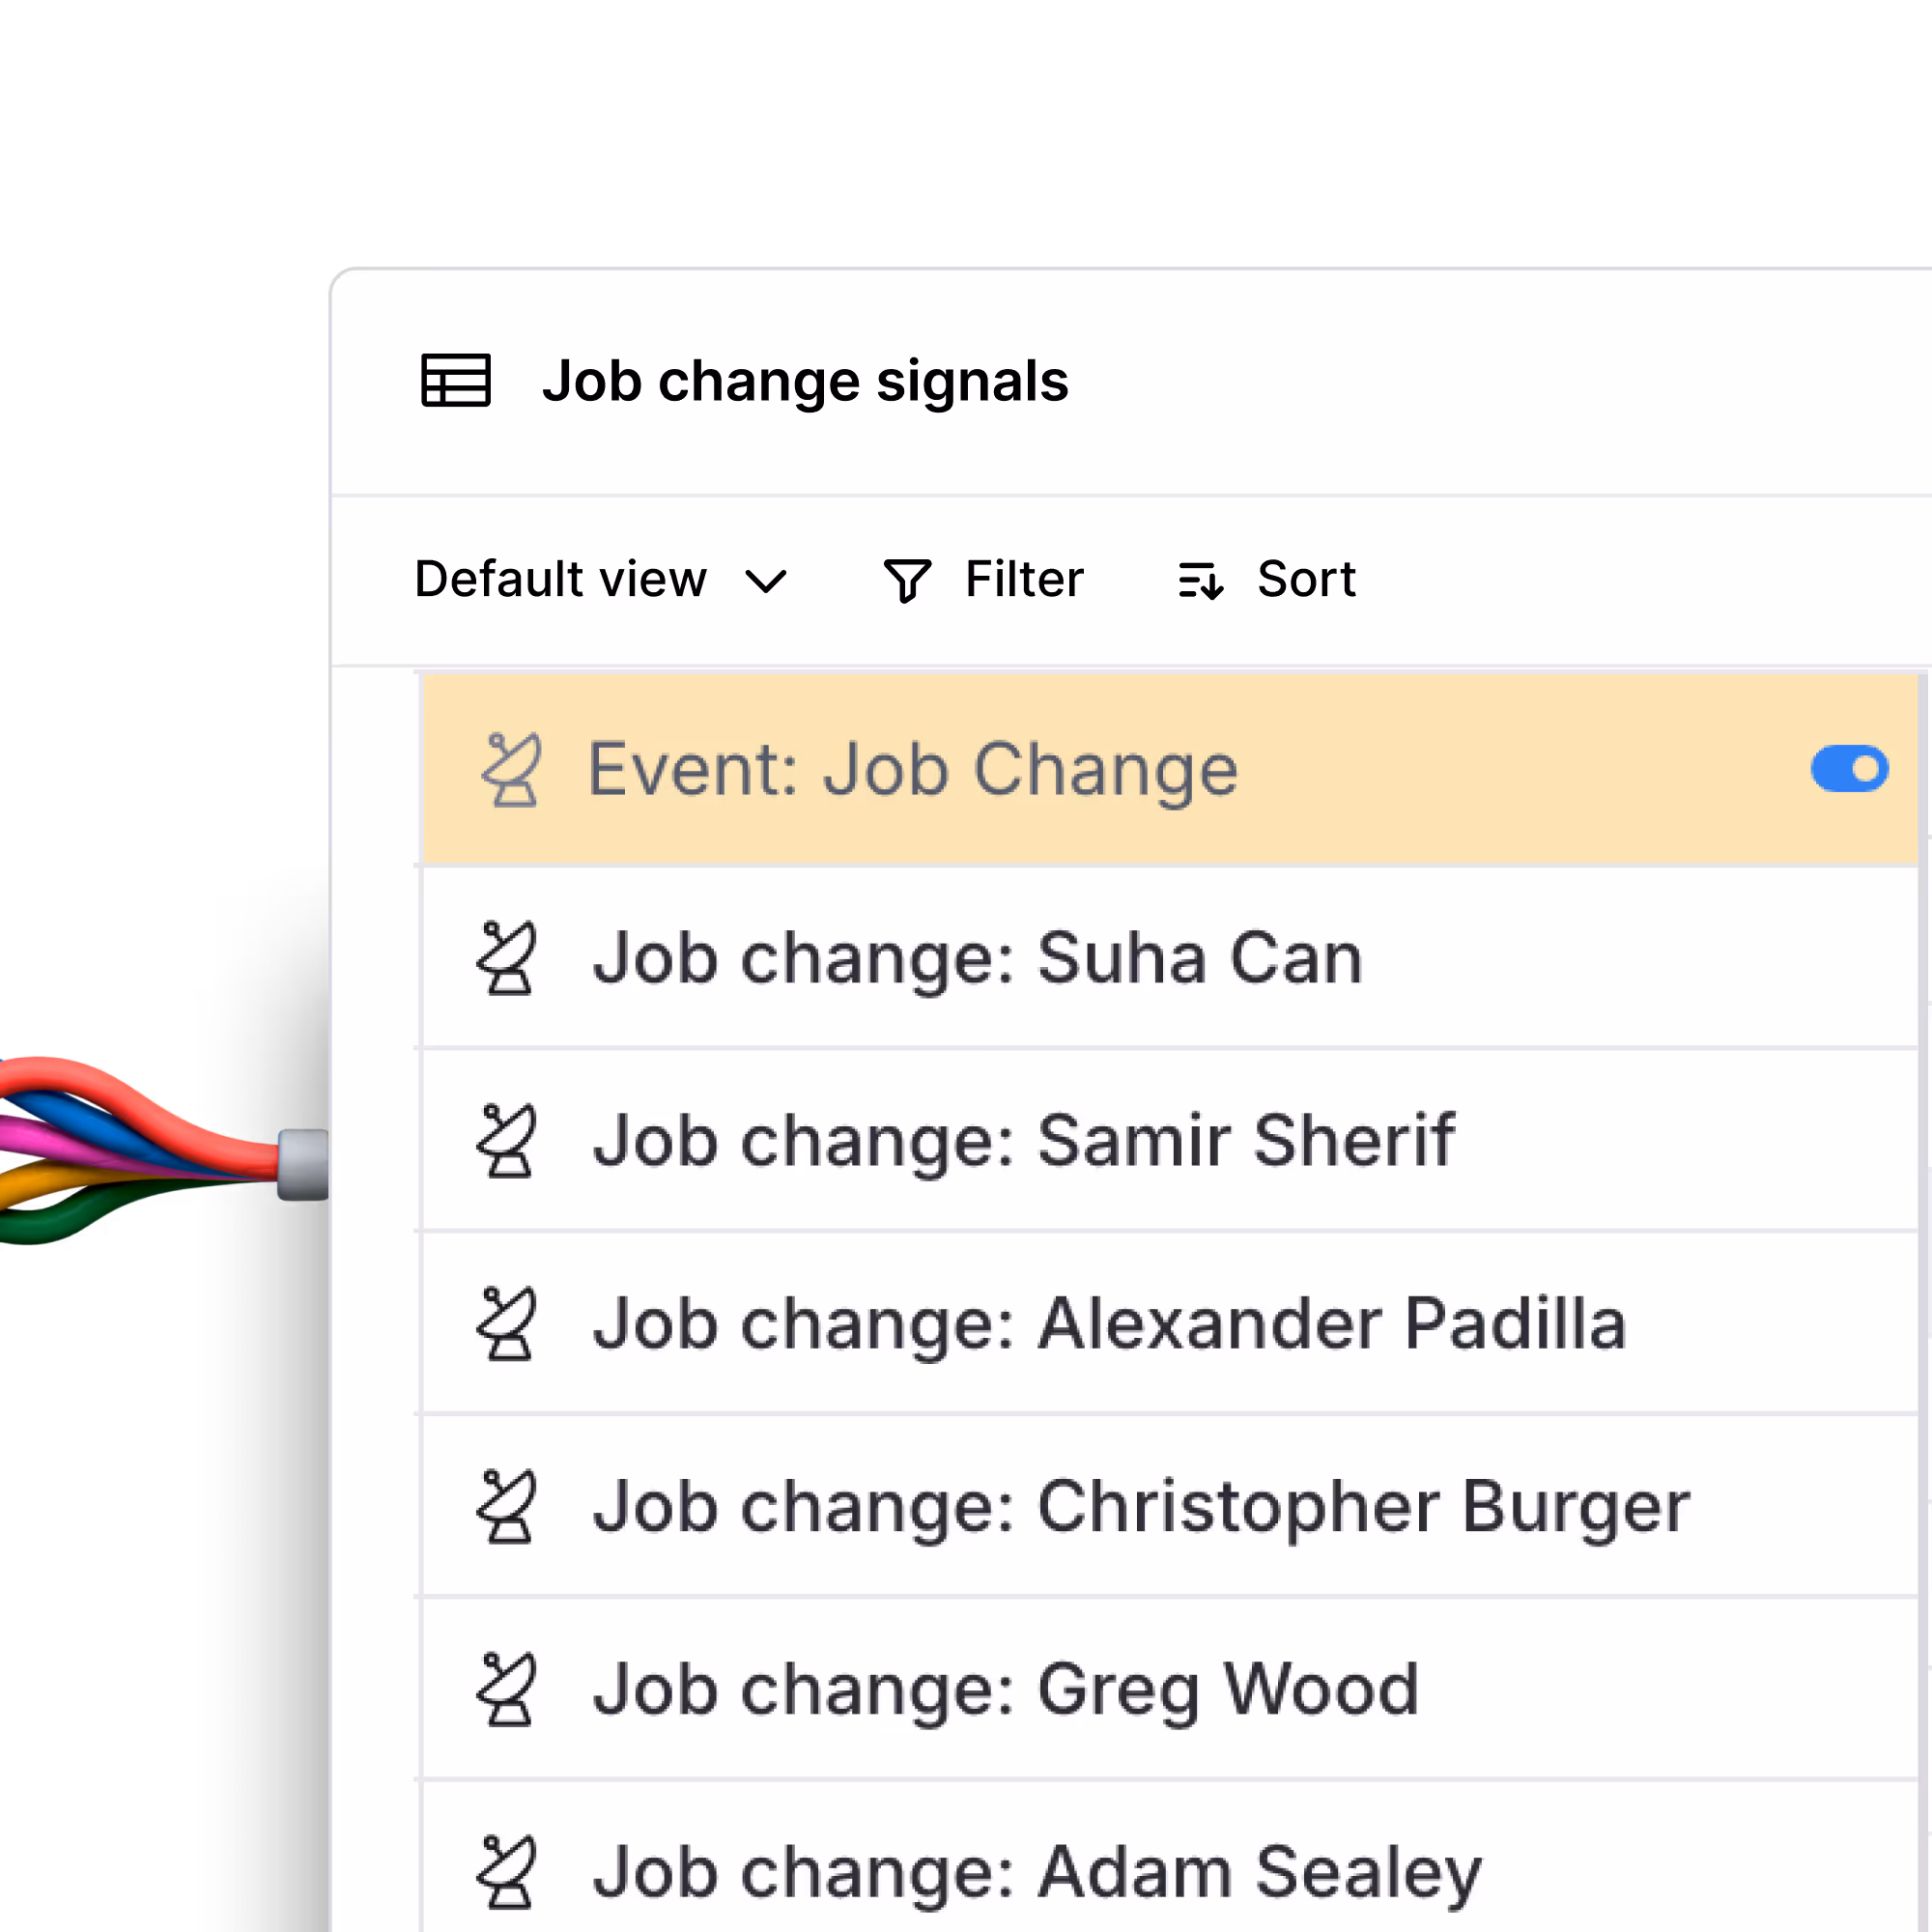
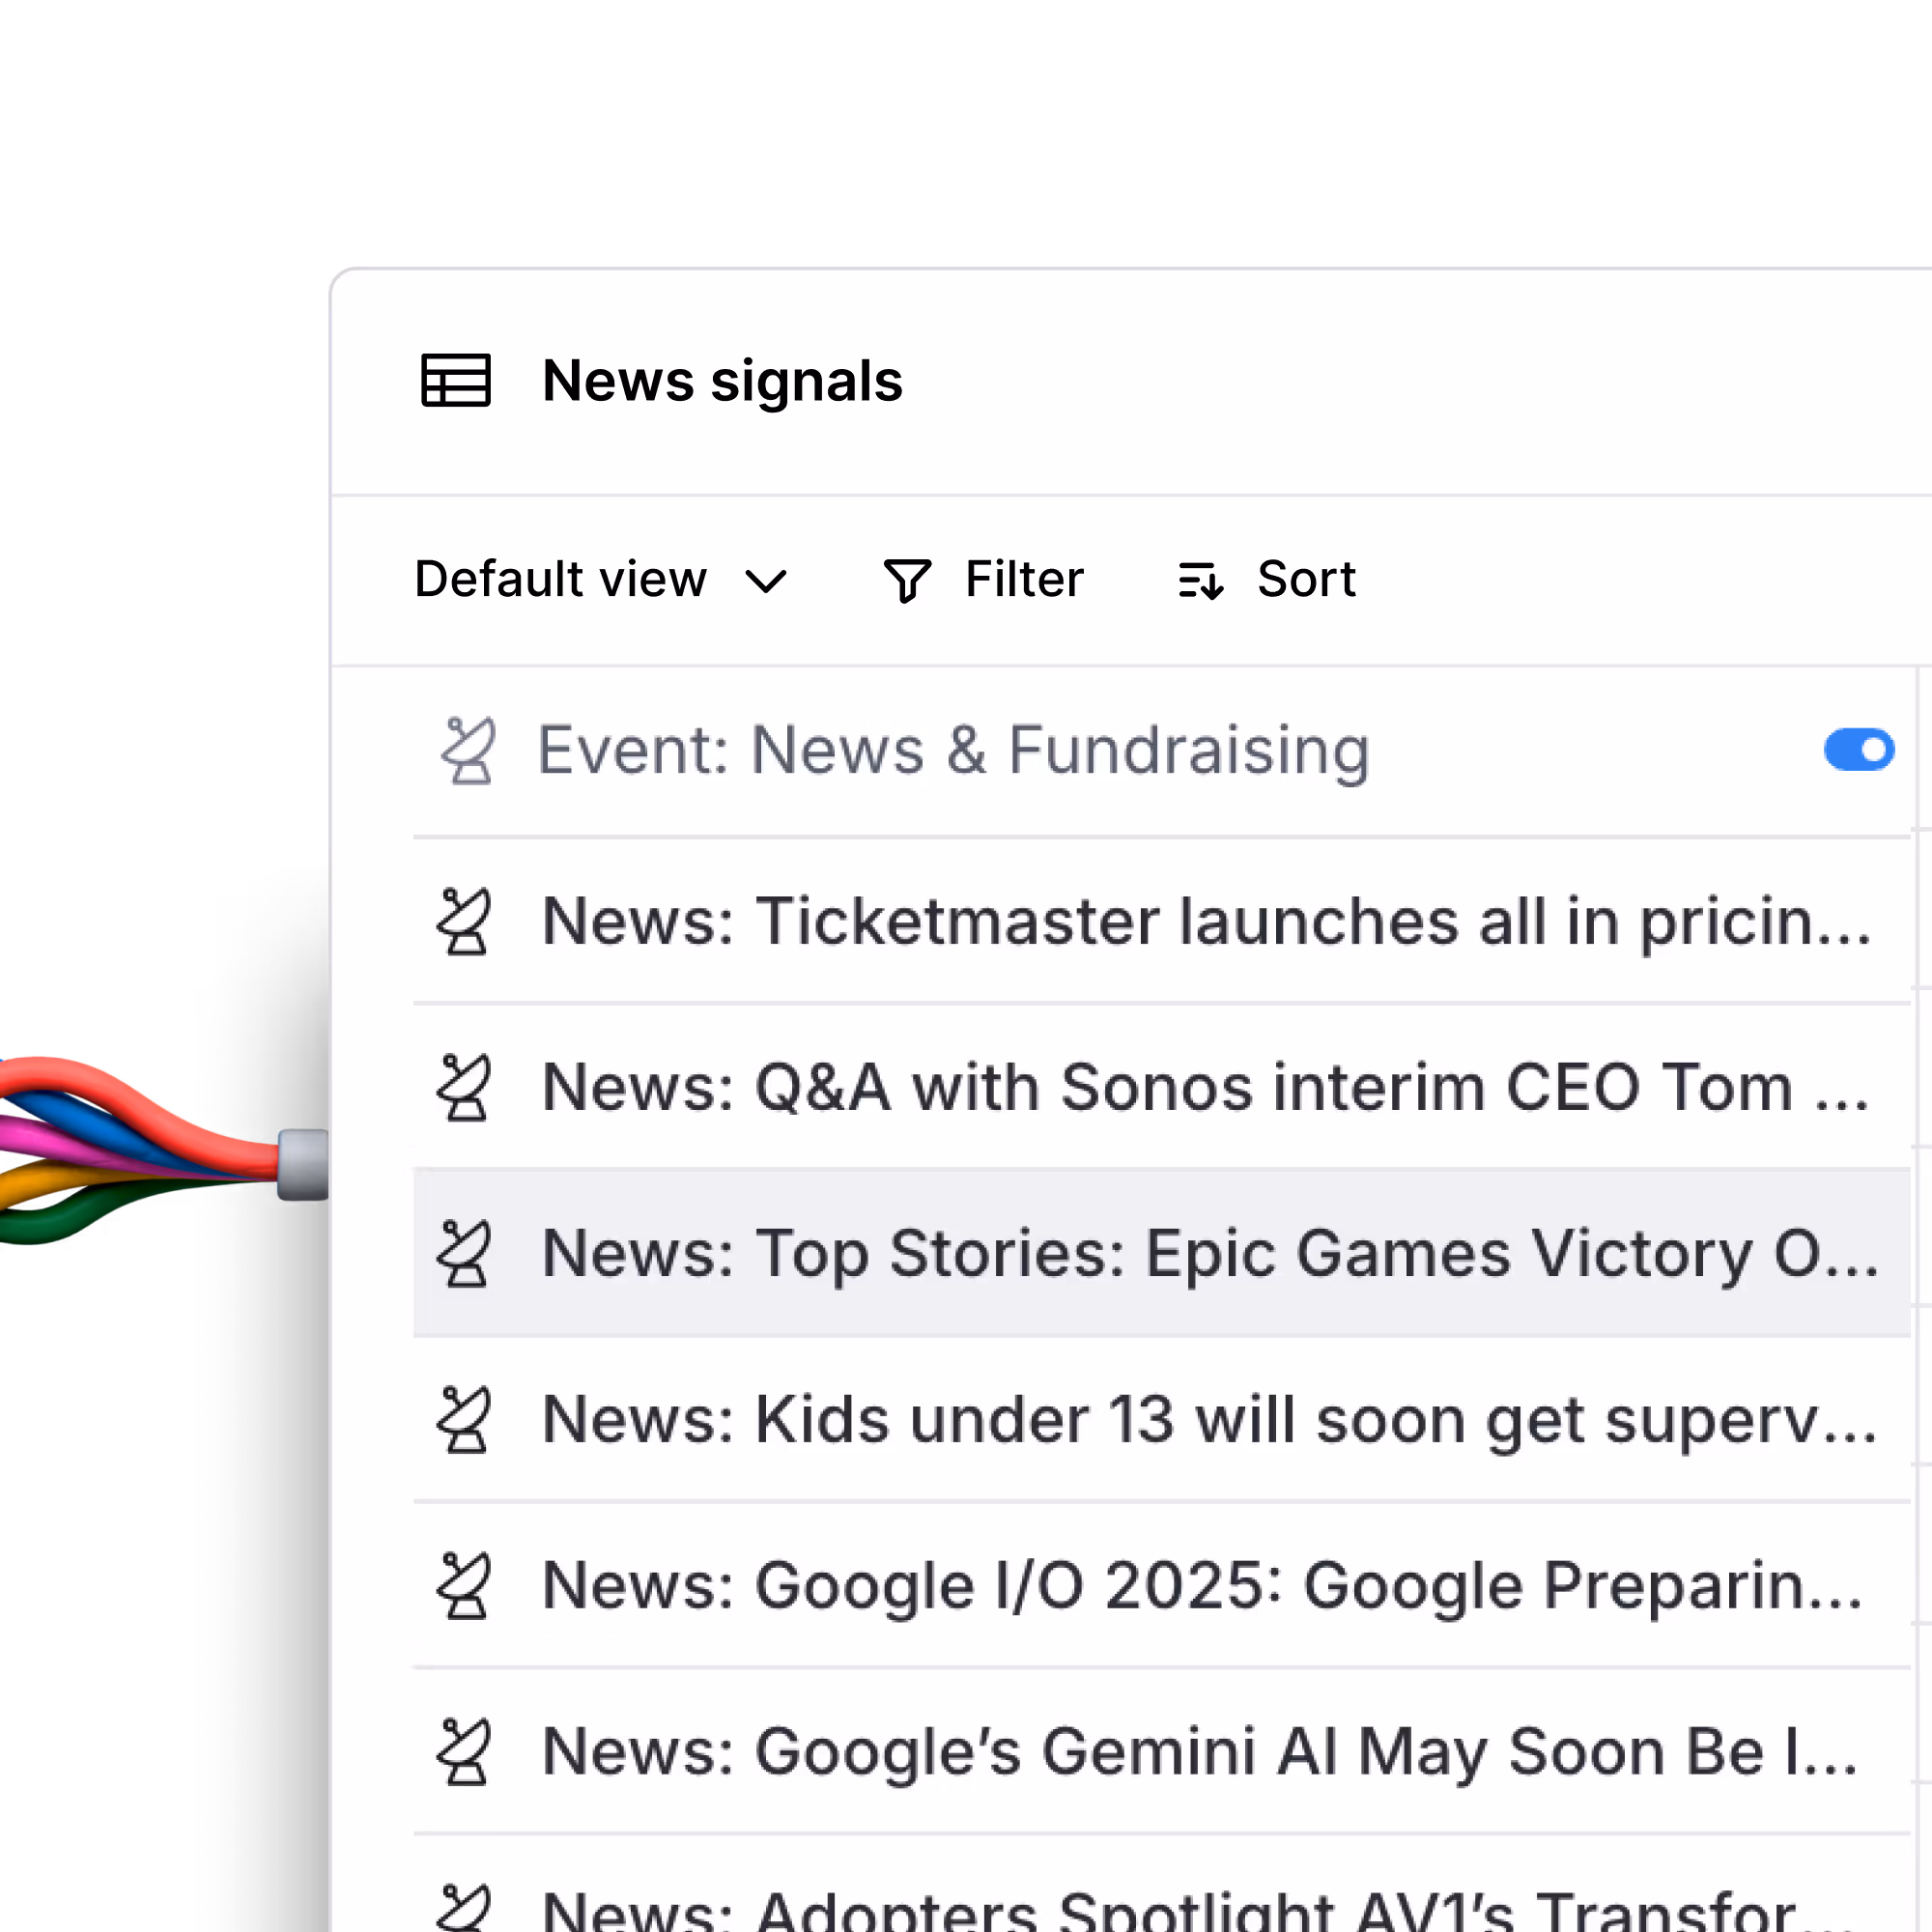
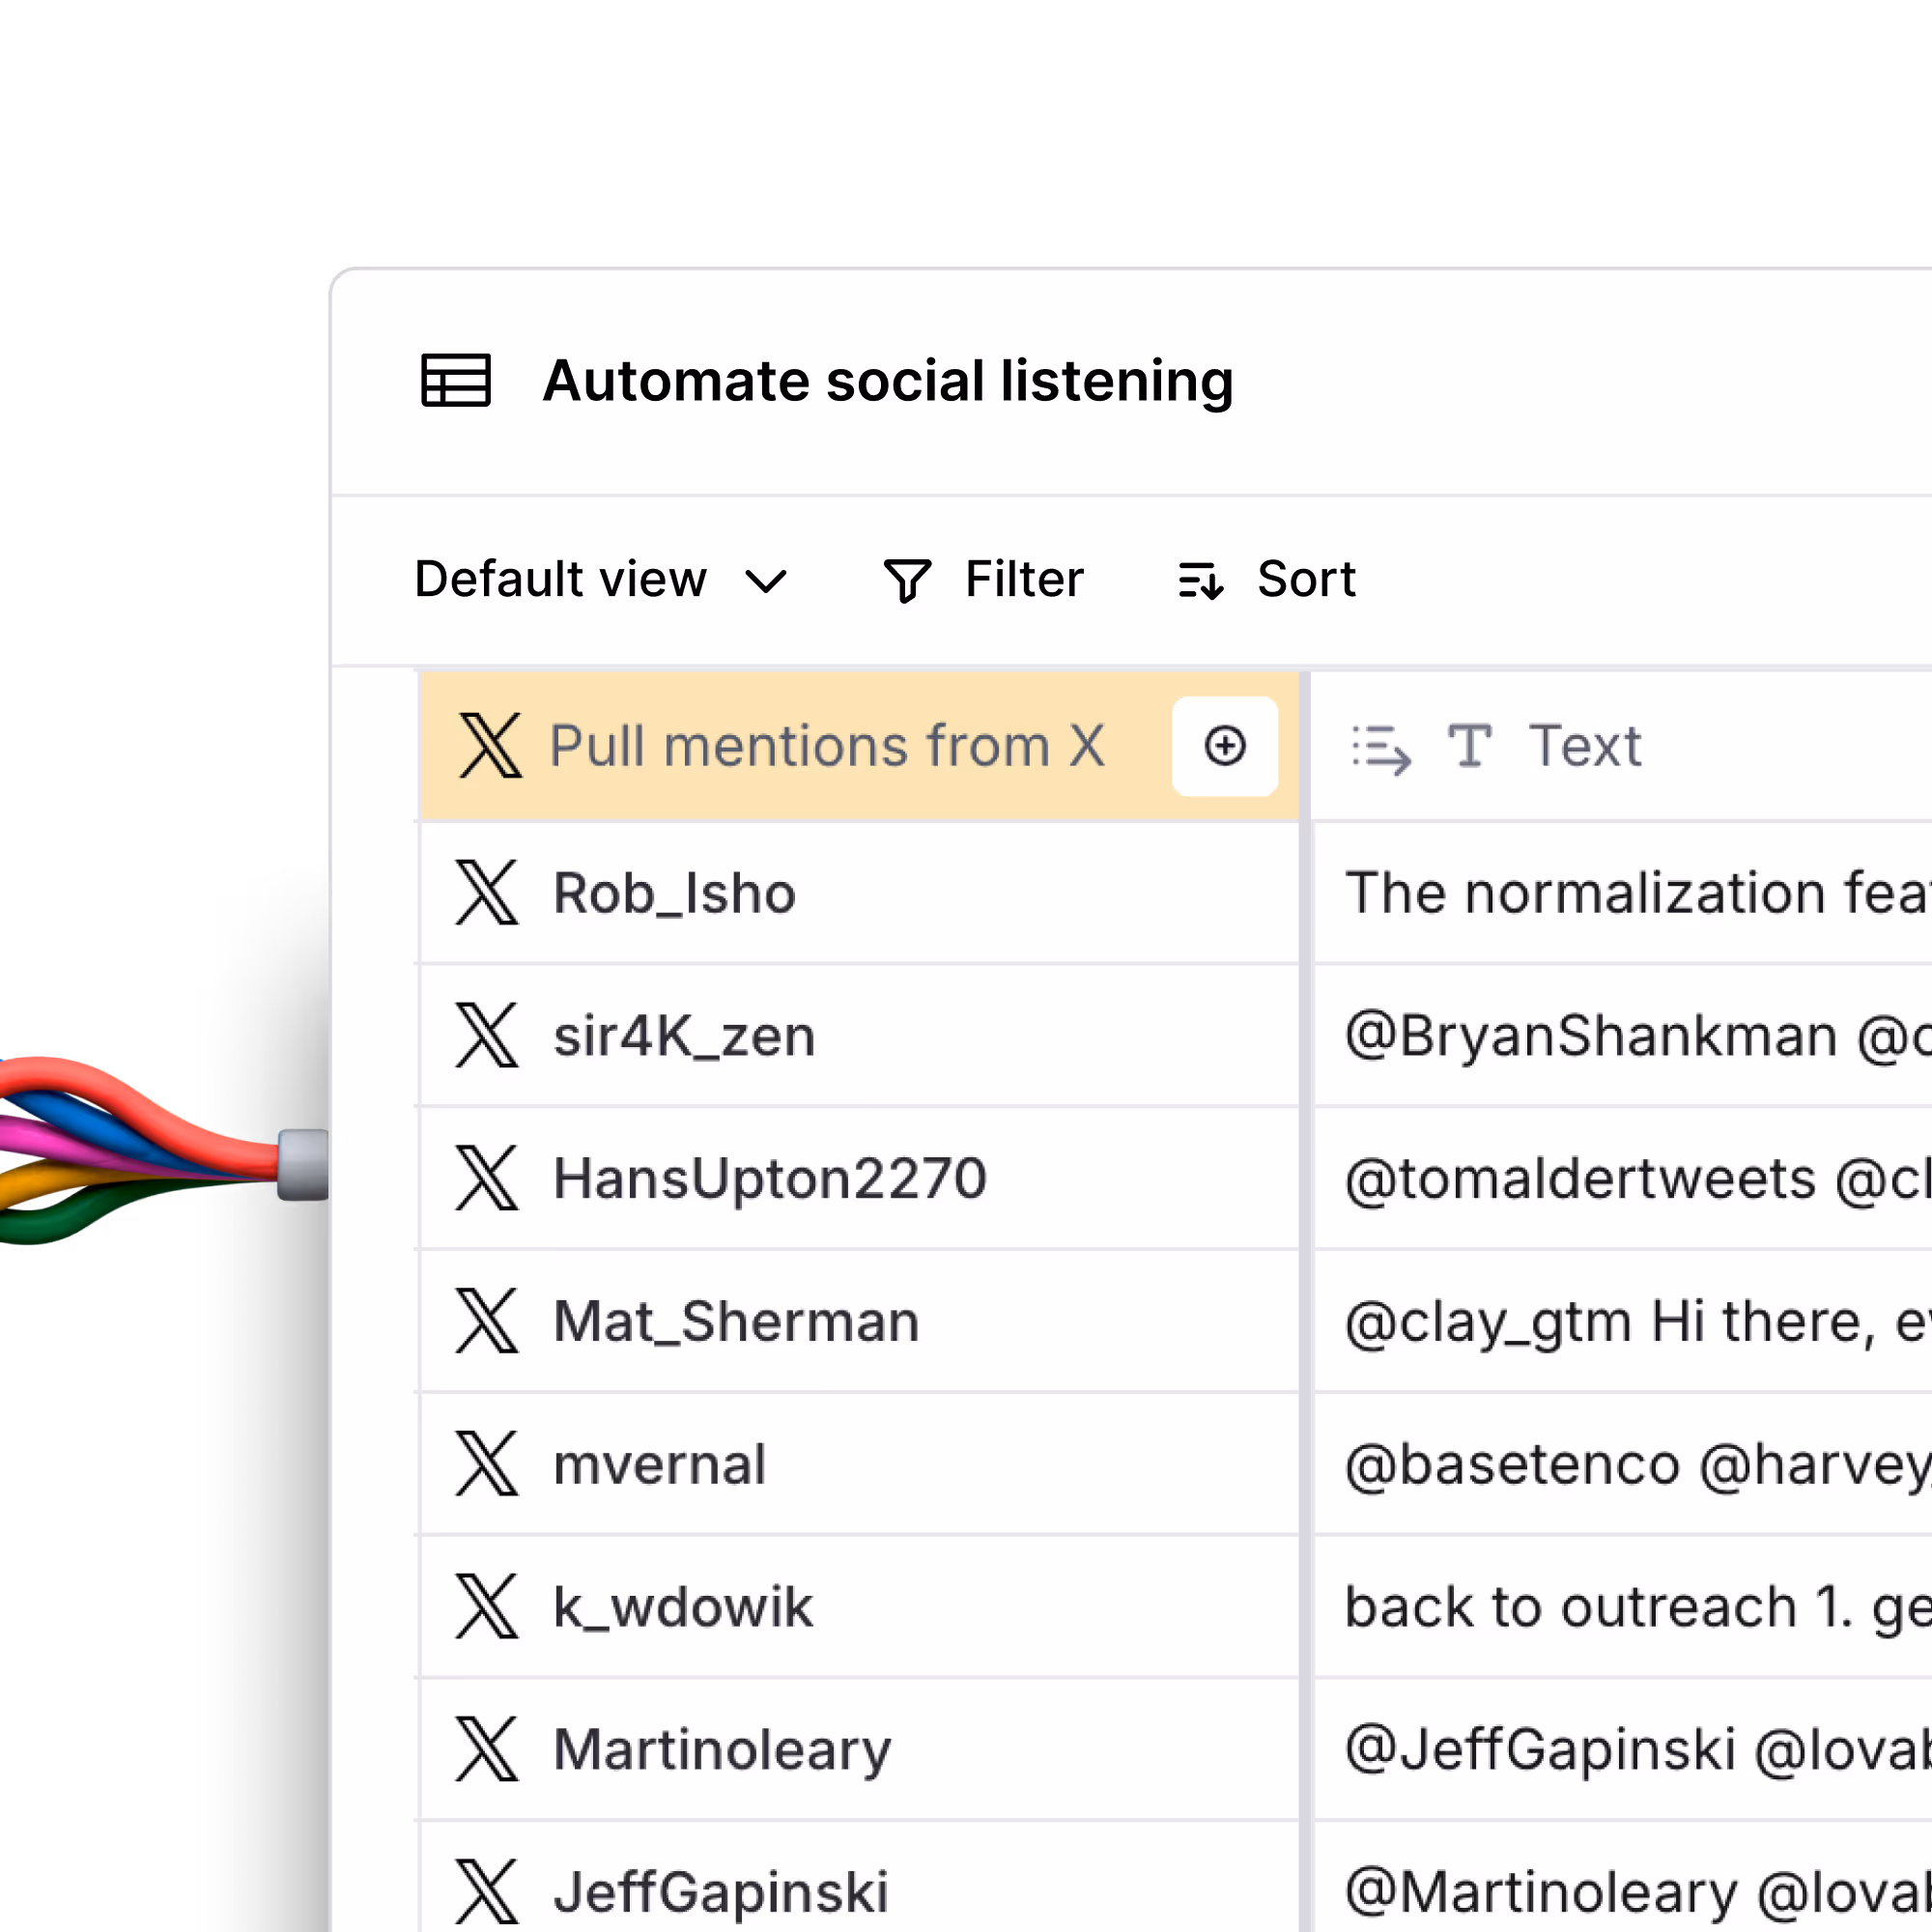
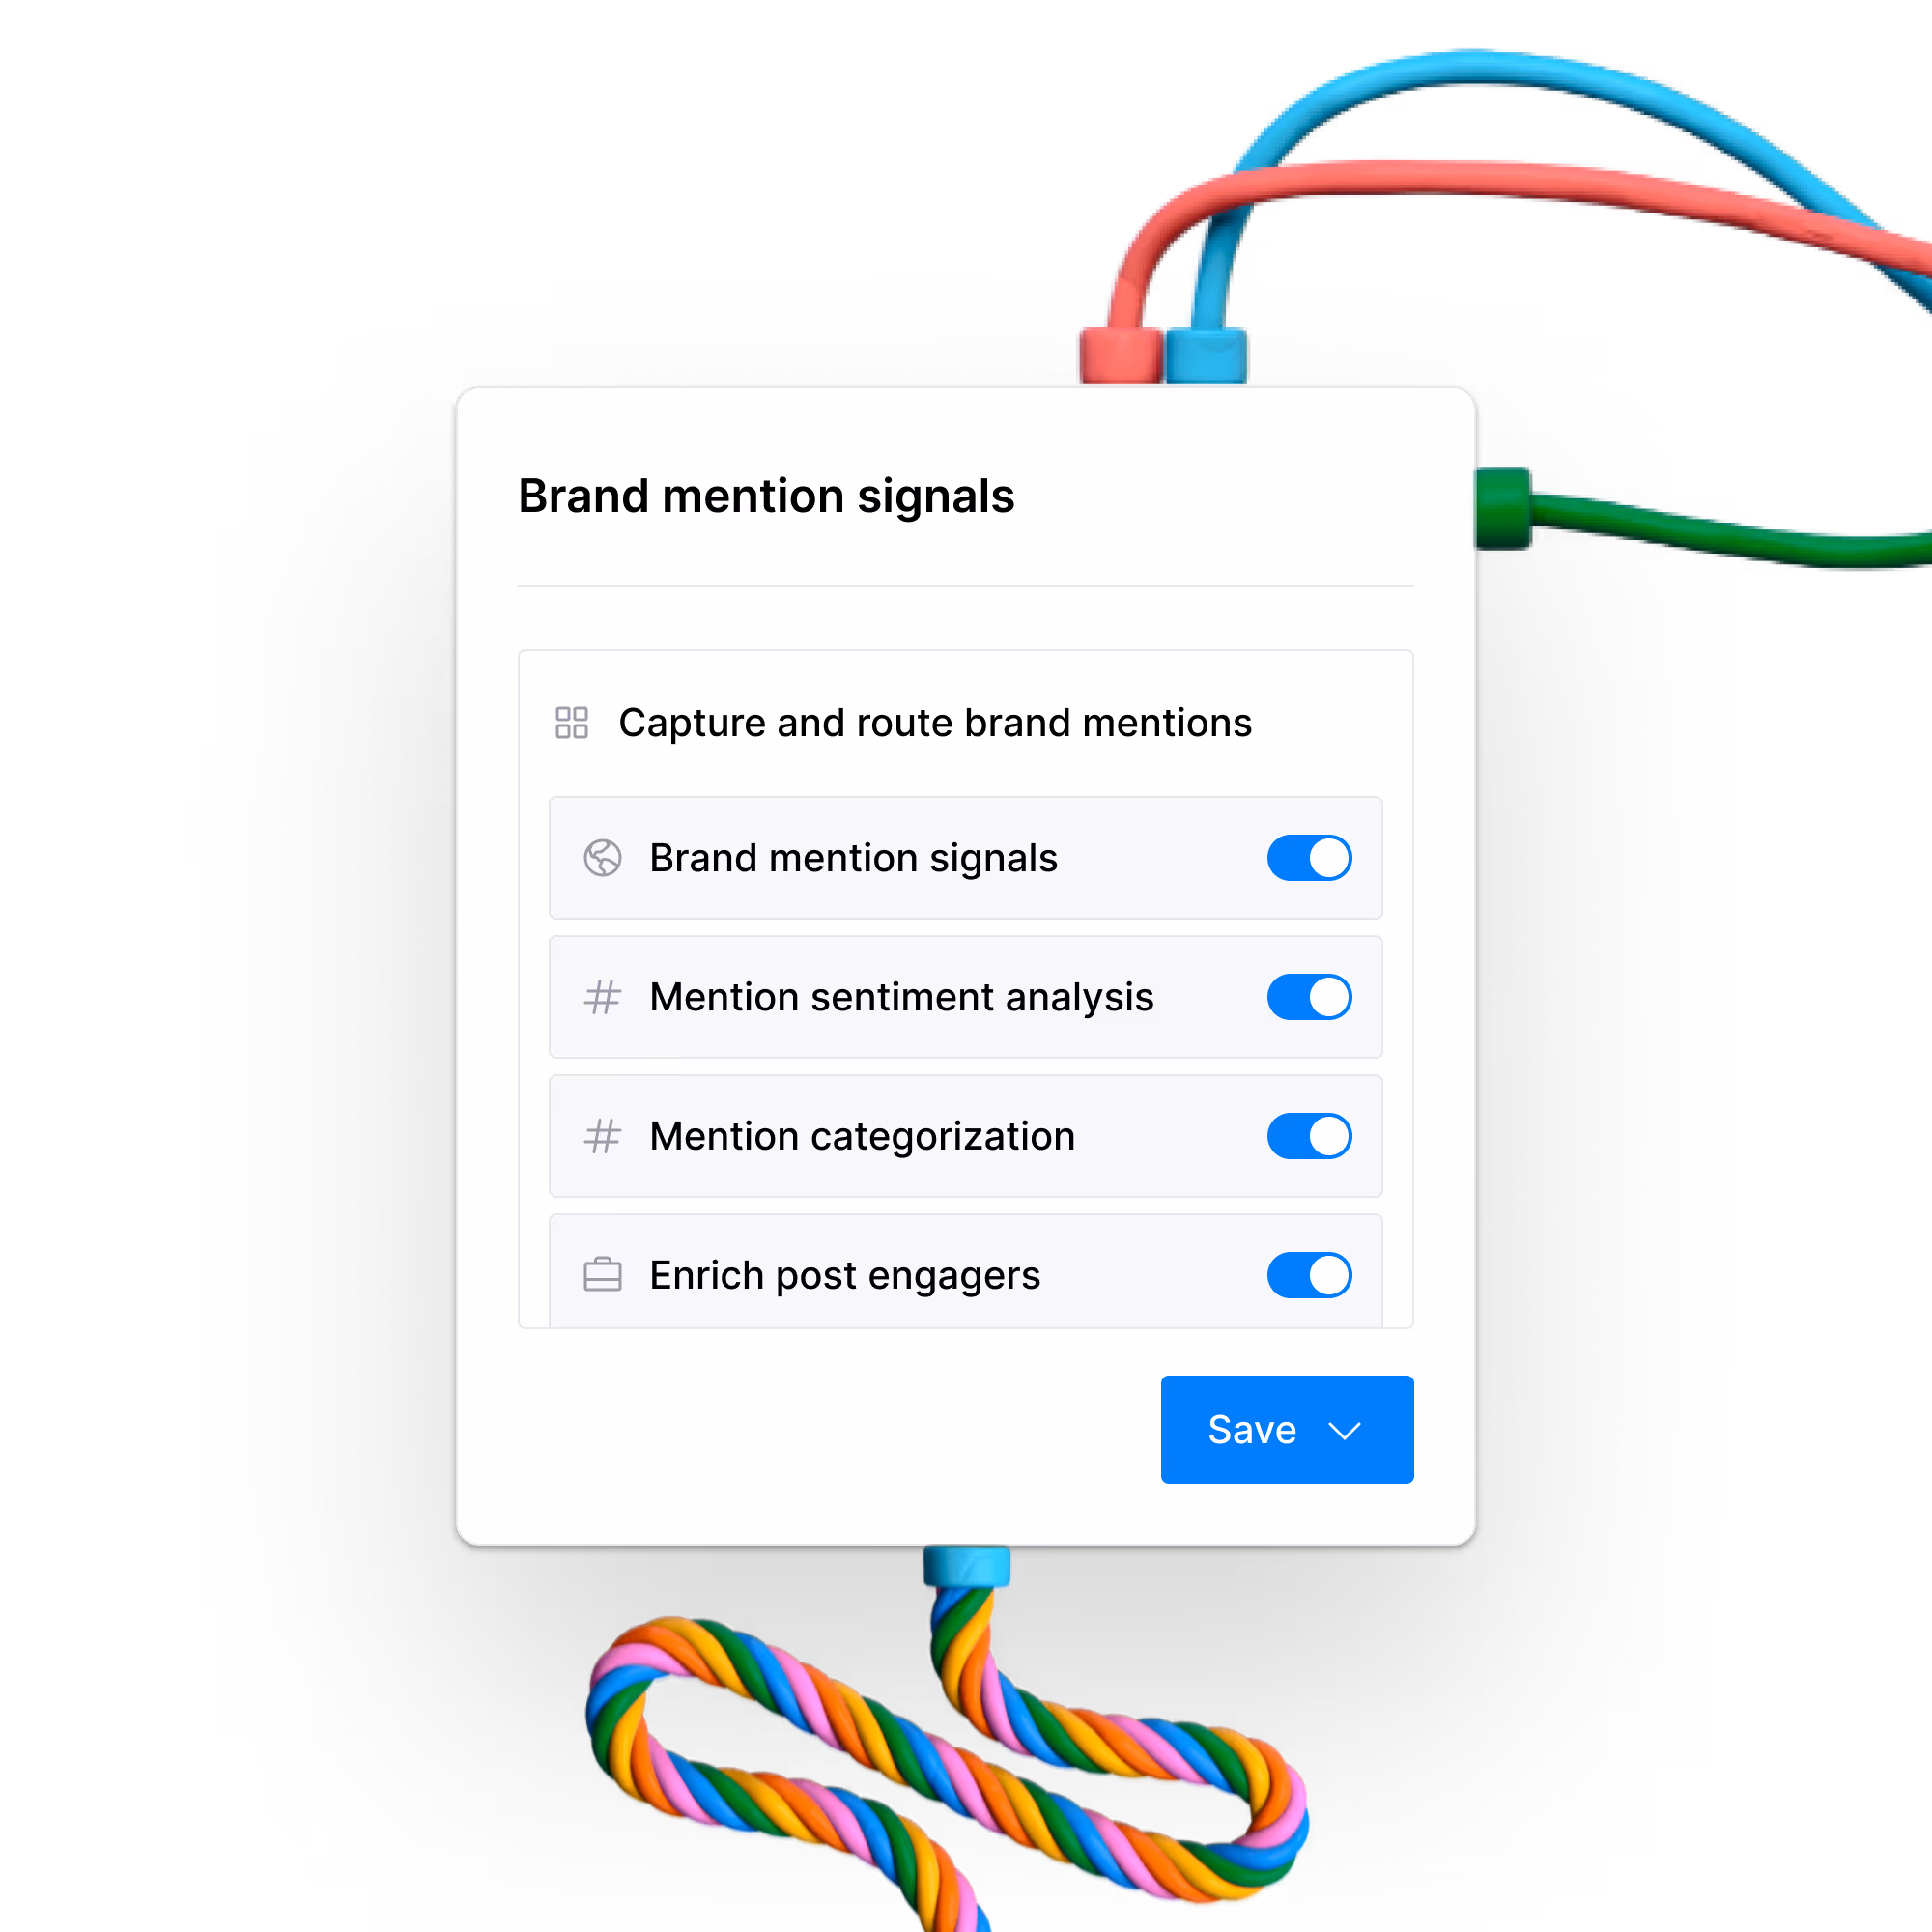
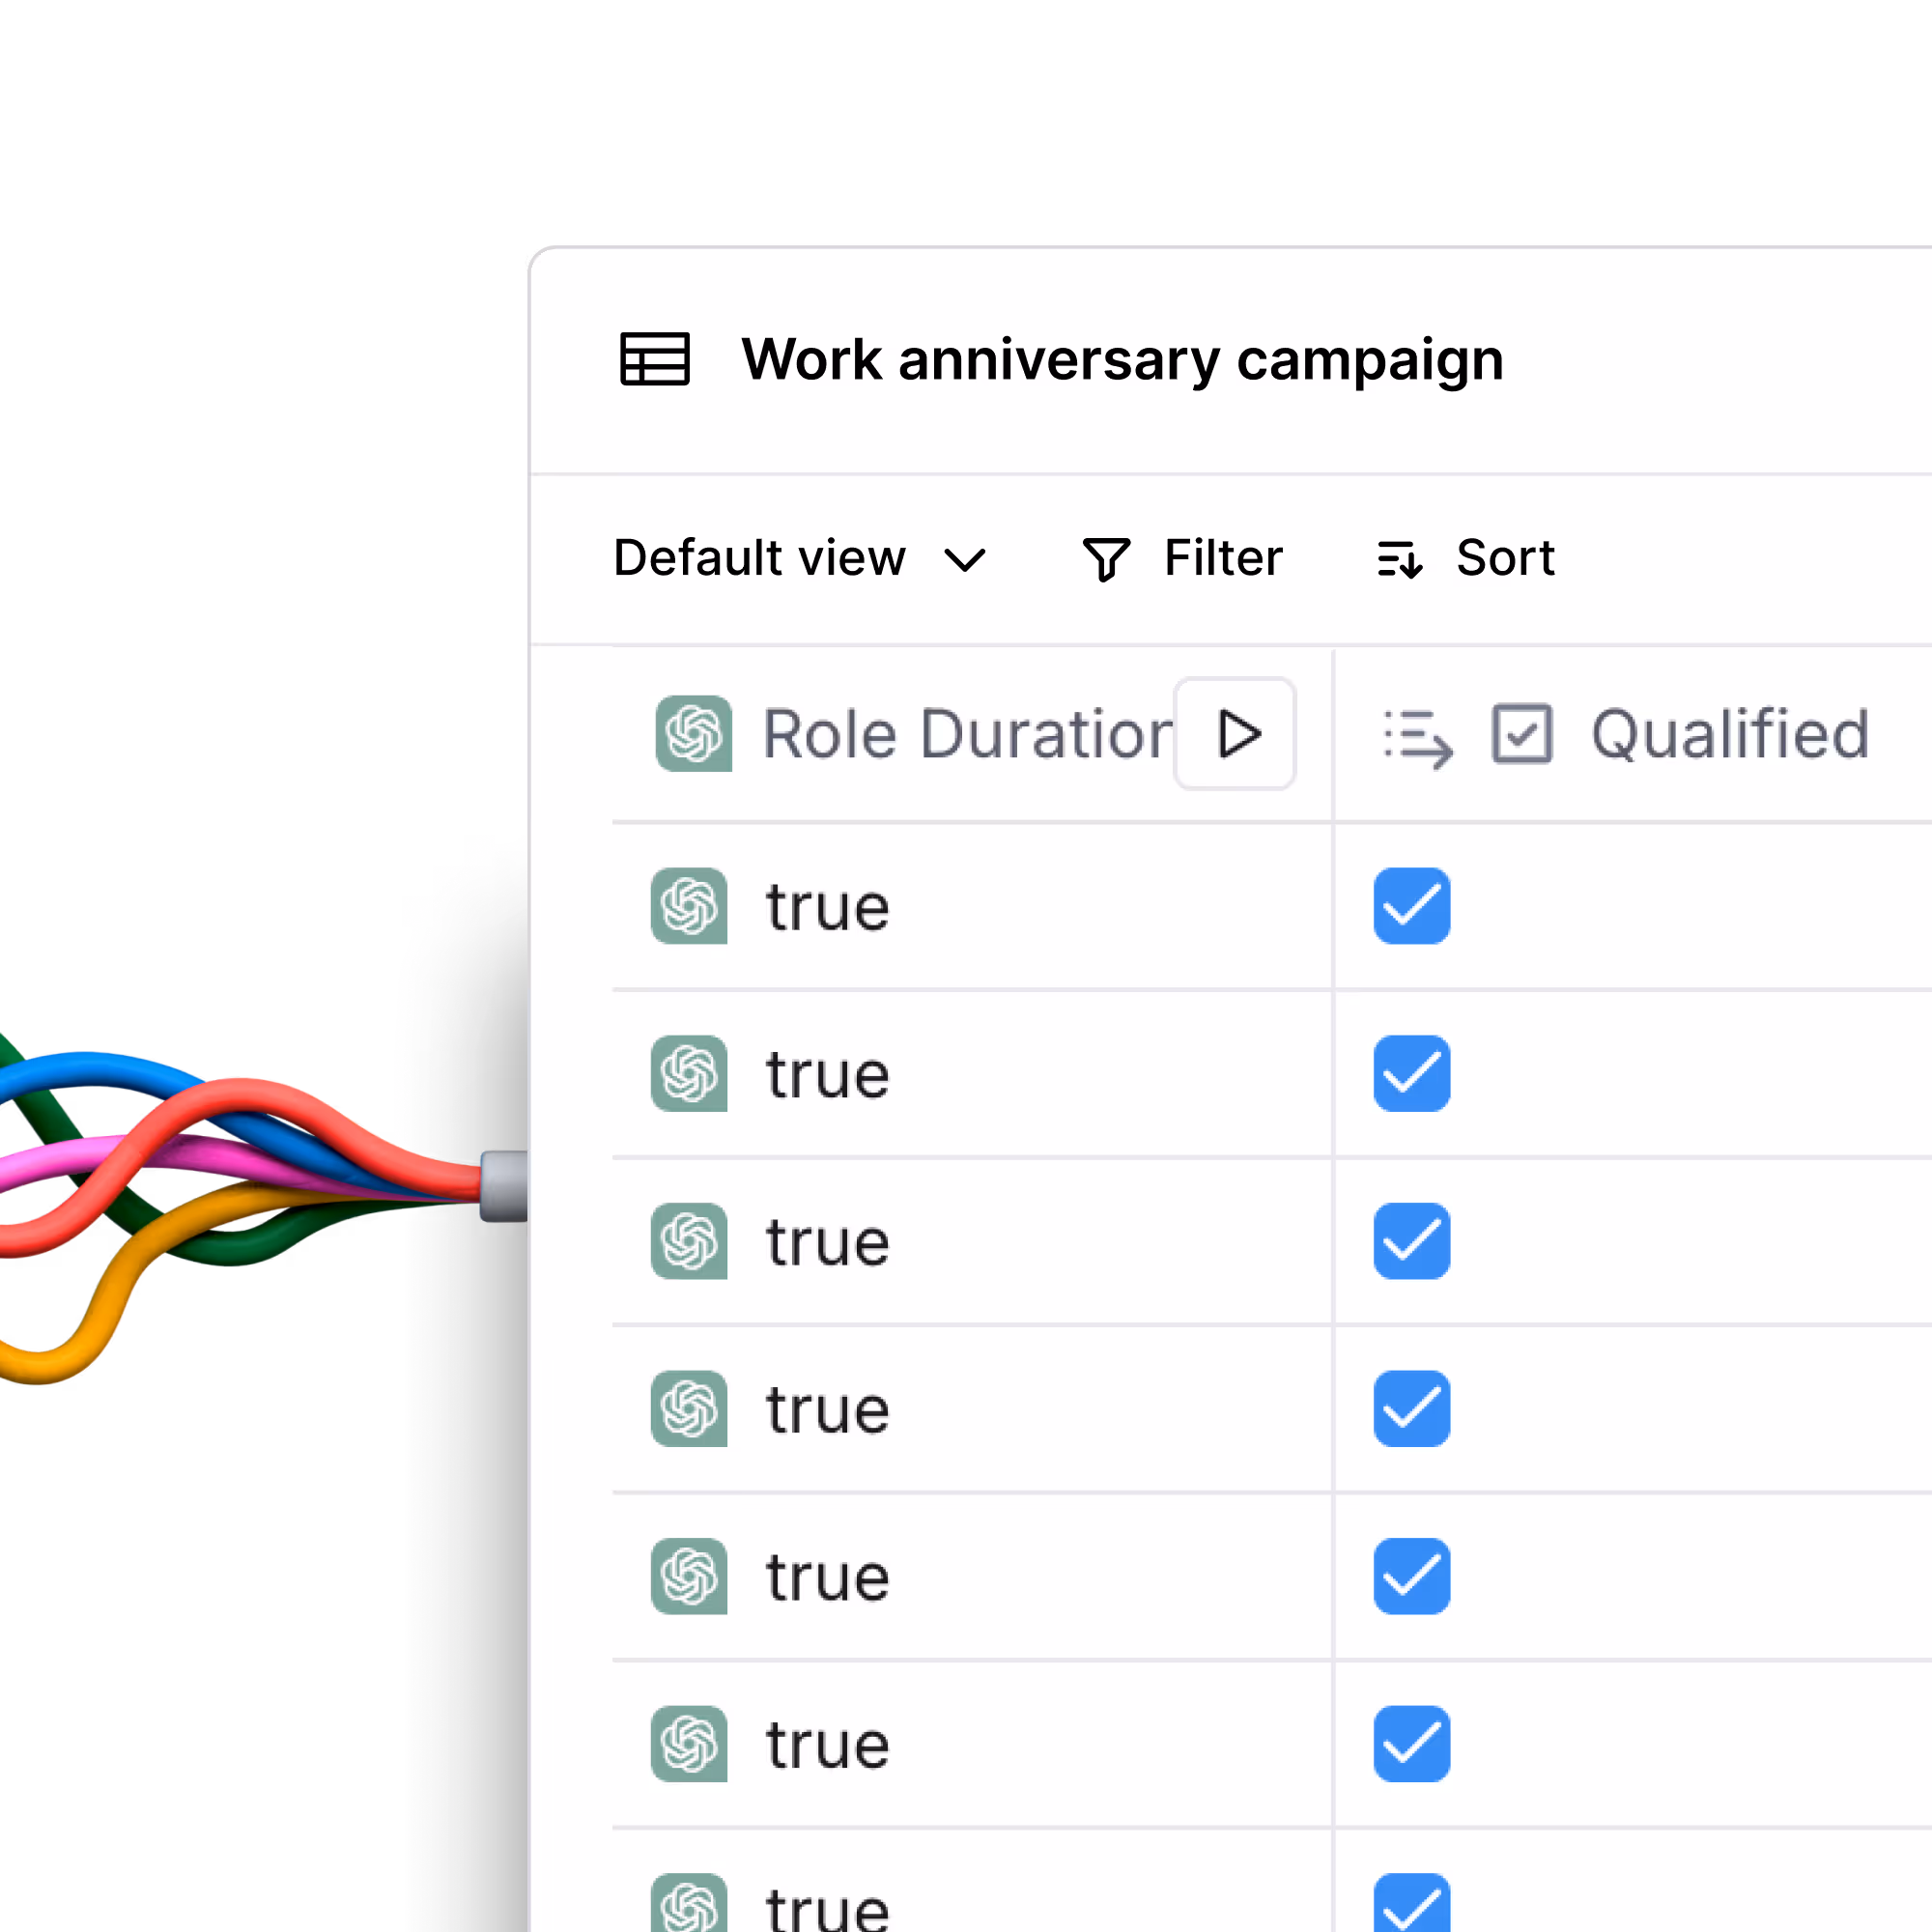
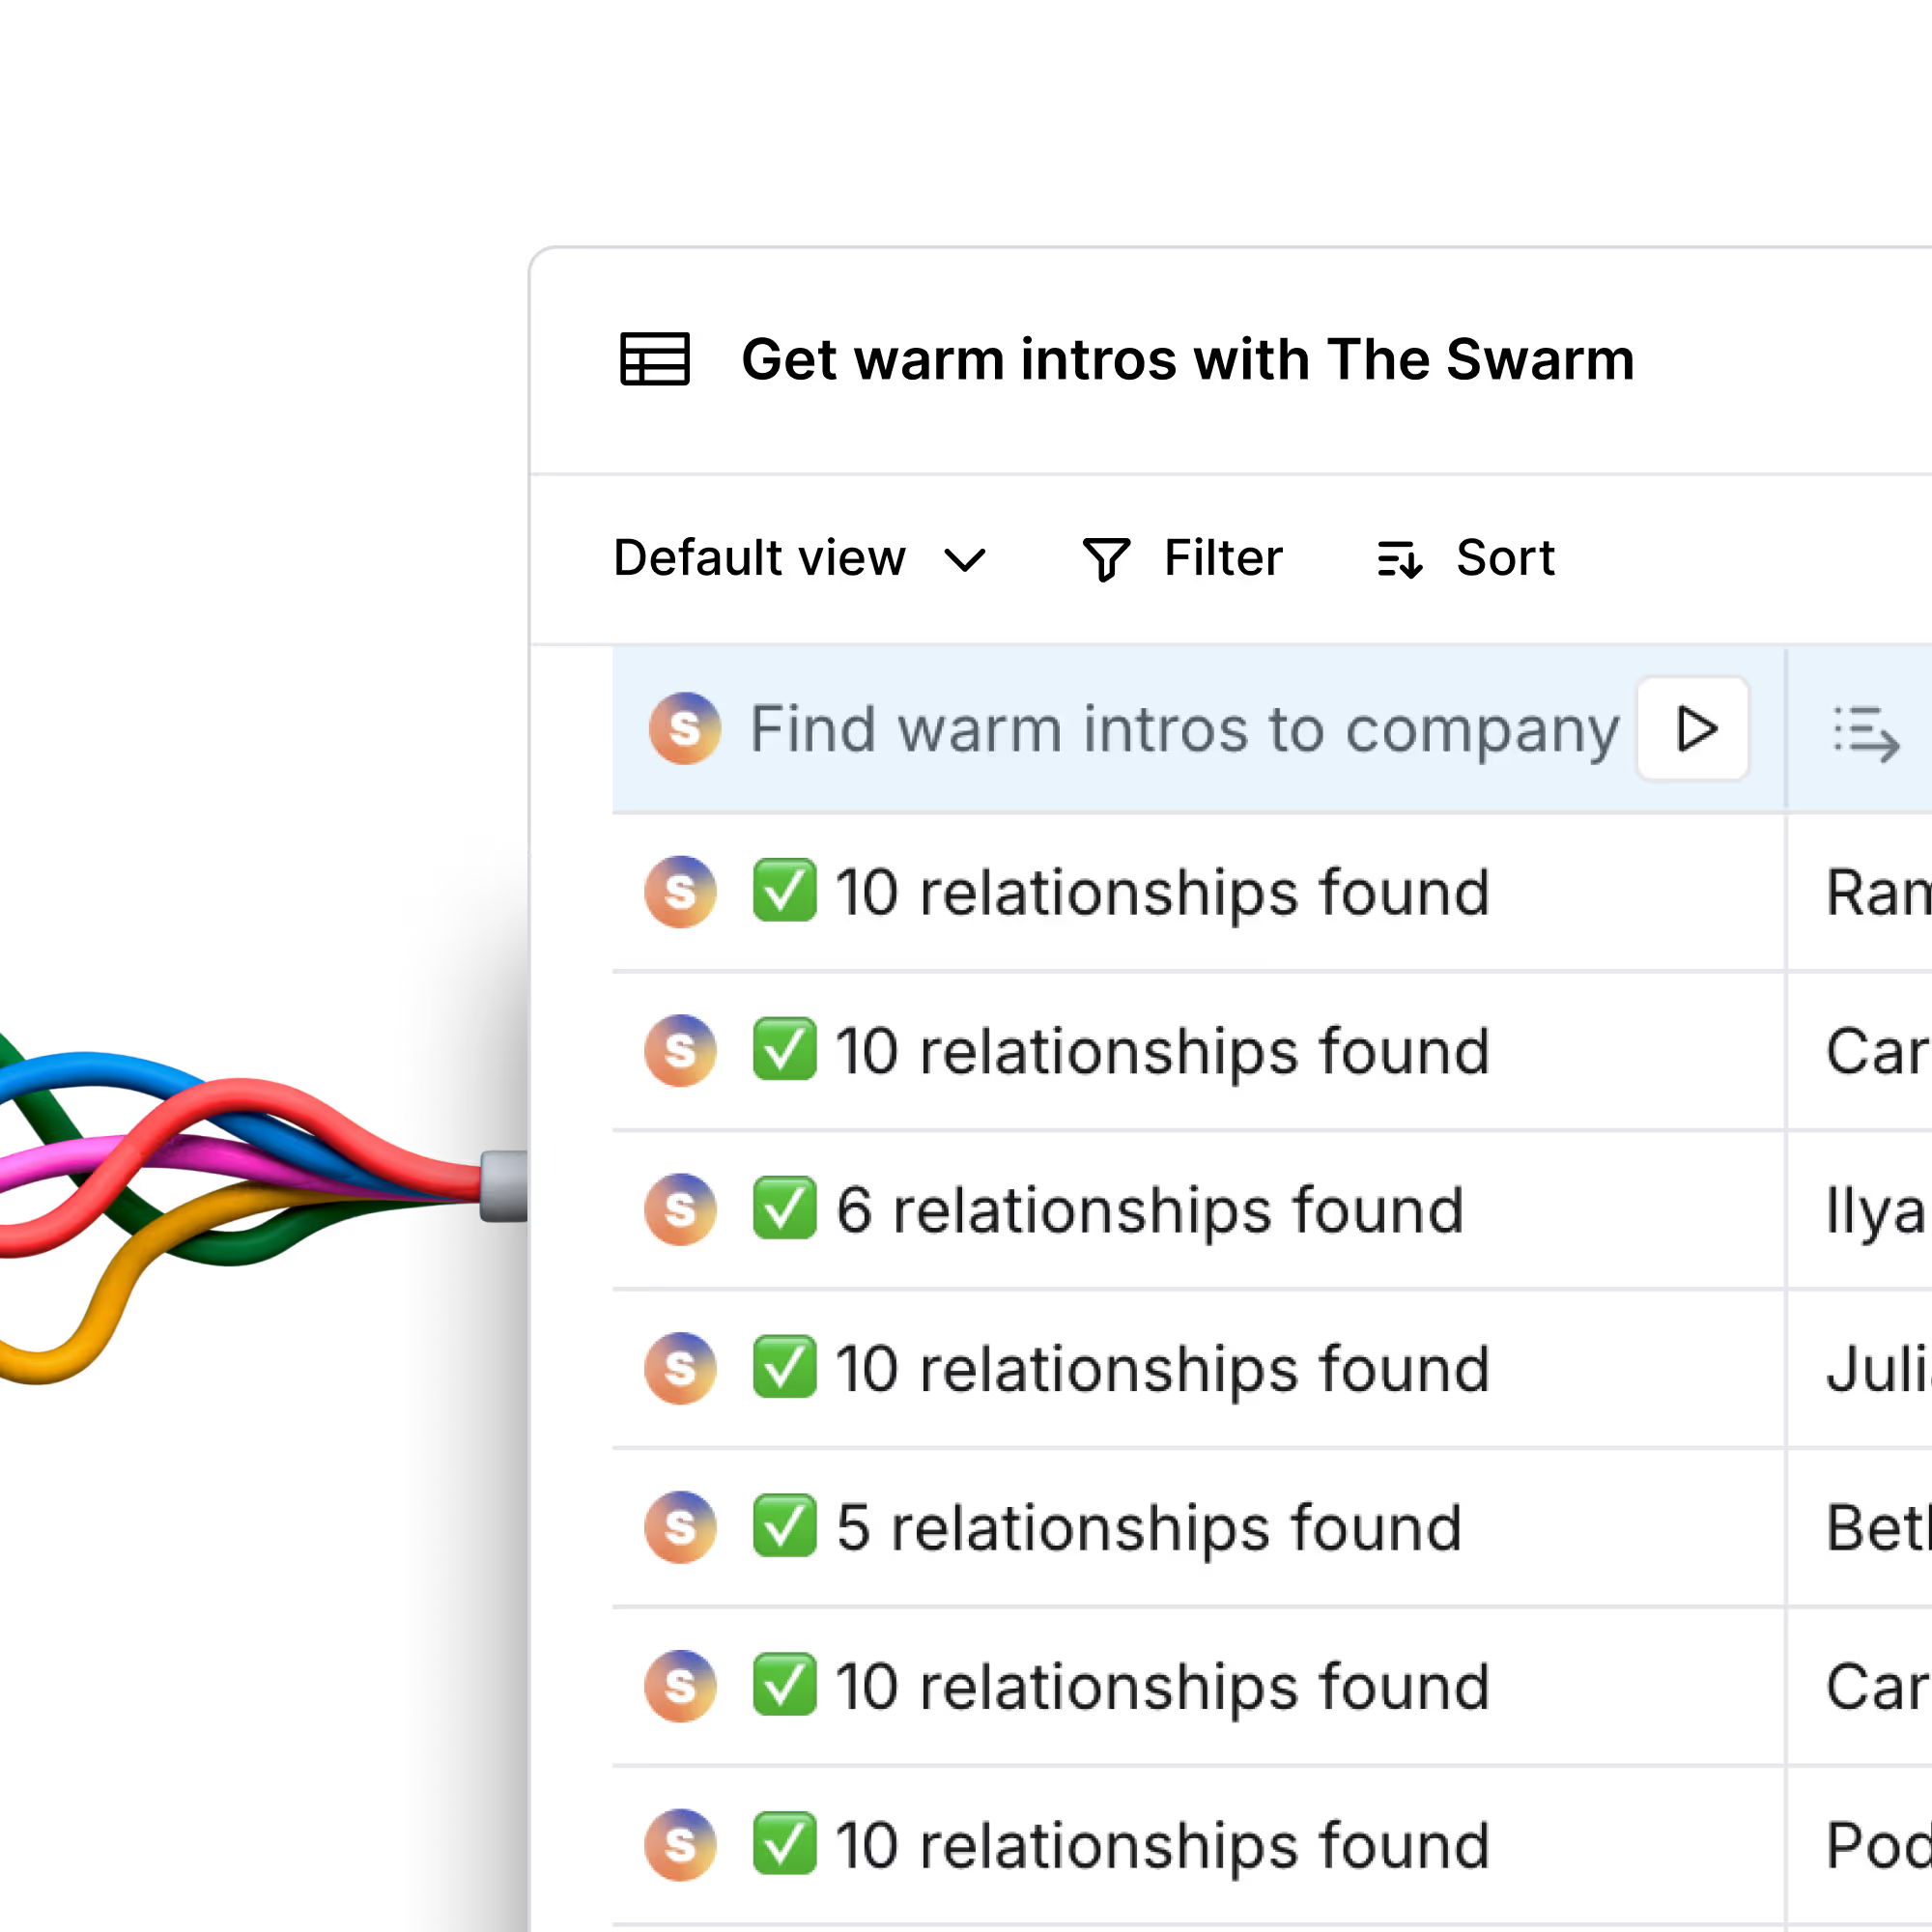
Signals & ABM
Master Signal Orchestration, Account-Based Marketing, and Intelligence-Driven Advertising to Build proactive GTM engines.
4

Explore Claybooks

.avif)

.avif)
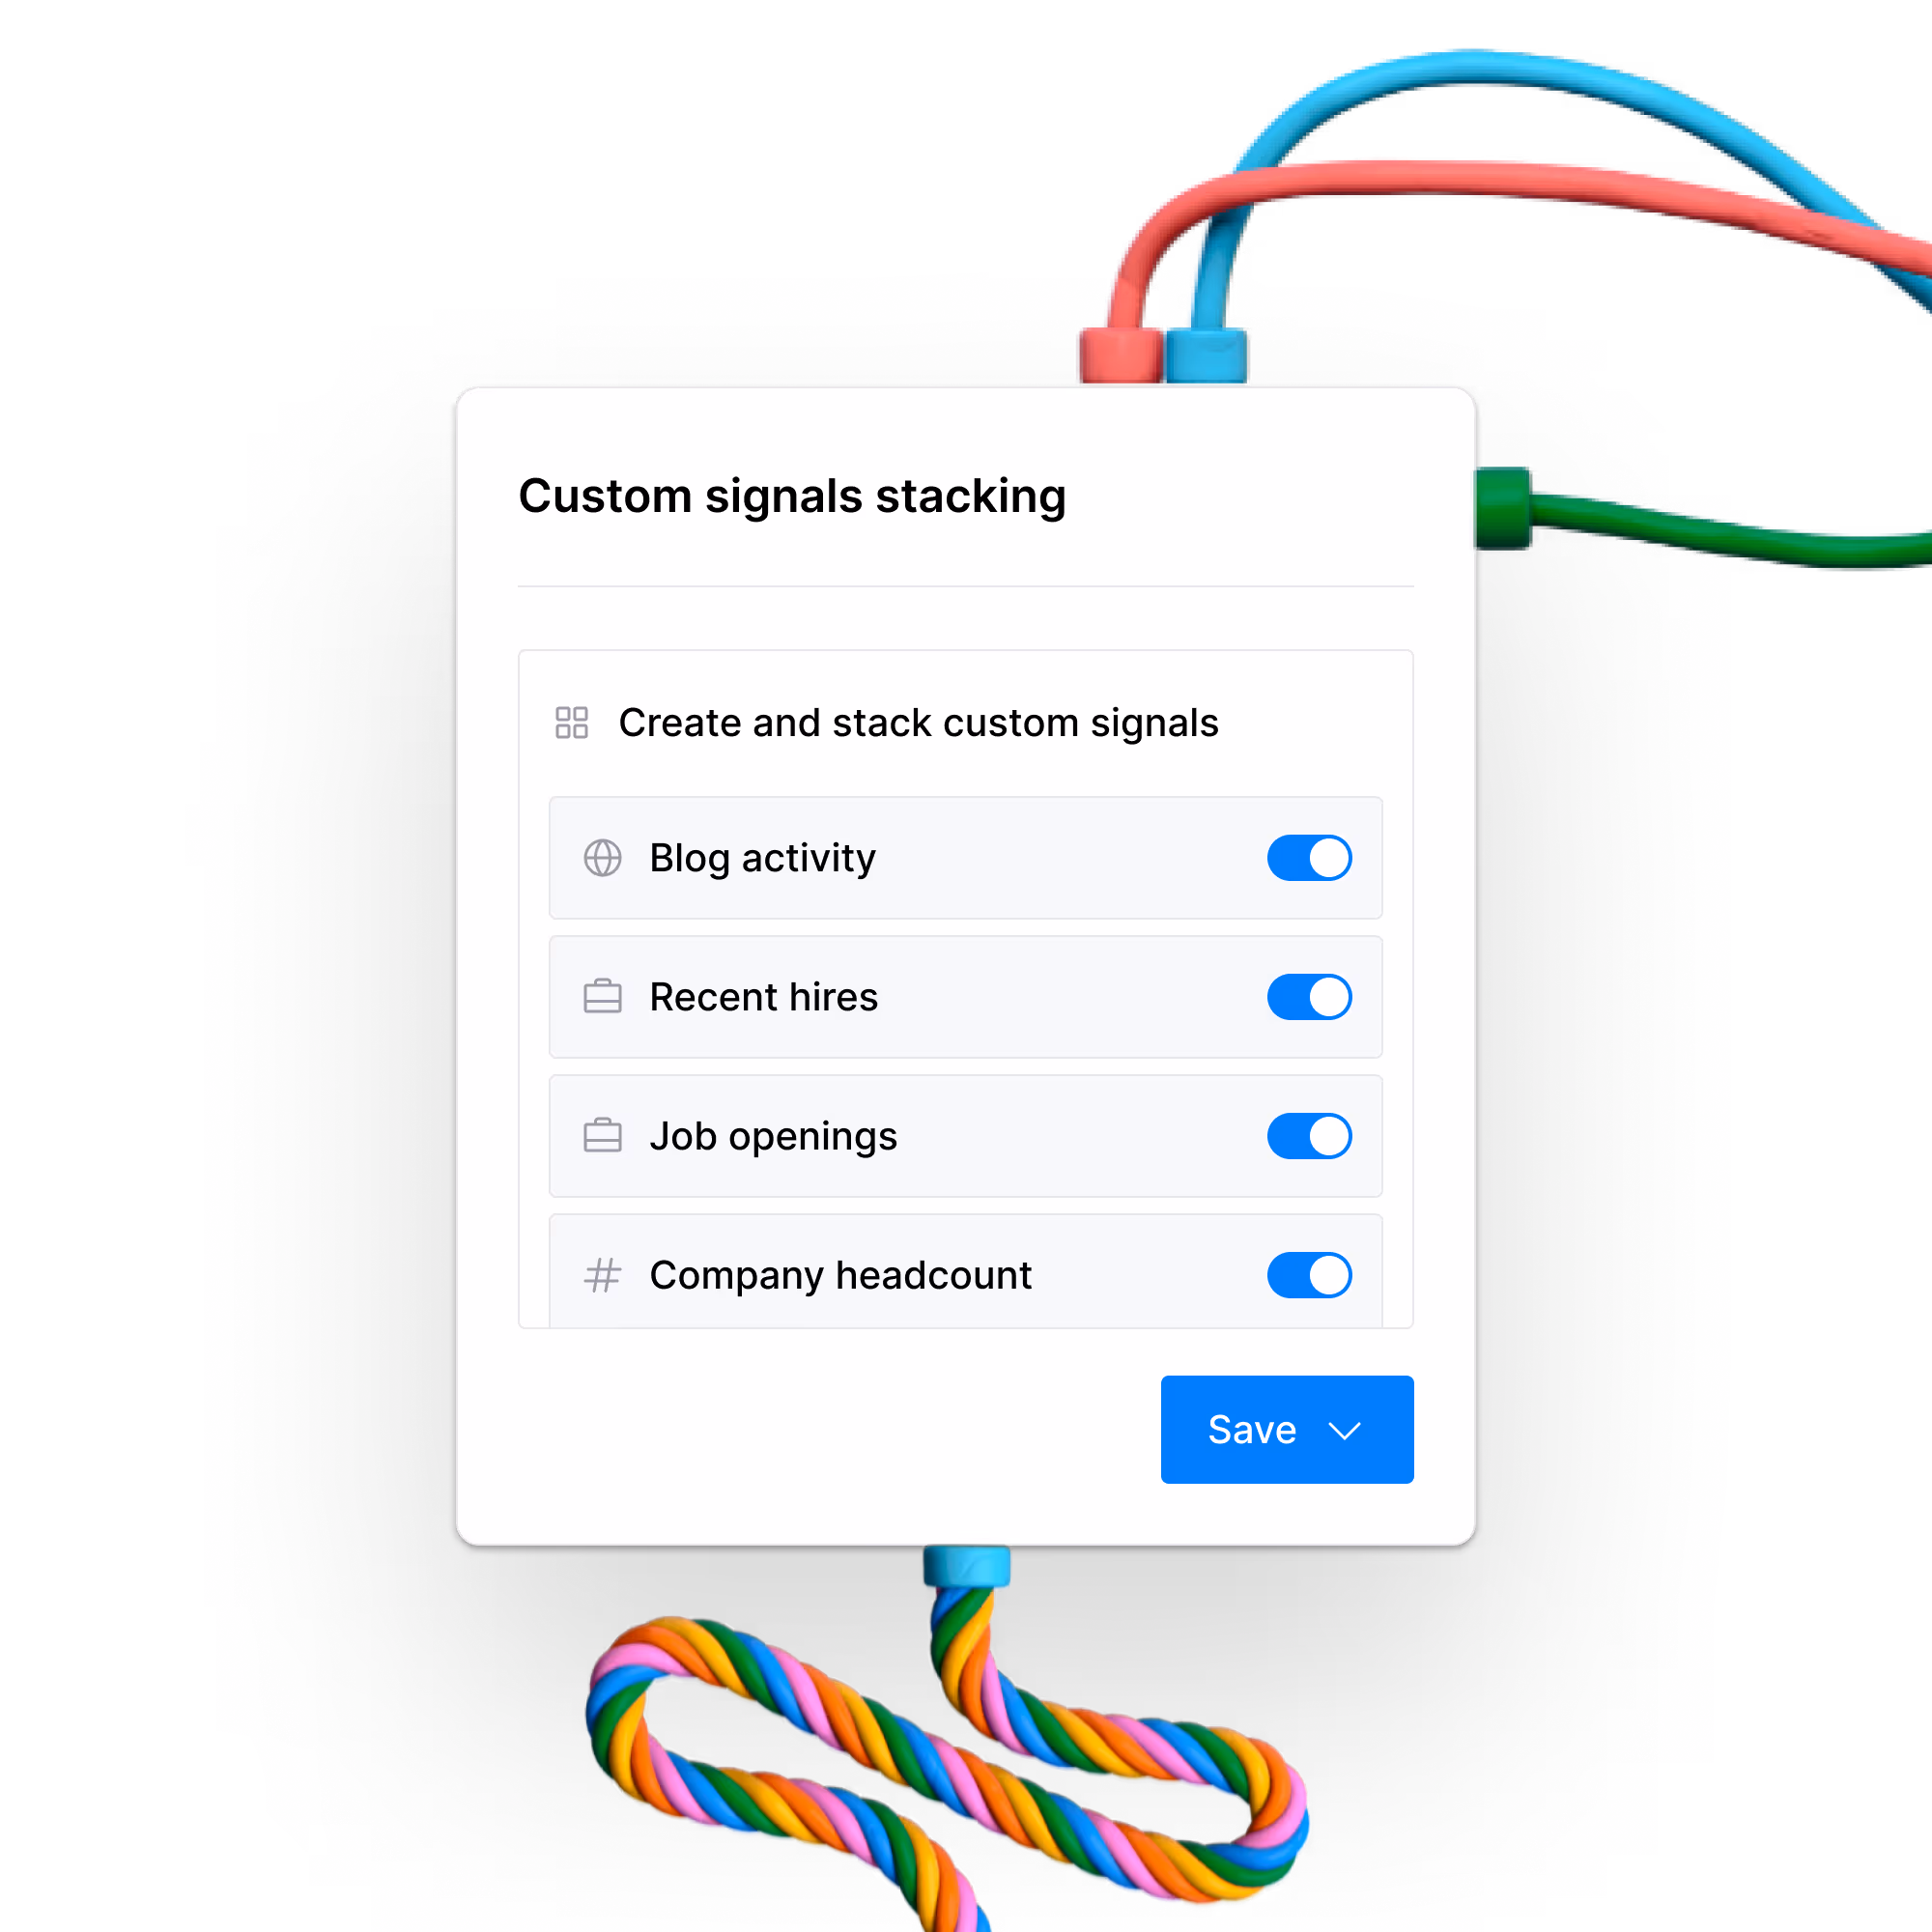
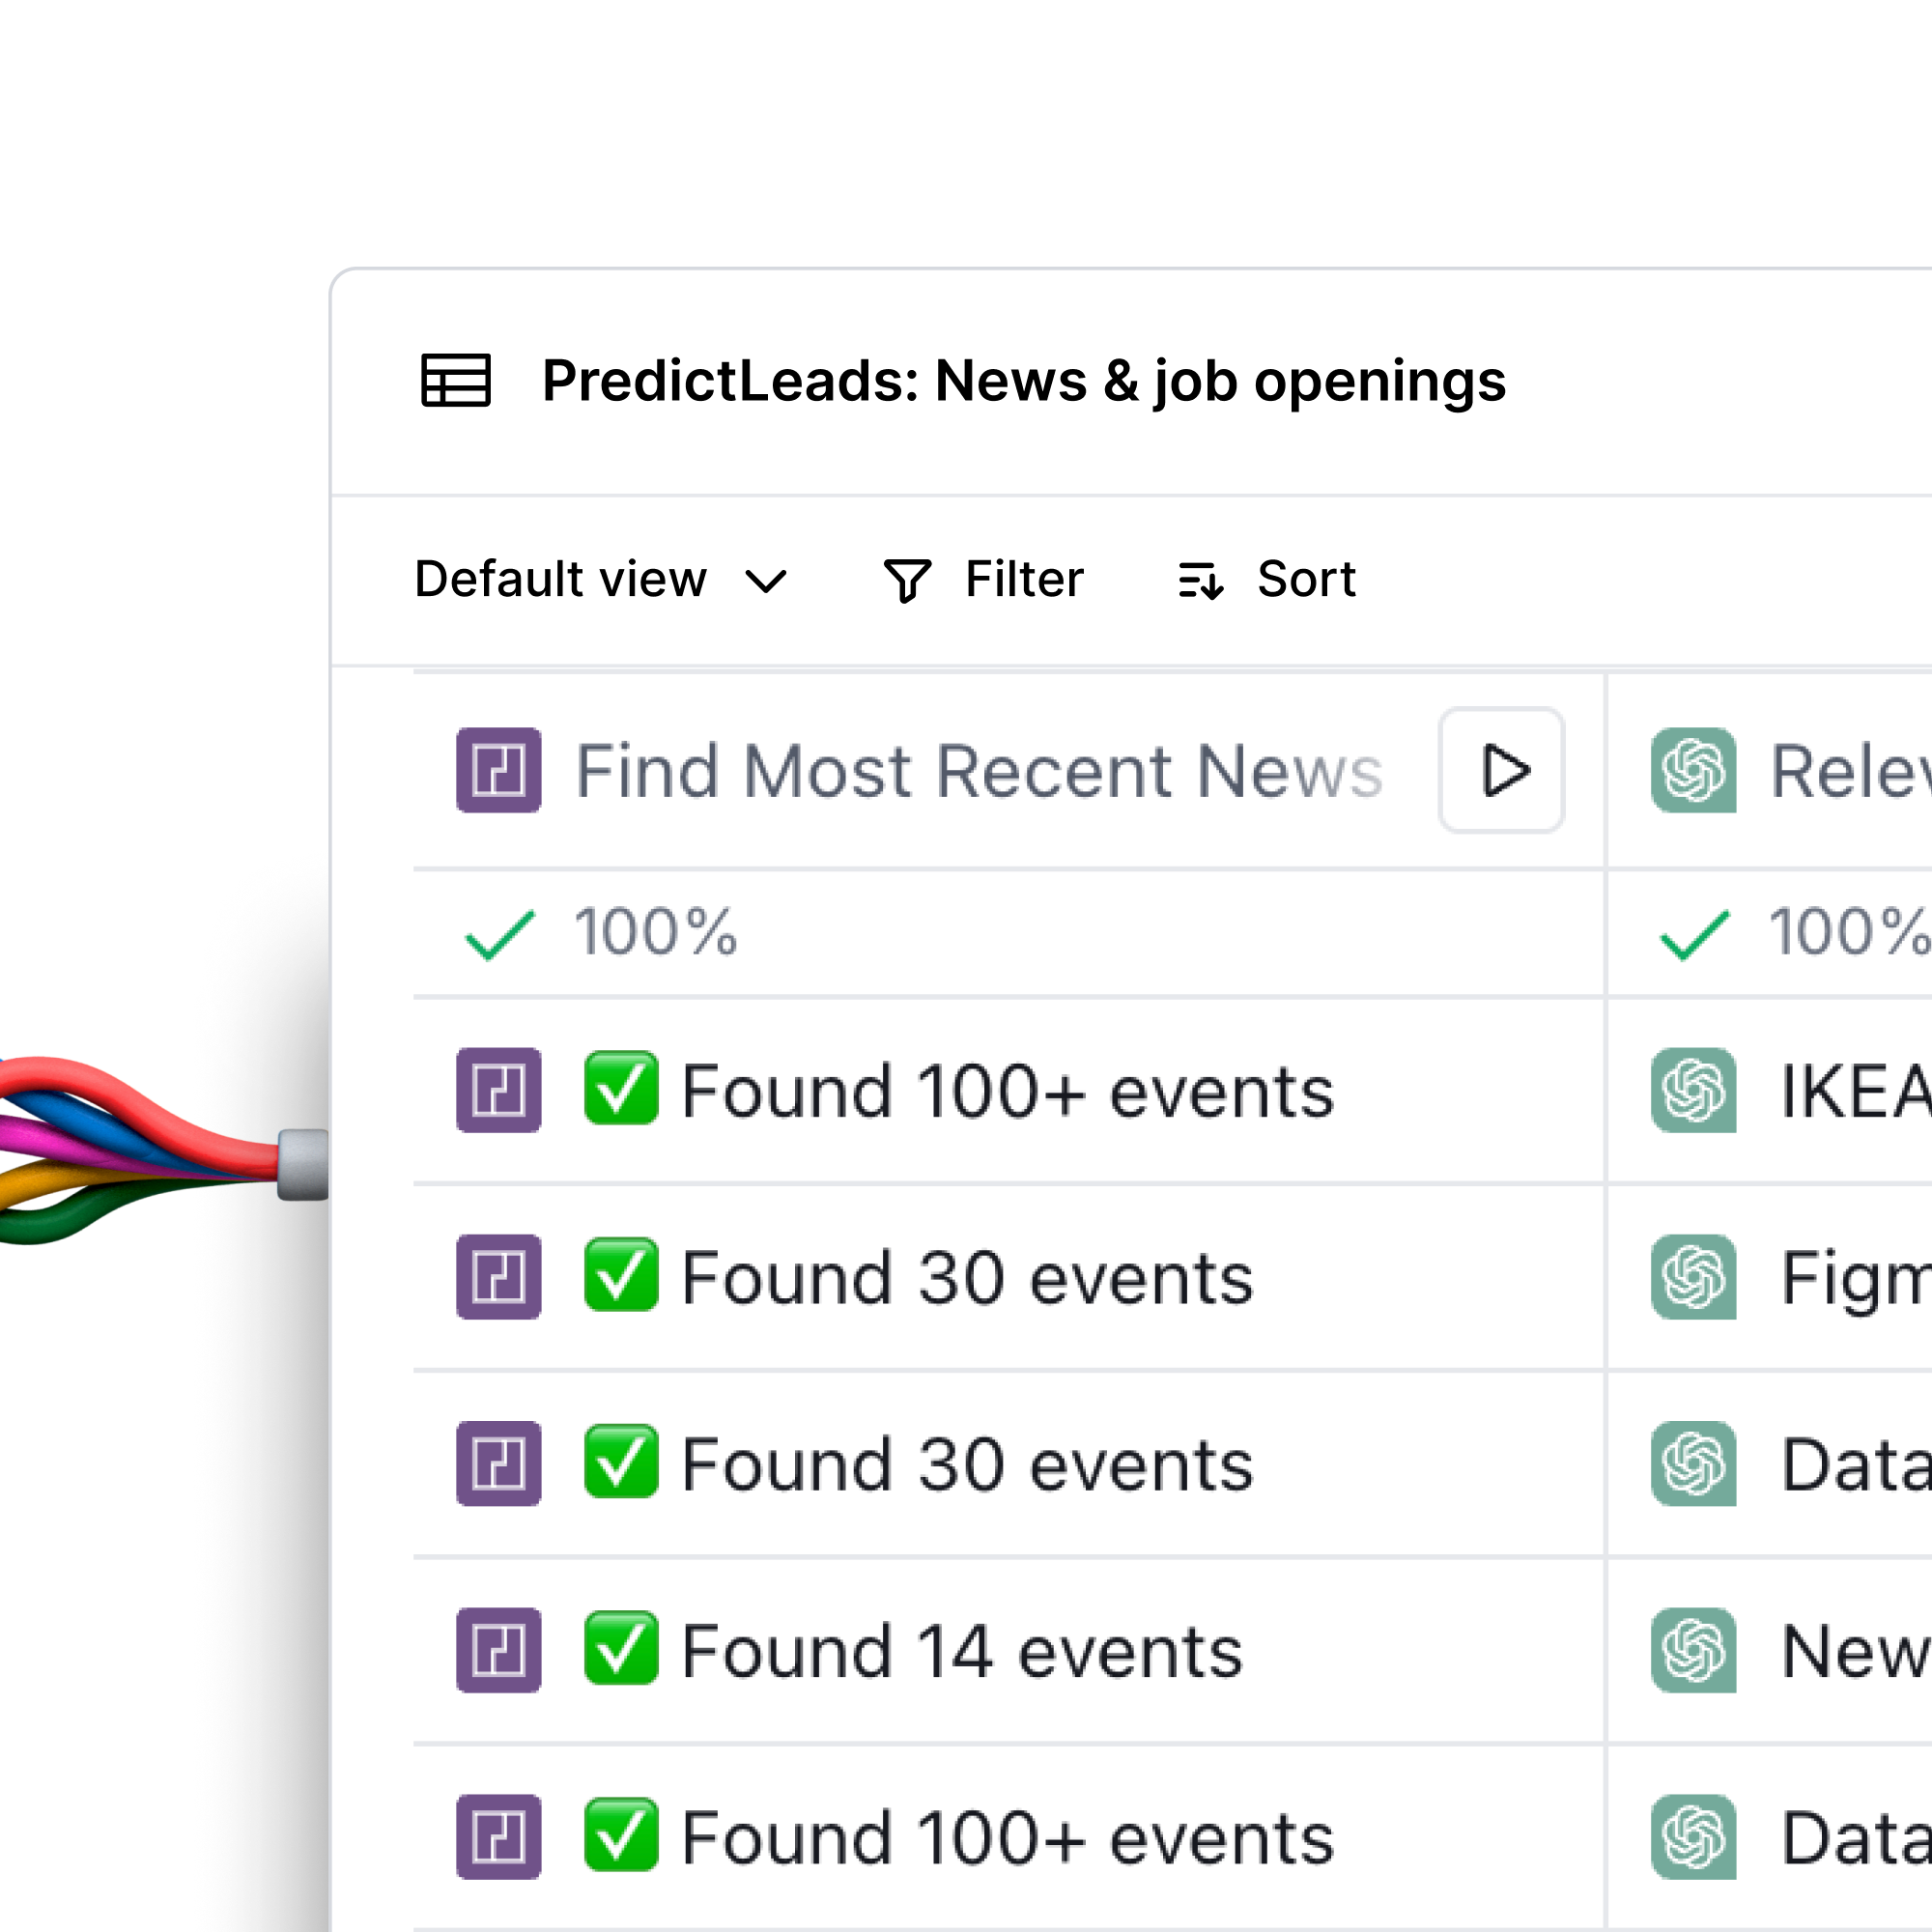
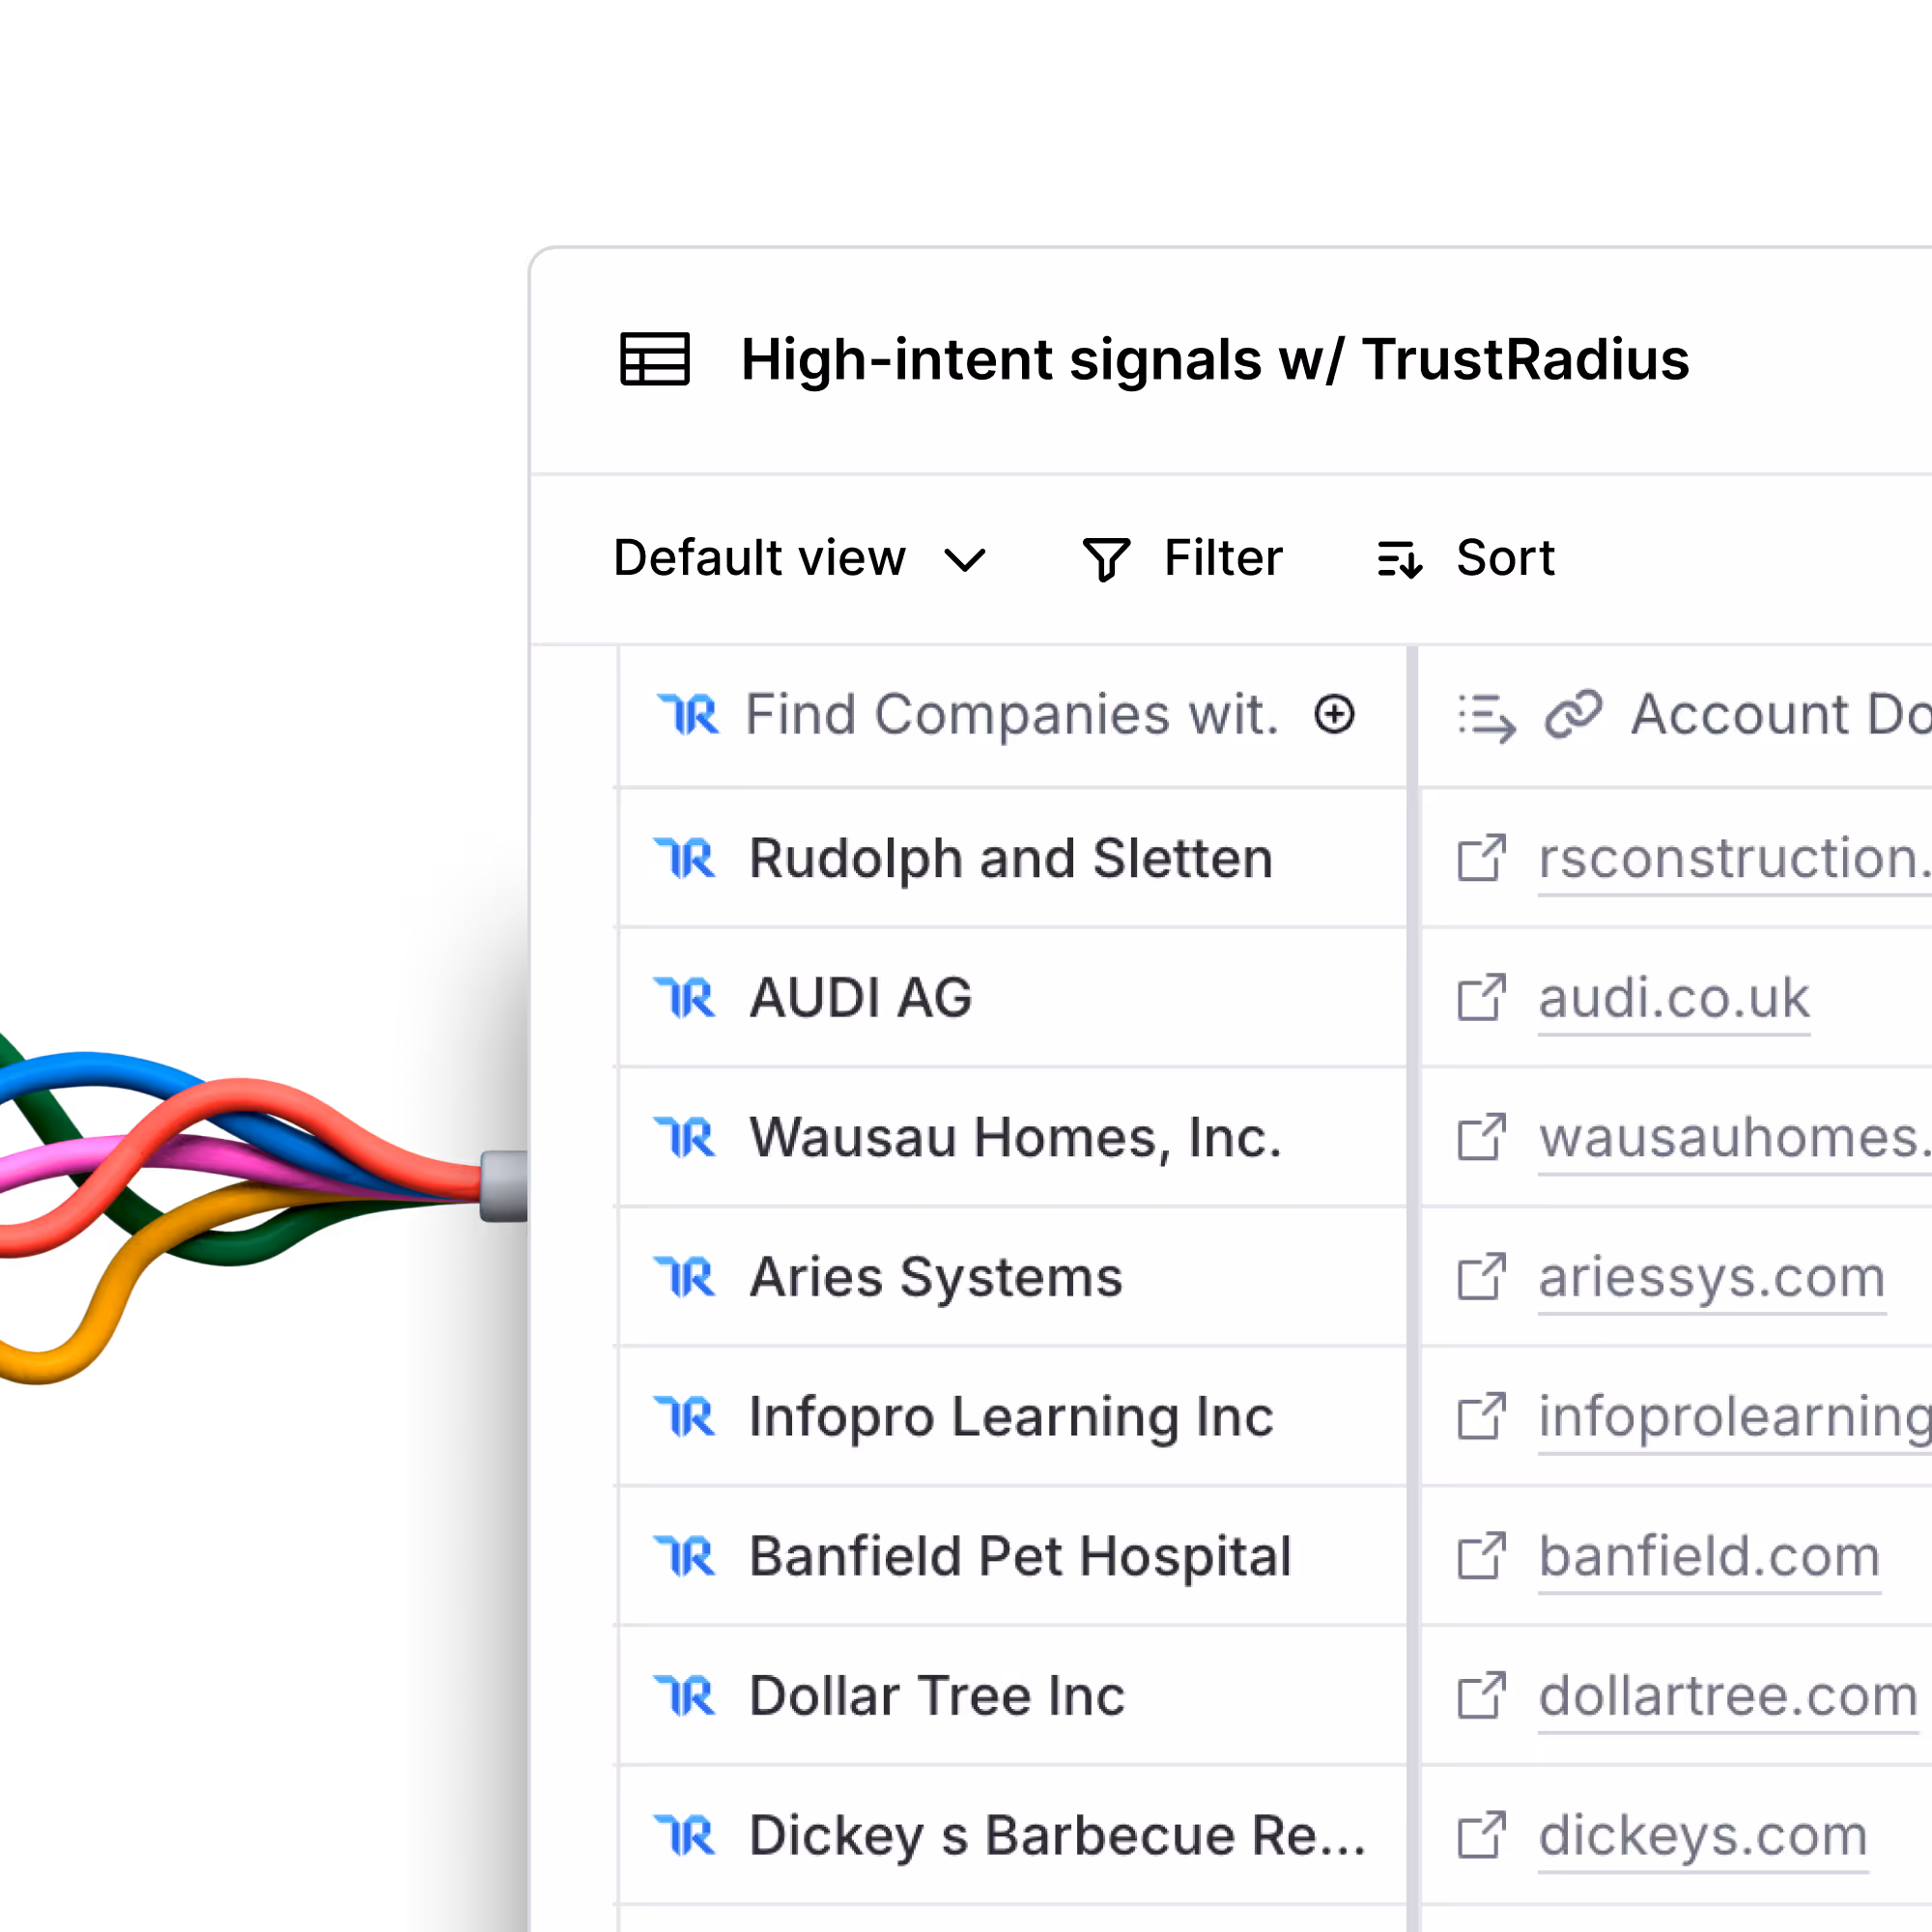
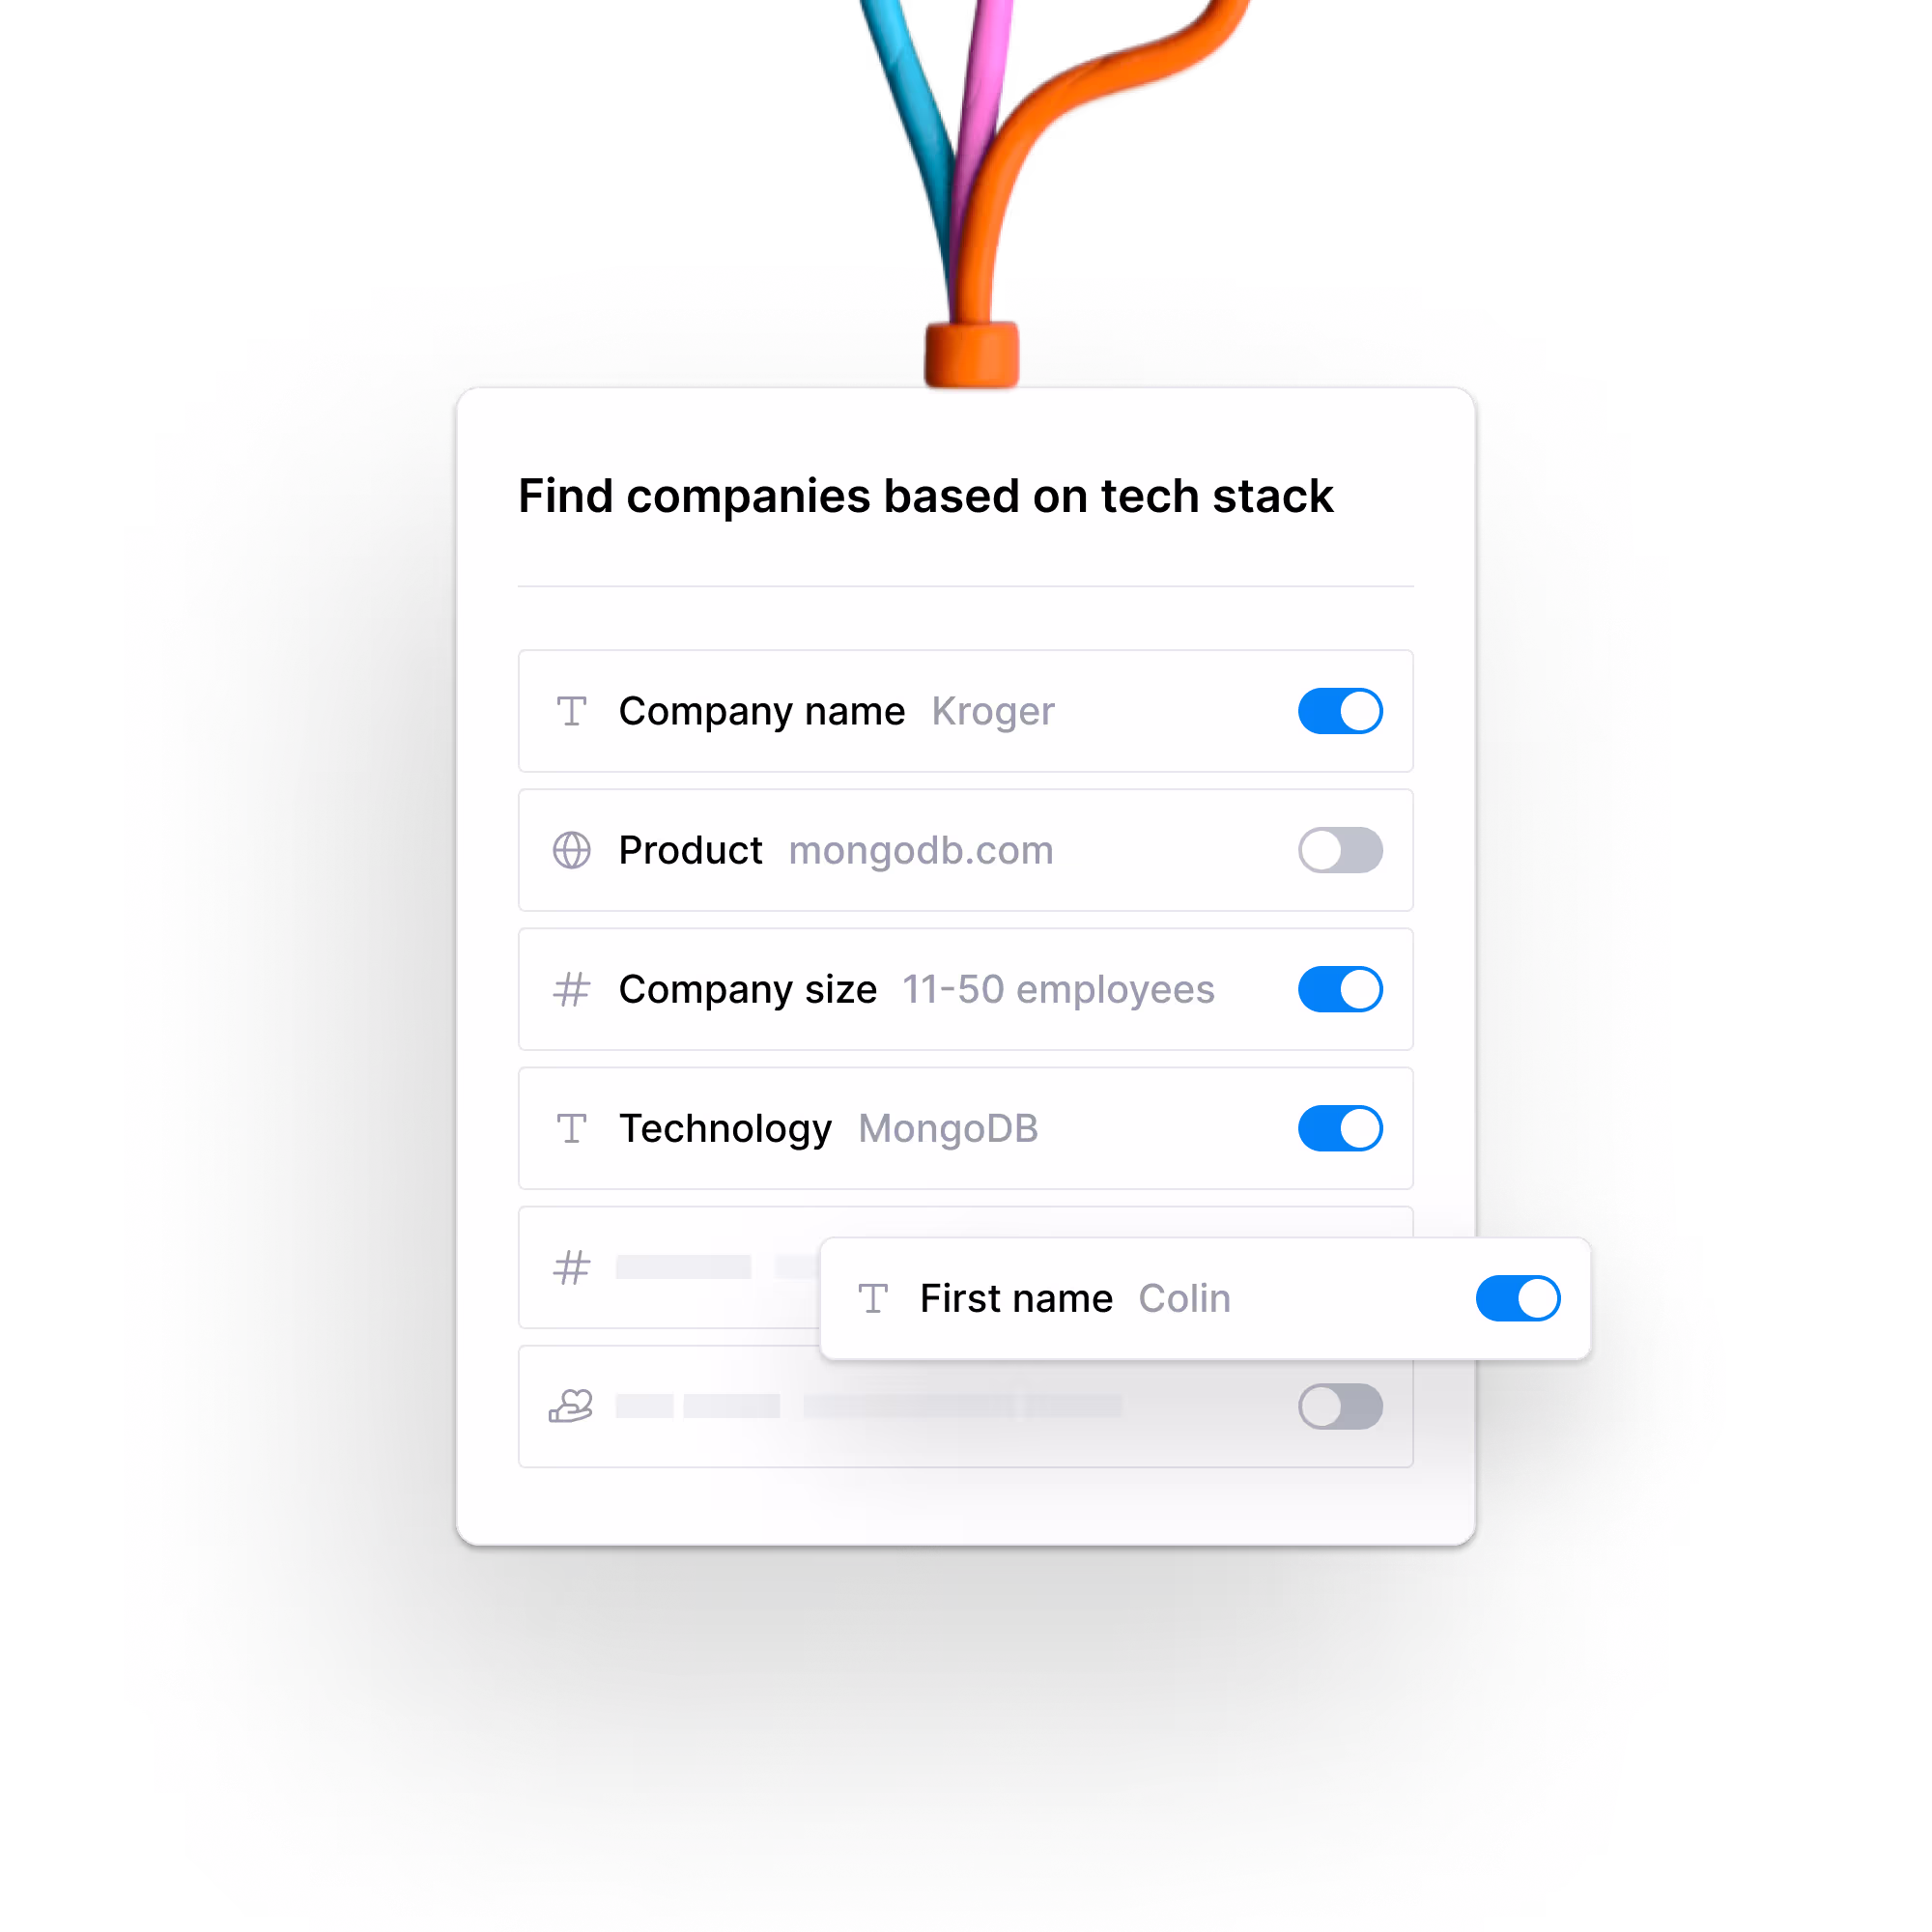
Signals: Stack custom website signals, recent hires, and job opening signals to find better leads
.avif)

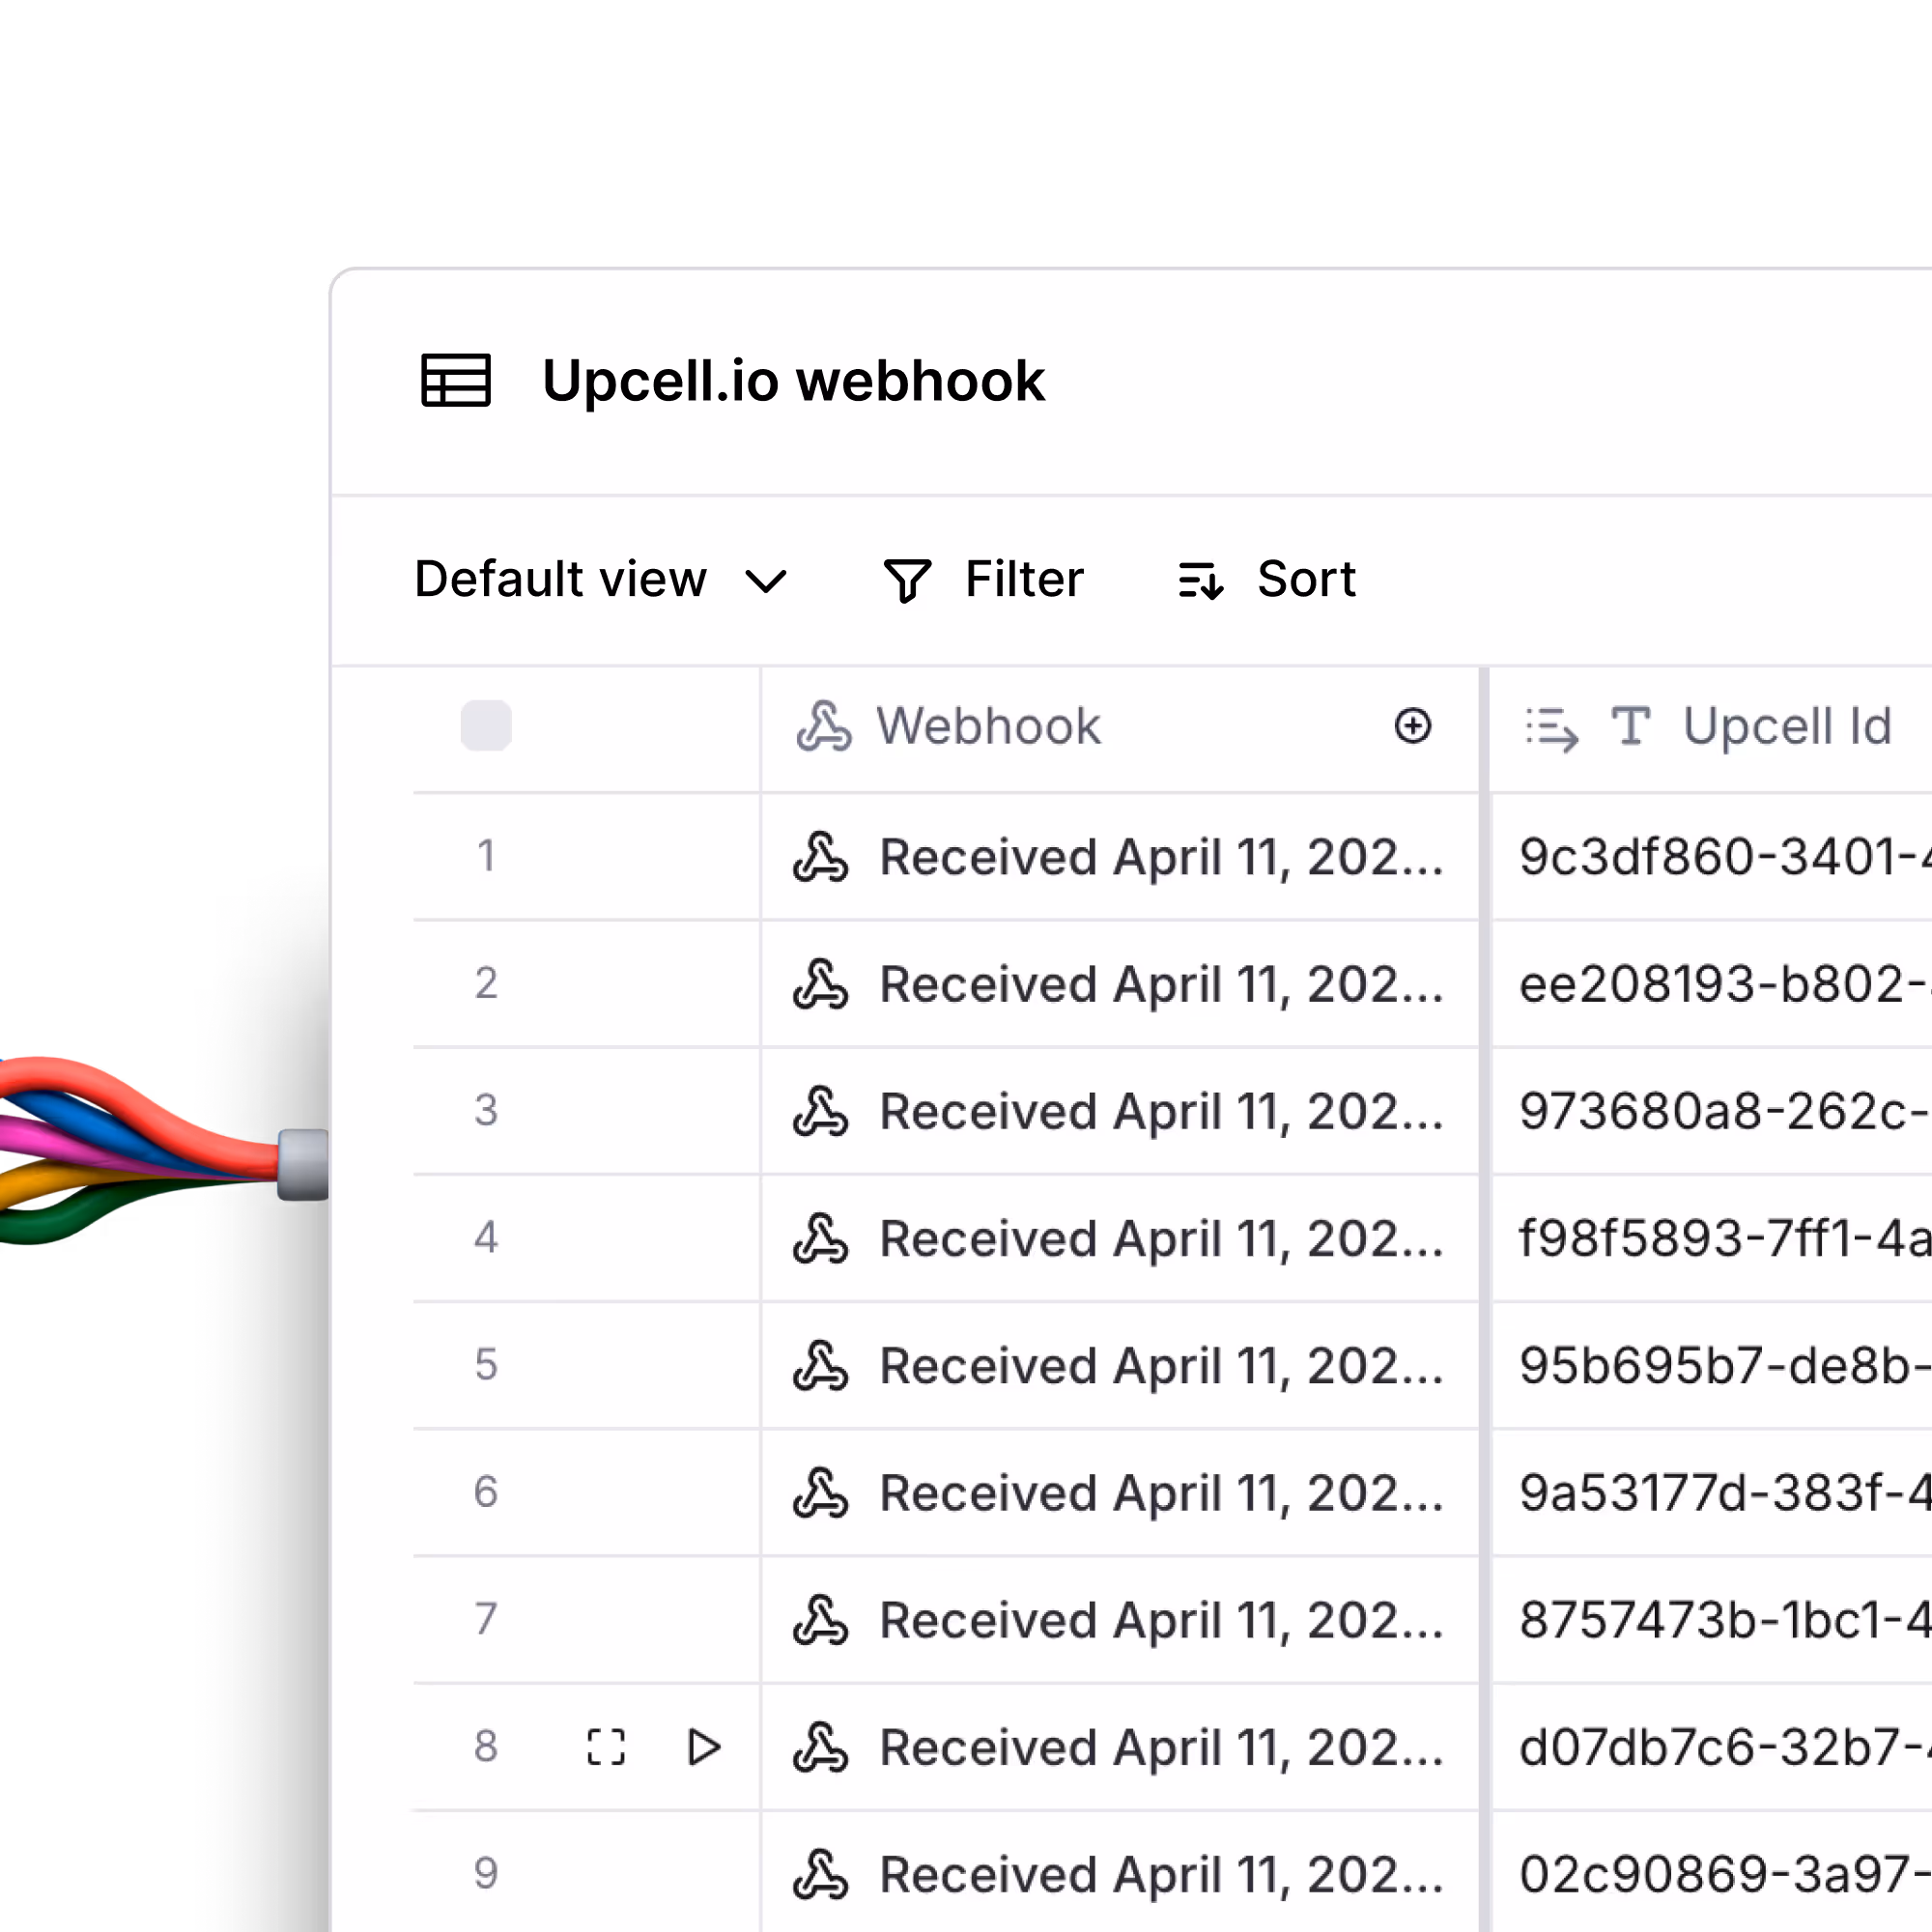
Use Upcell.io to add prospects to Clay directly from LinkedIn, without ever leaving your browser
.avif)
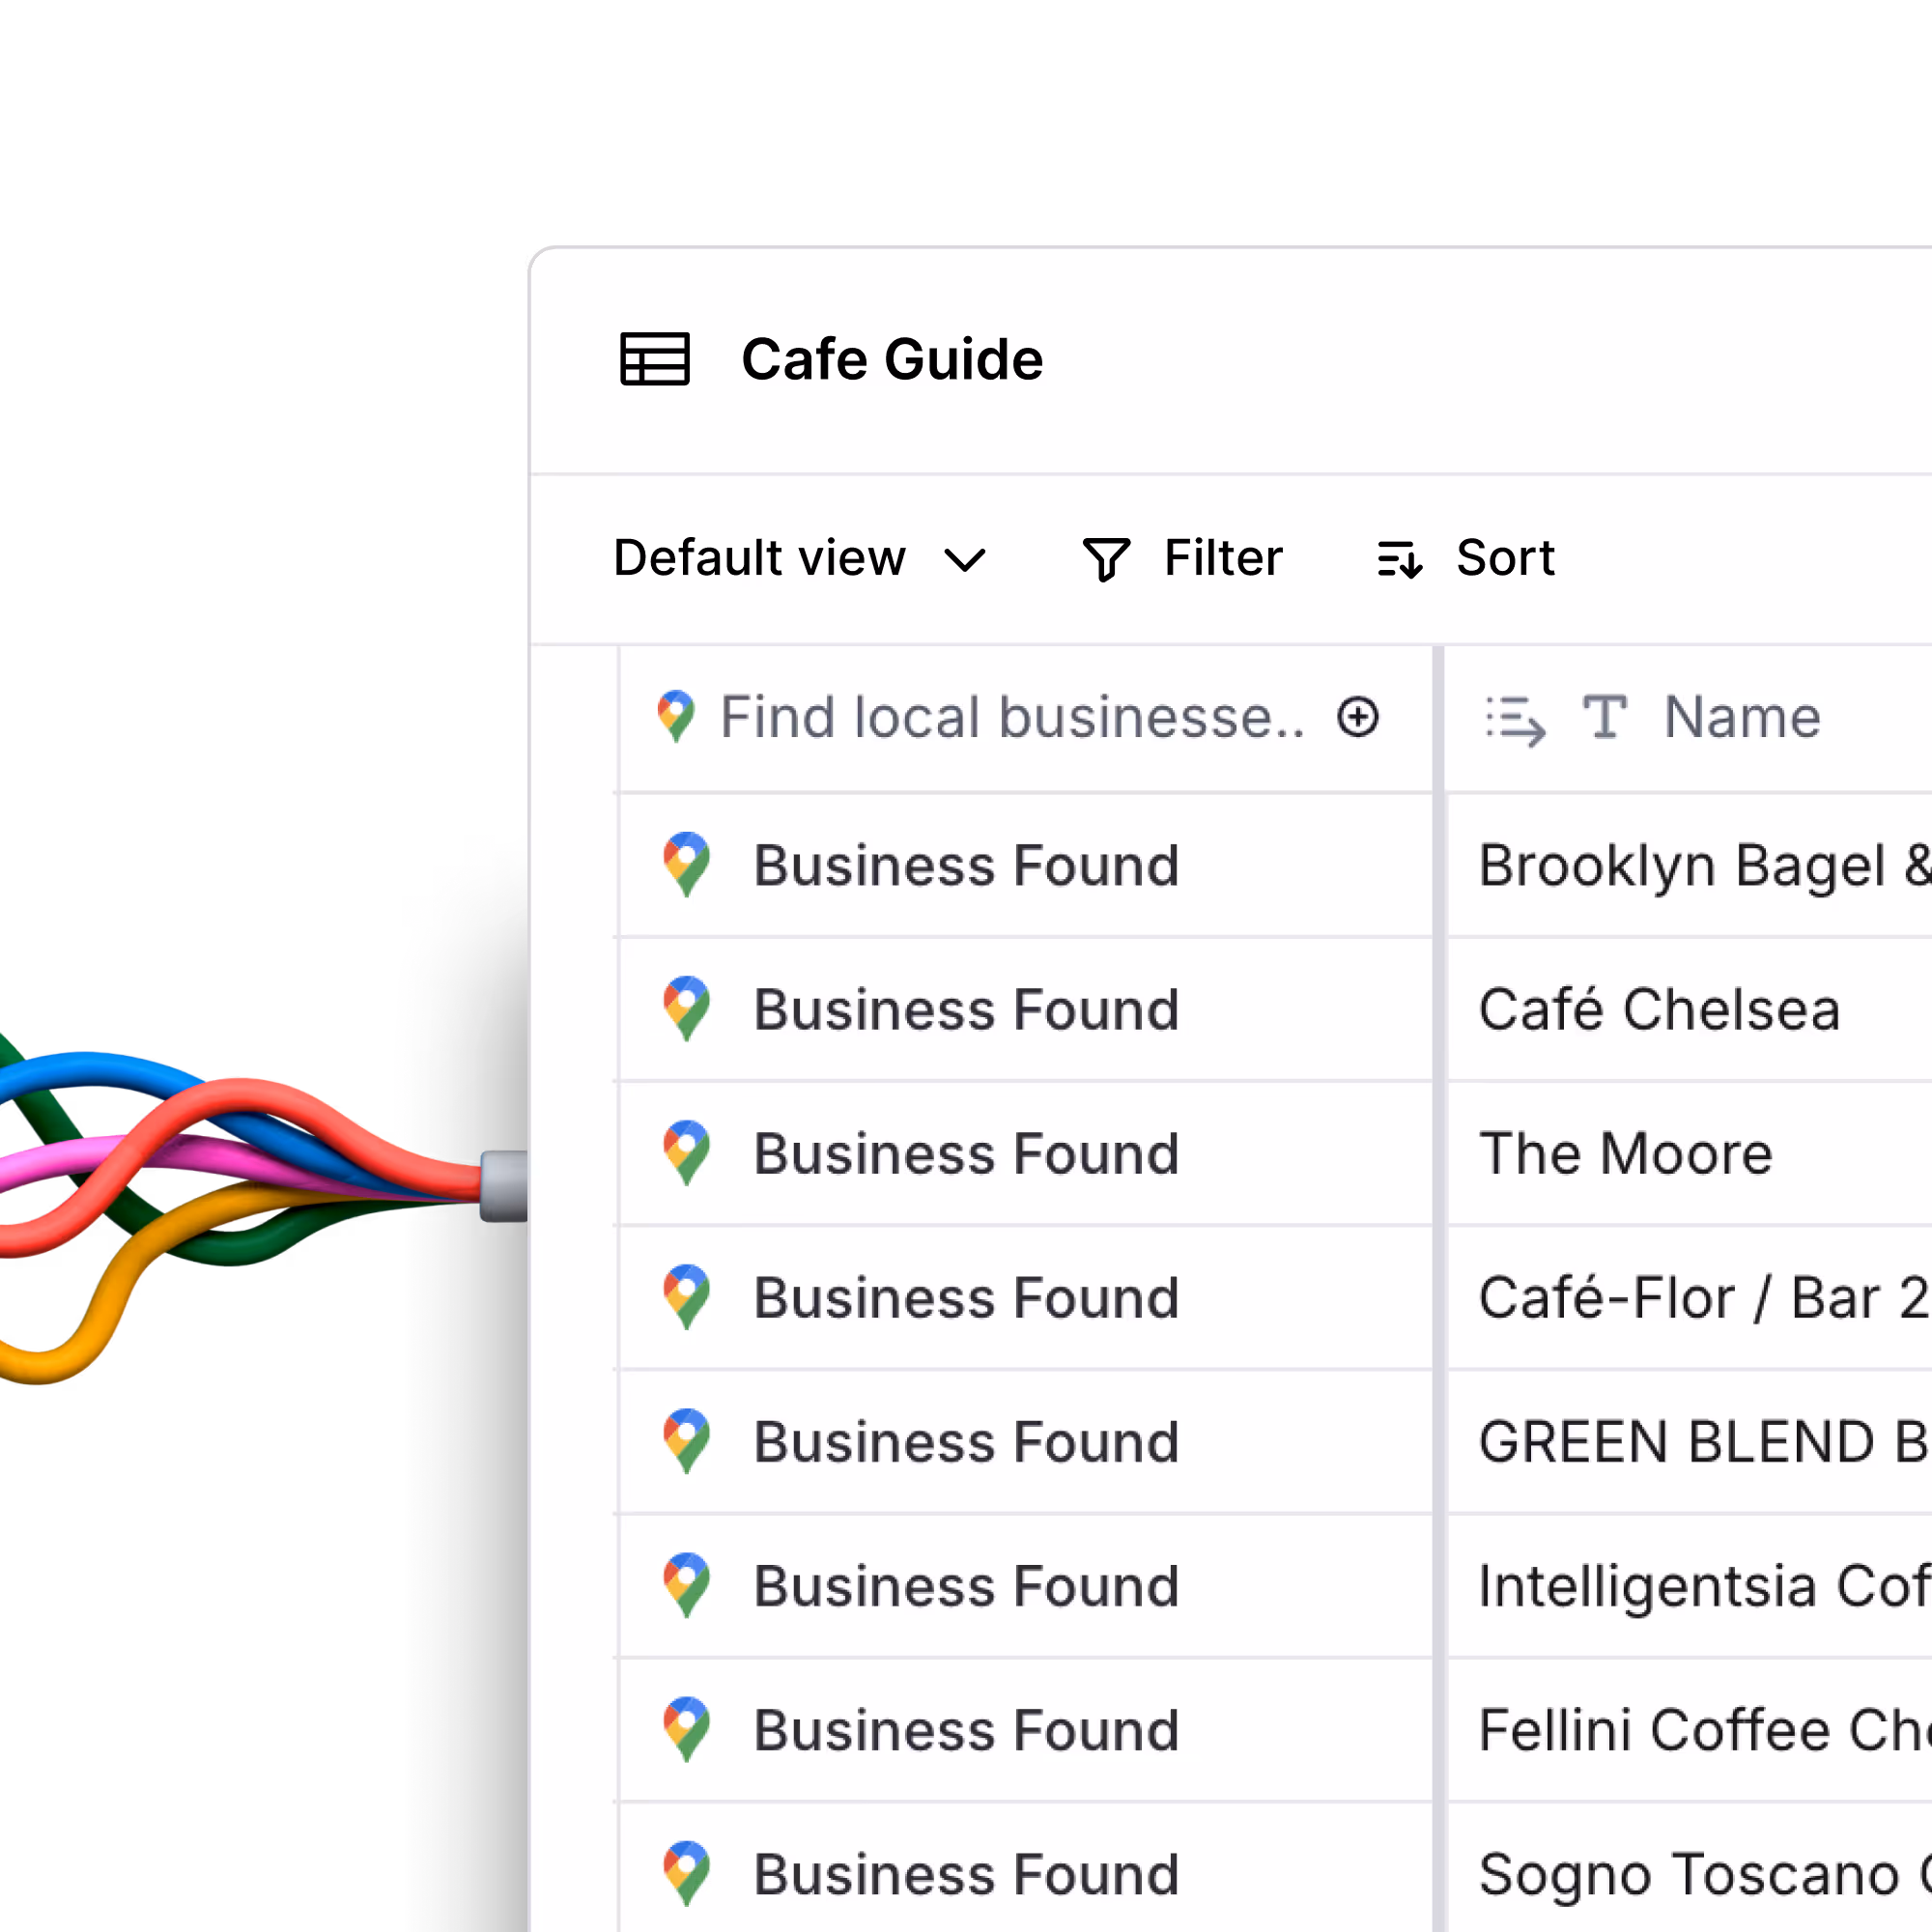
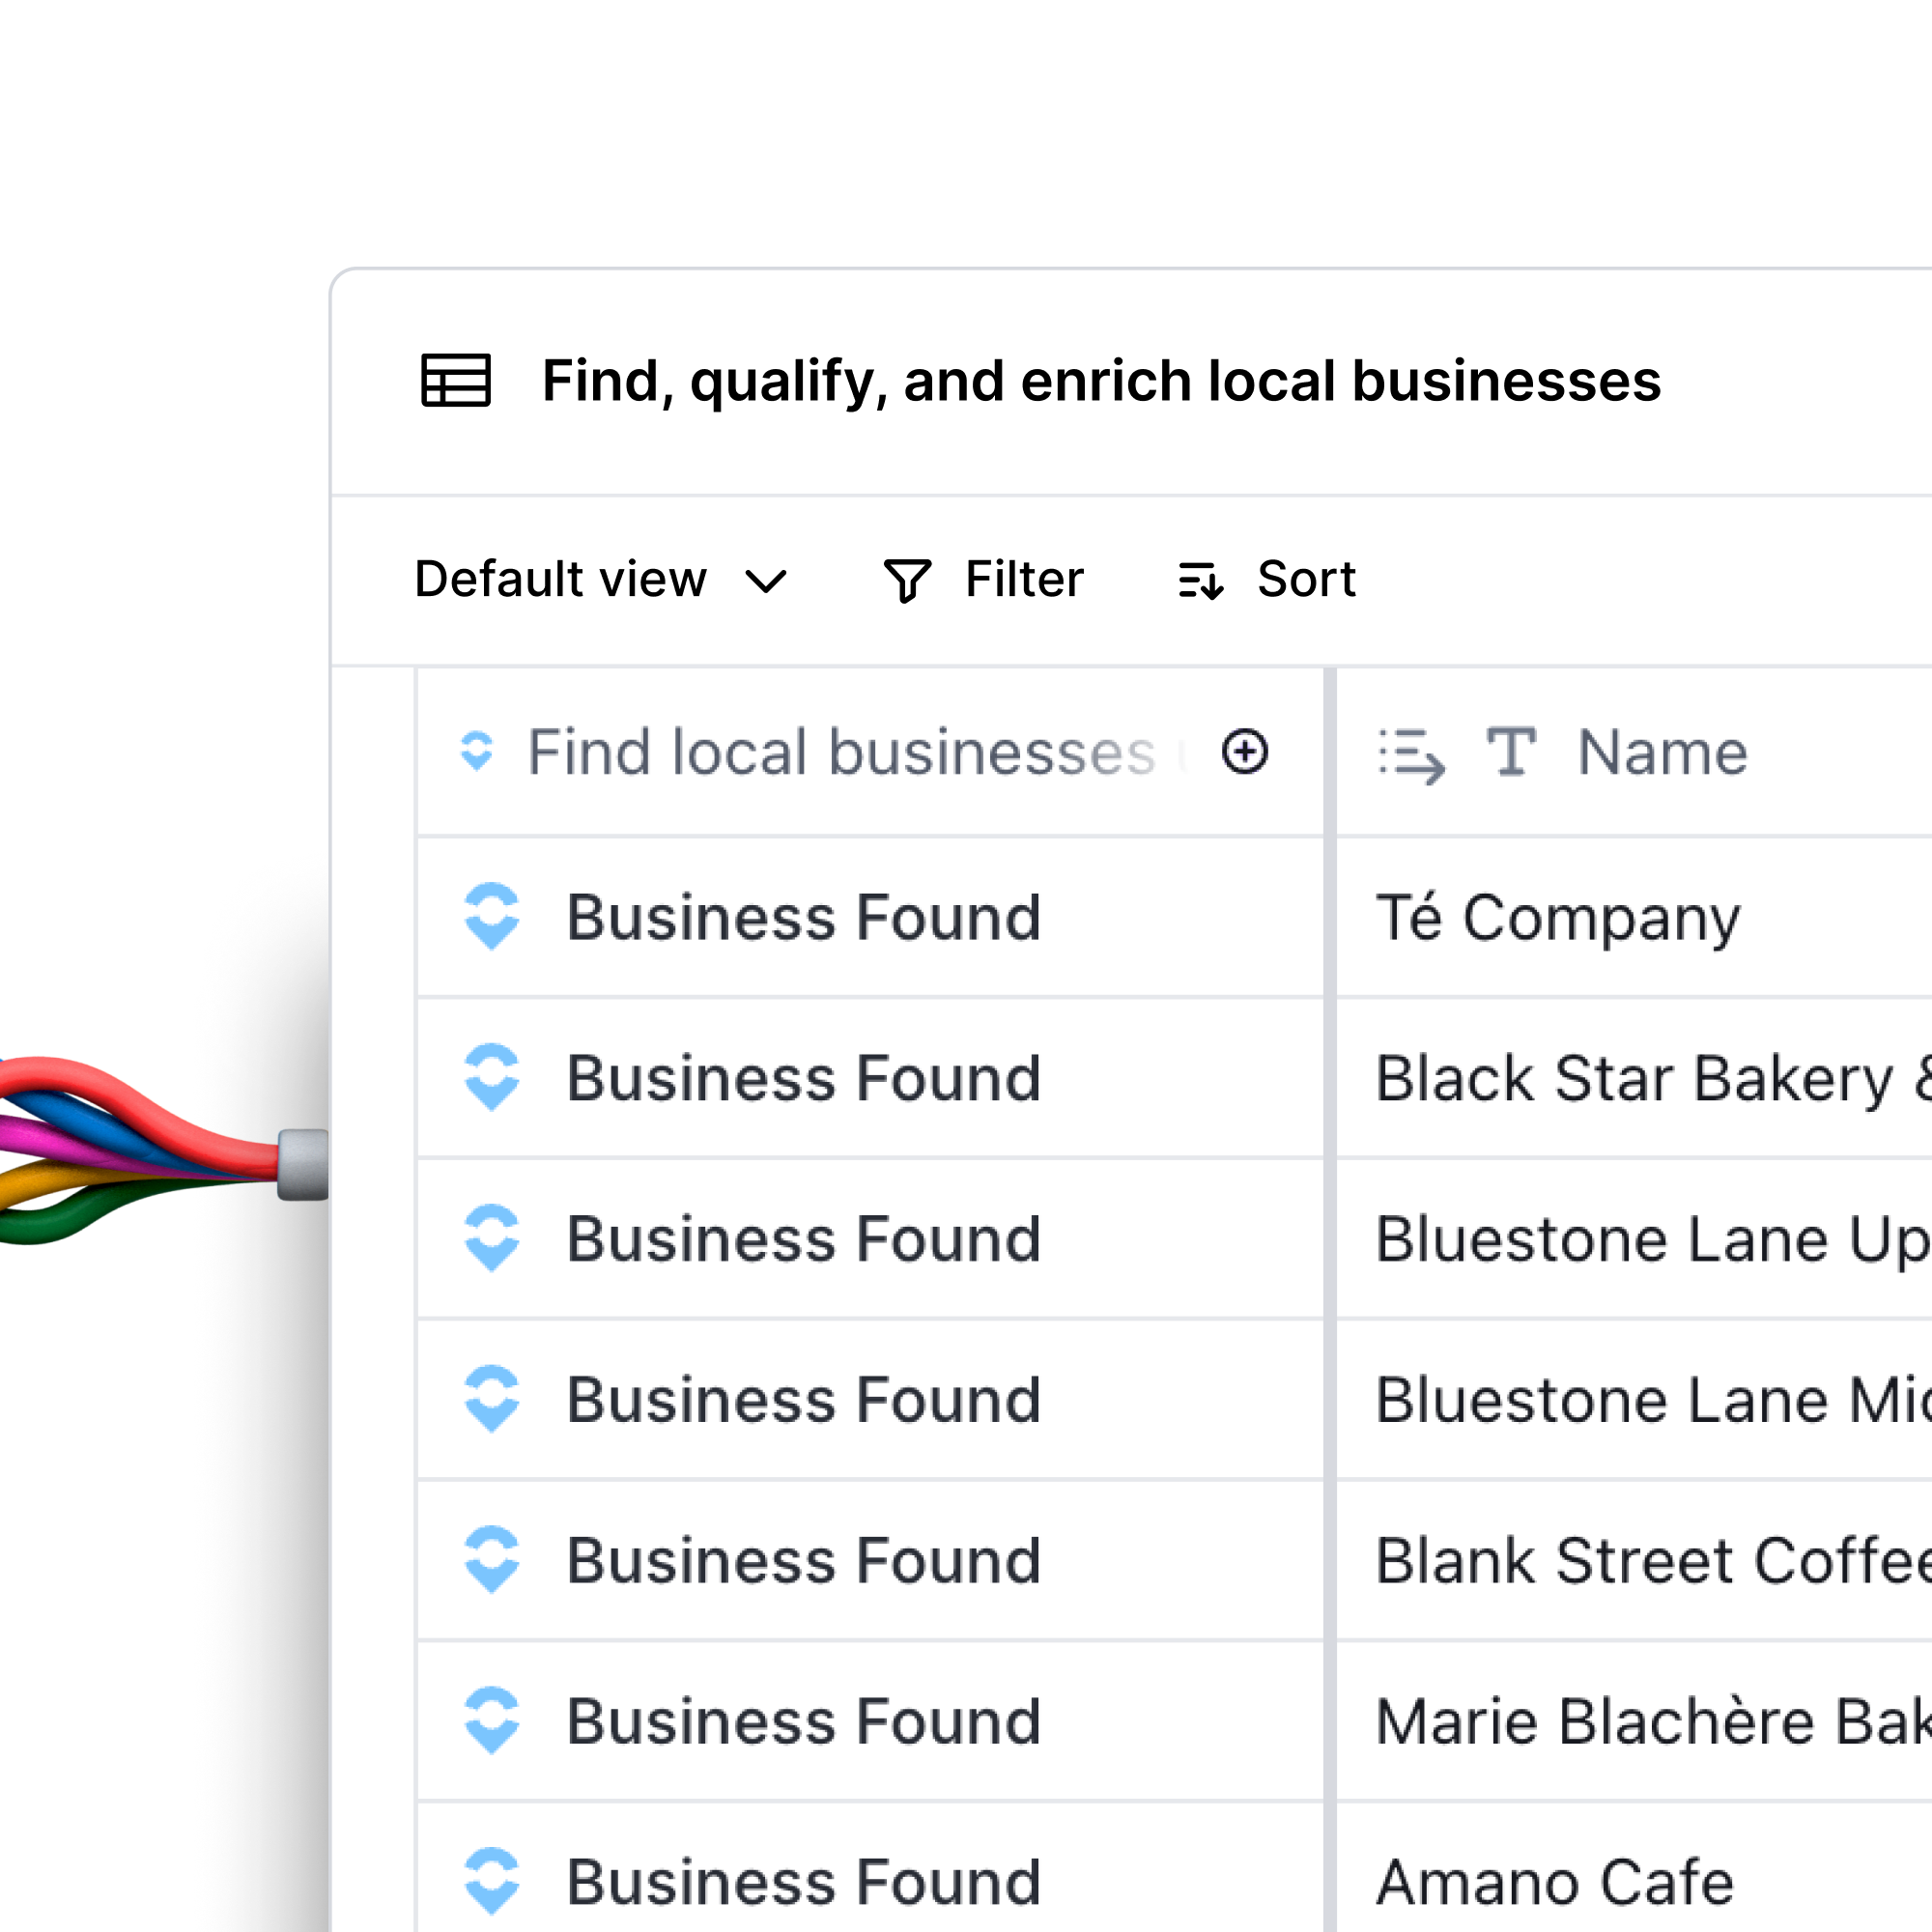
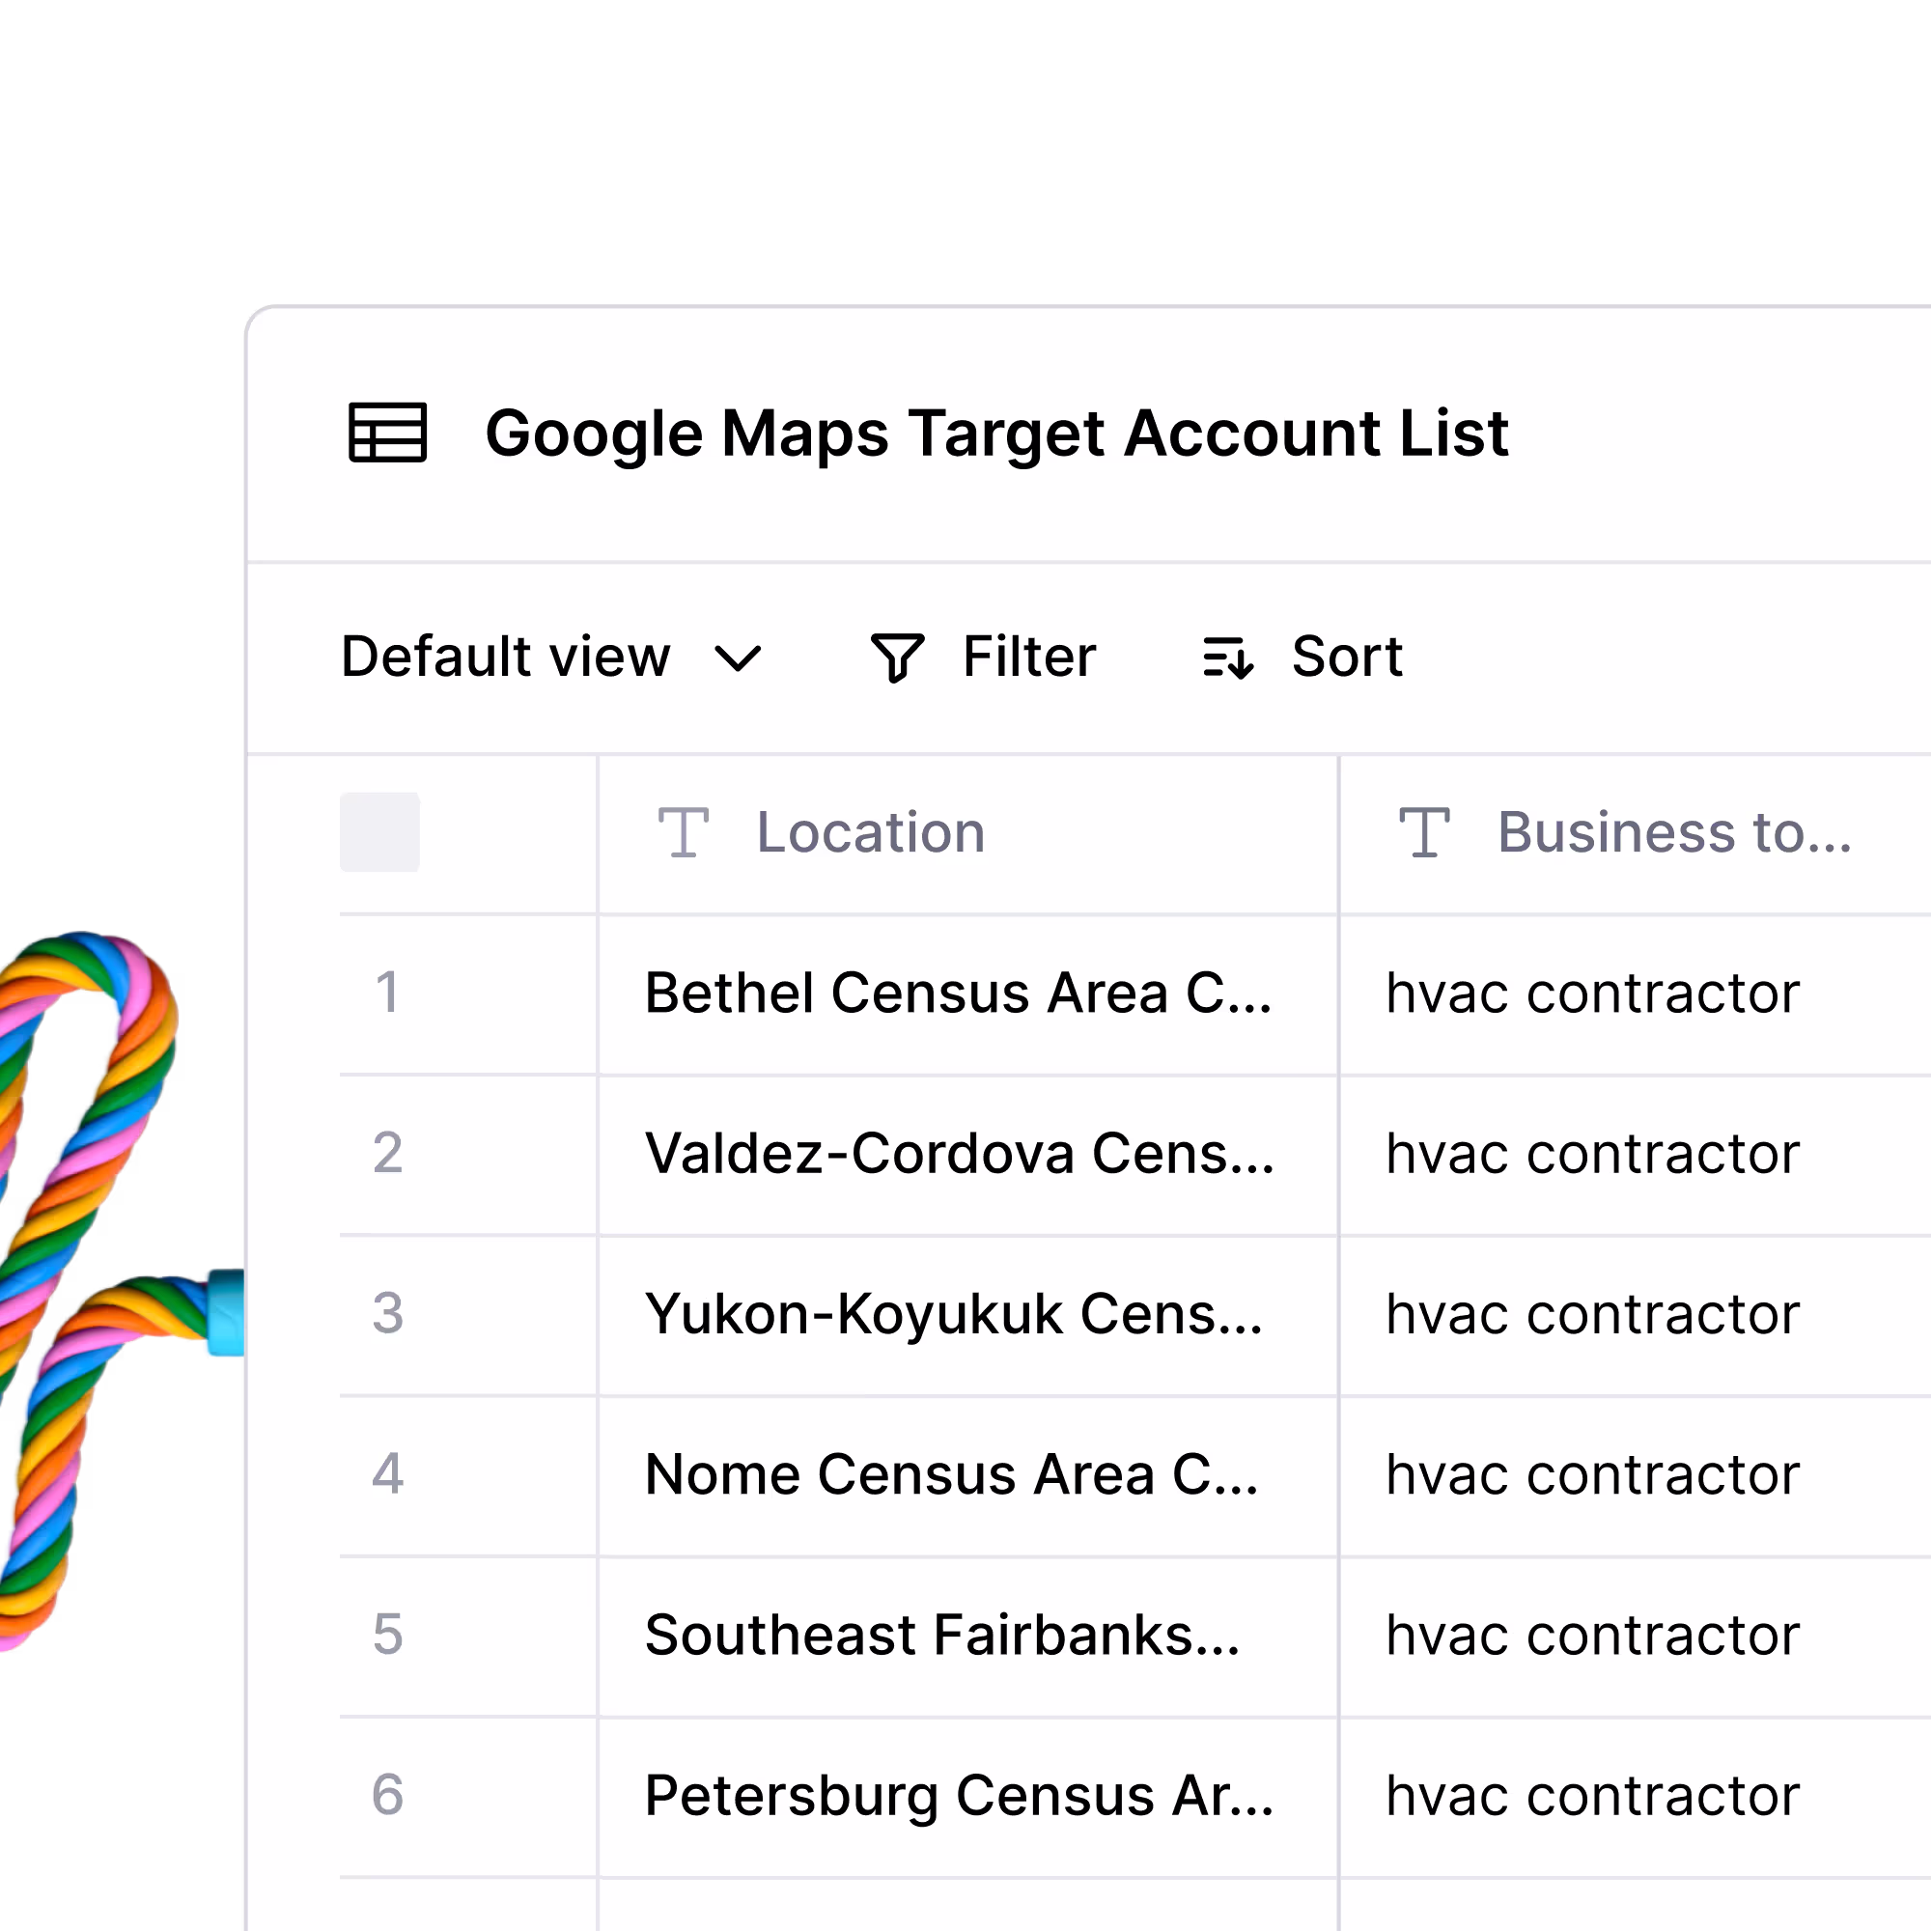
Find new coffee shops in your city with high ratings and your favorite menu options

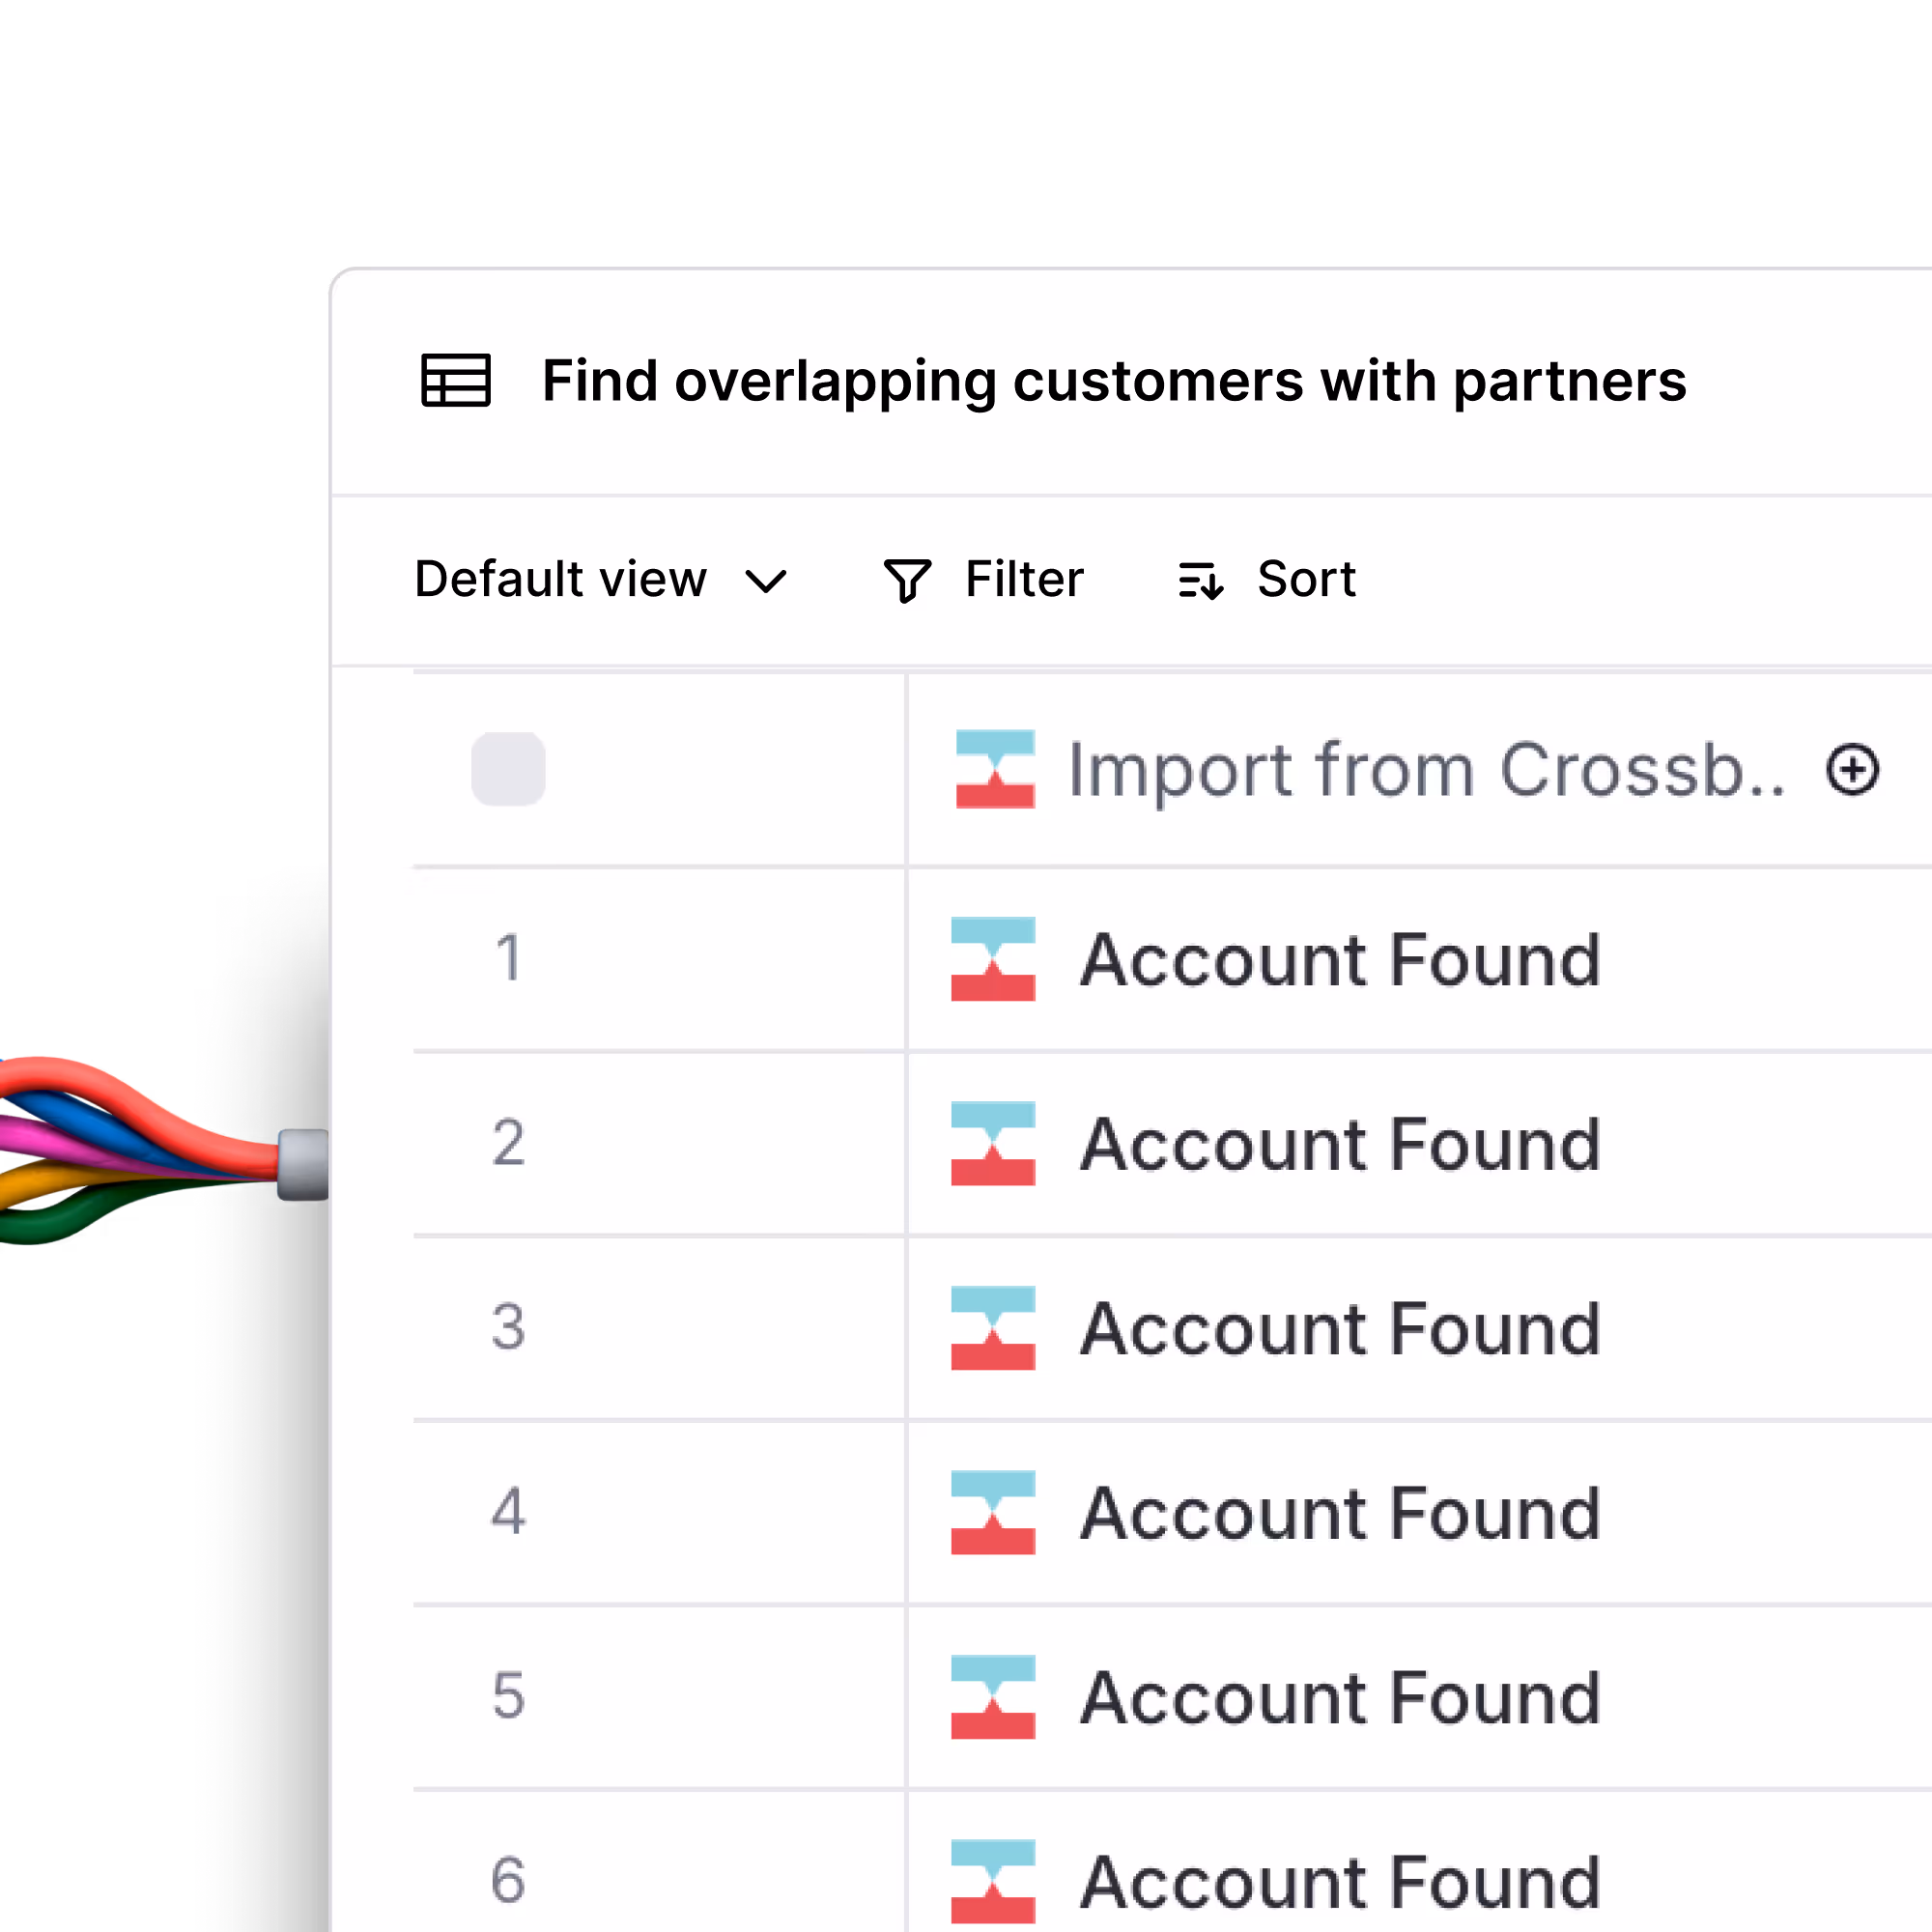
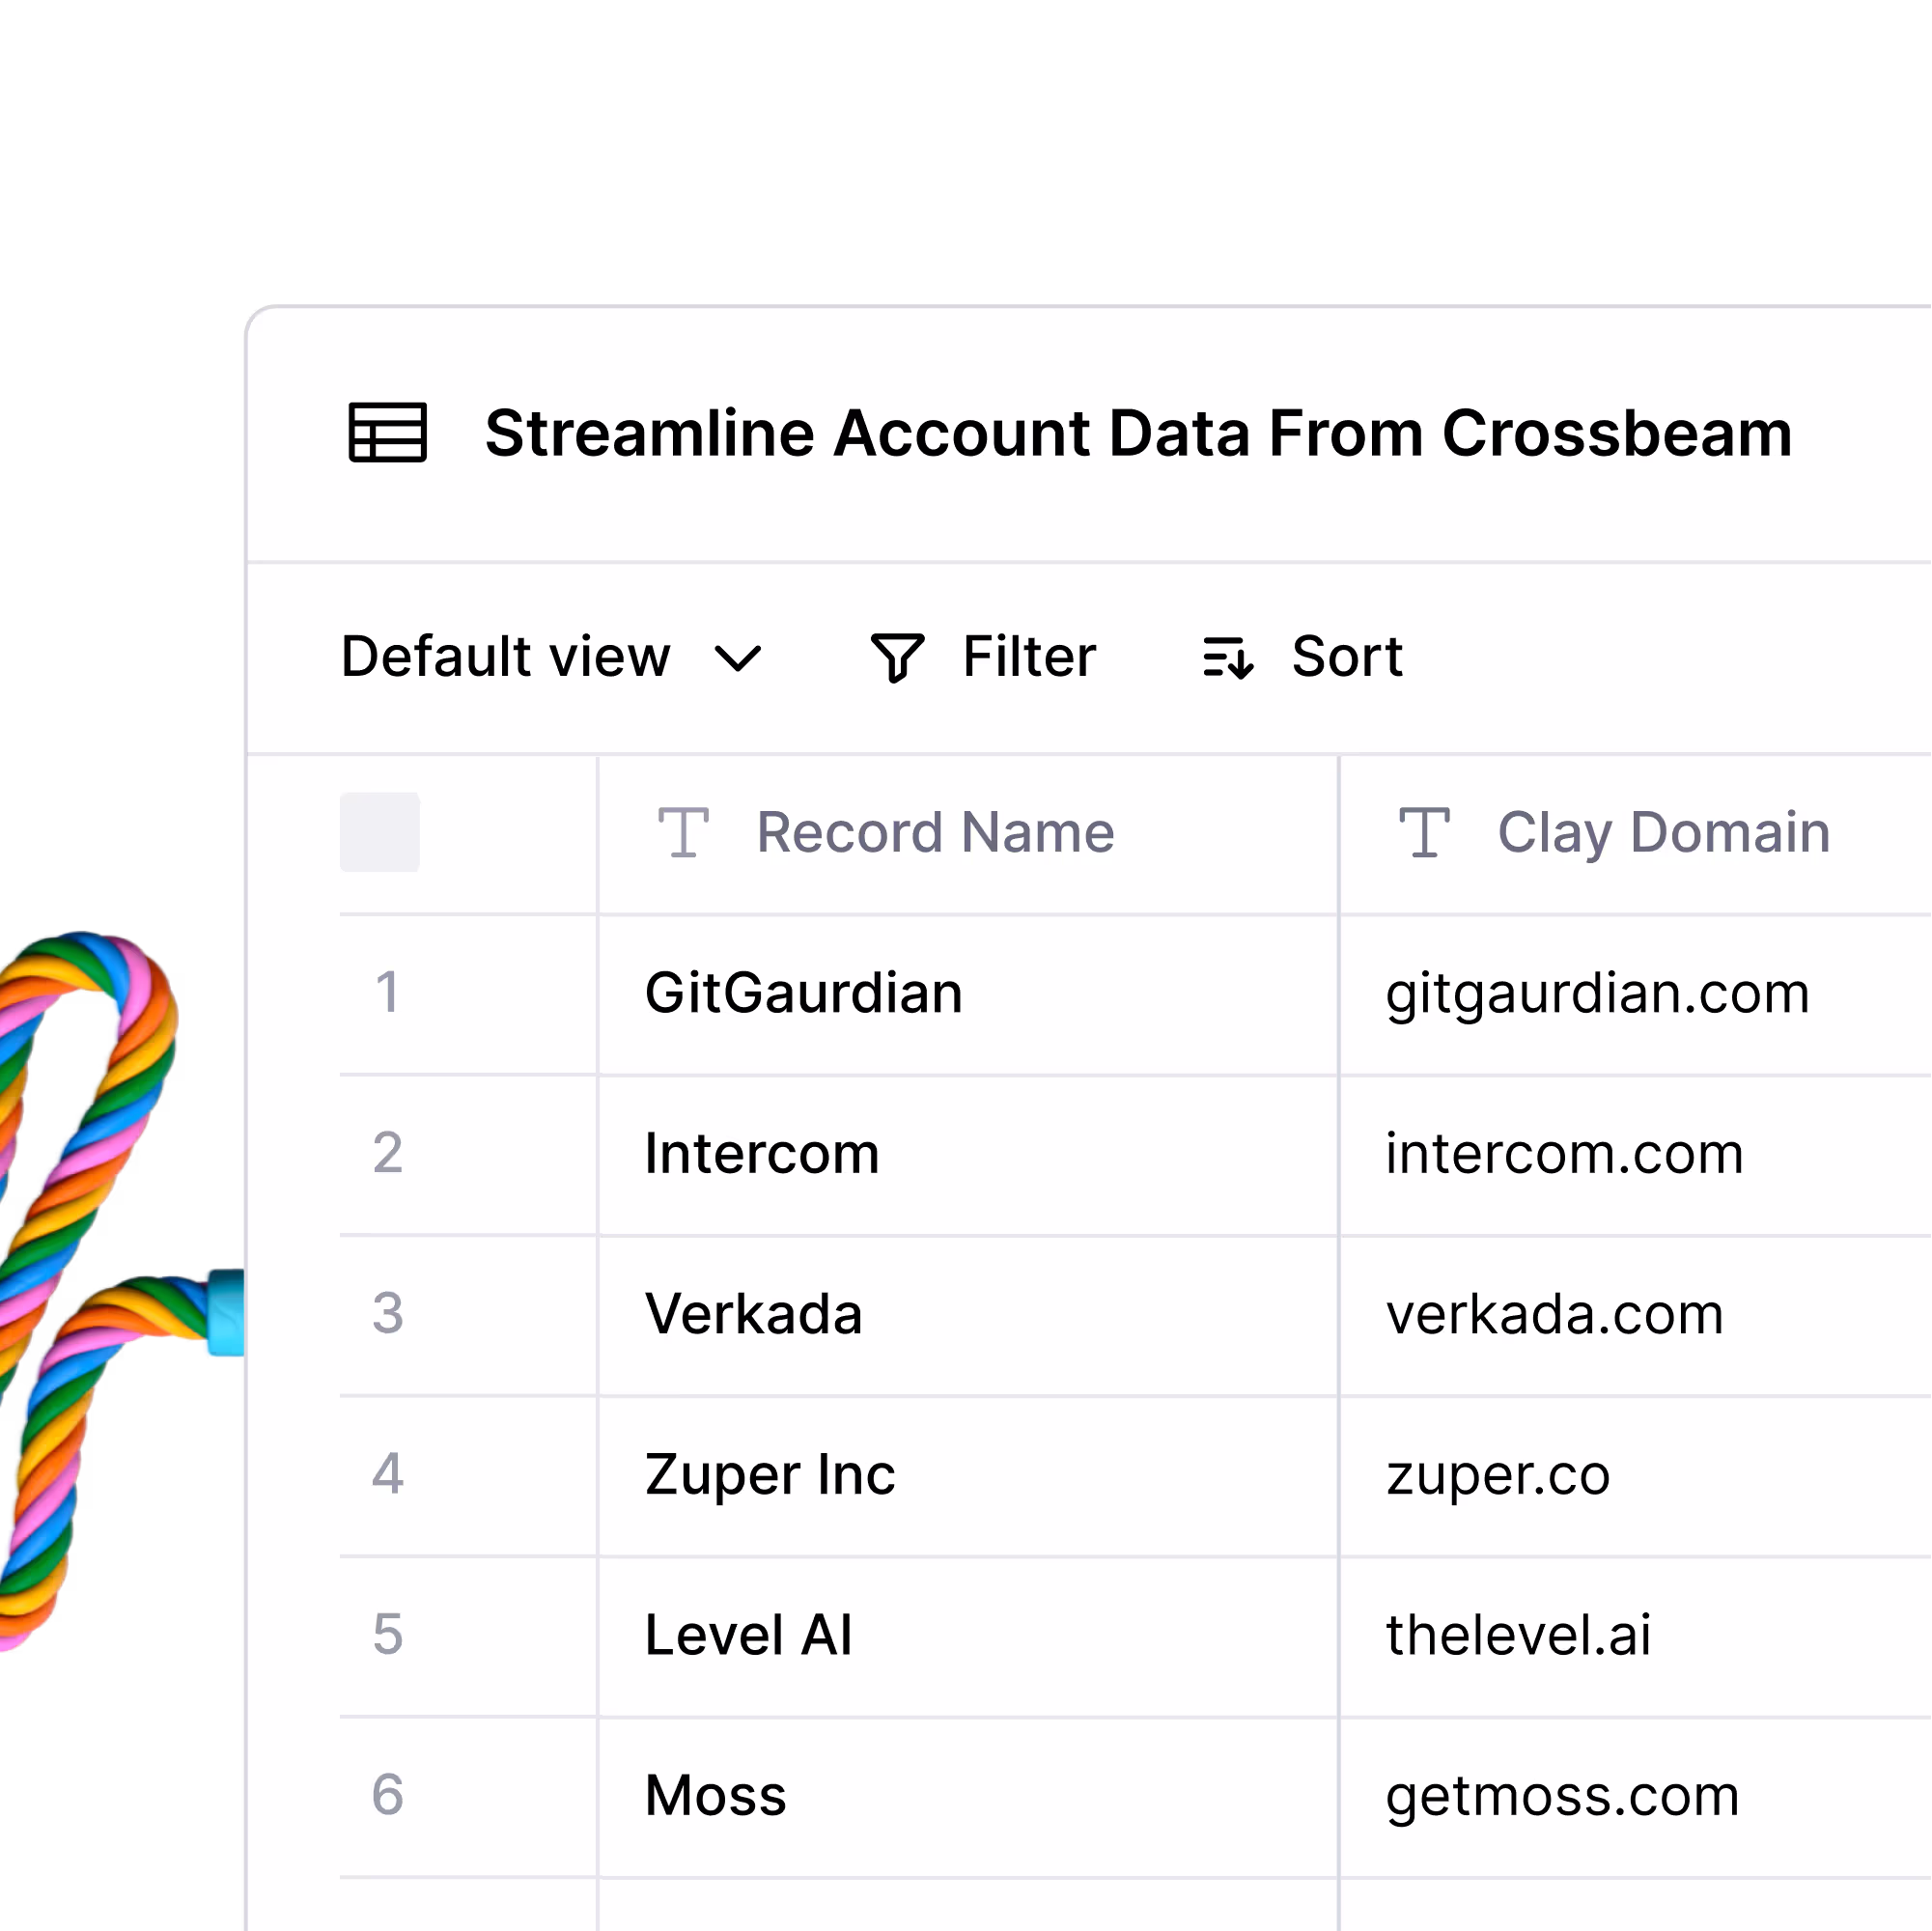
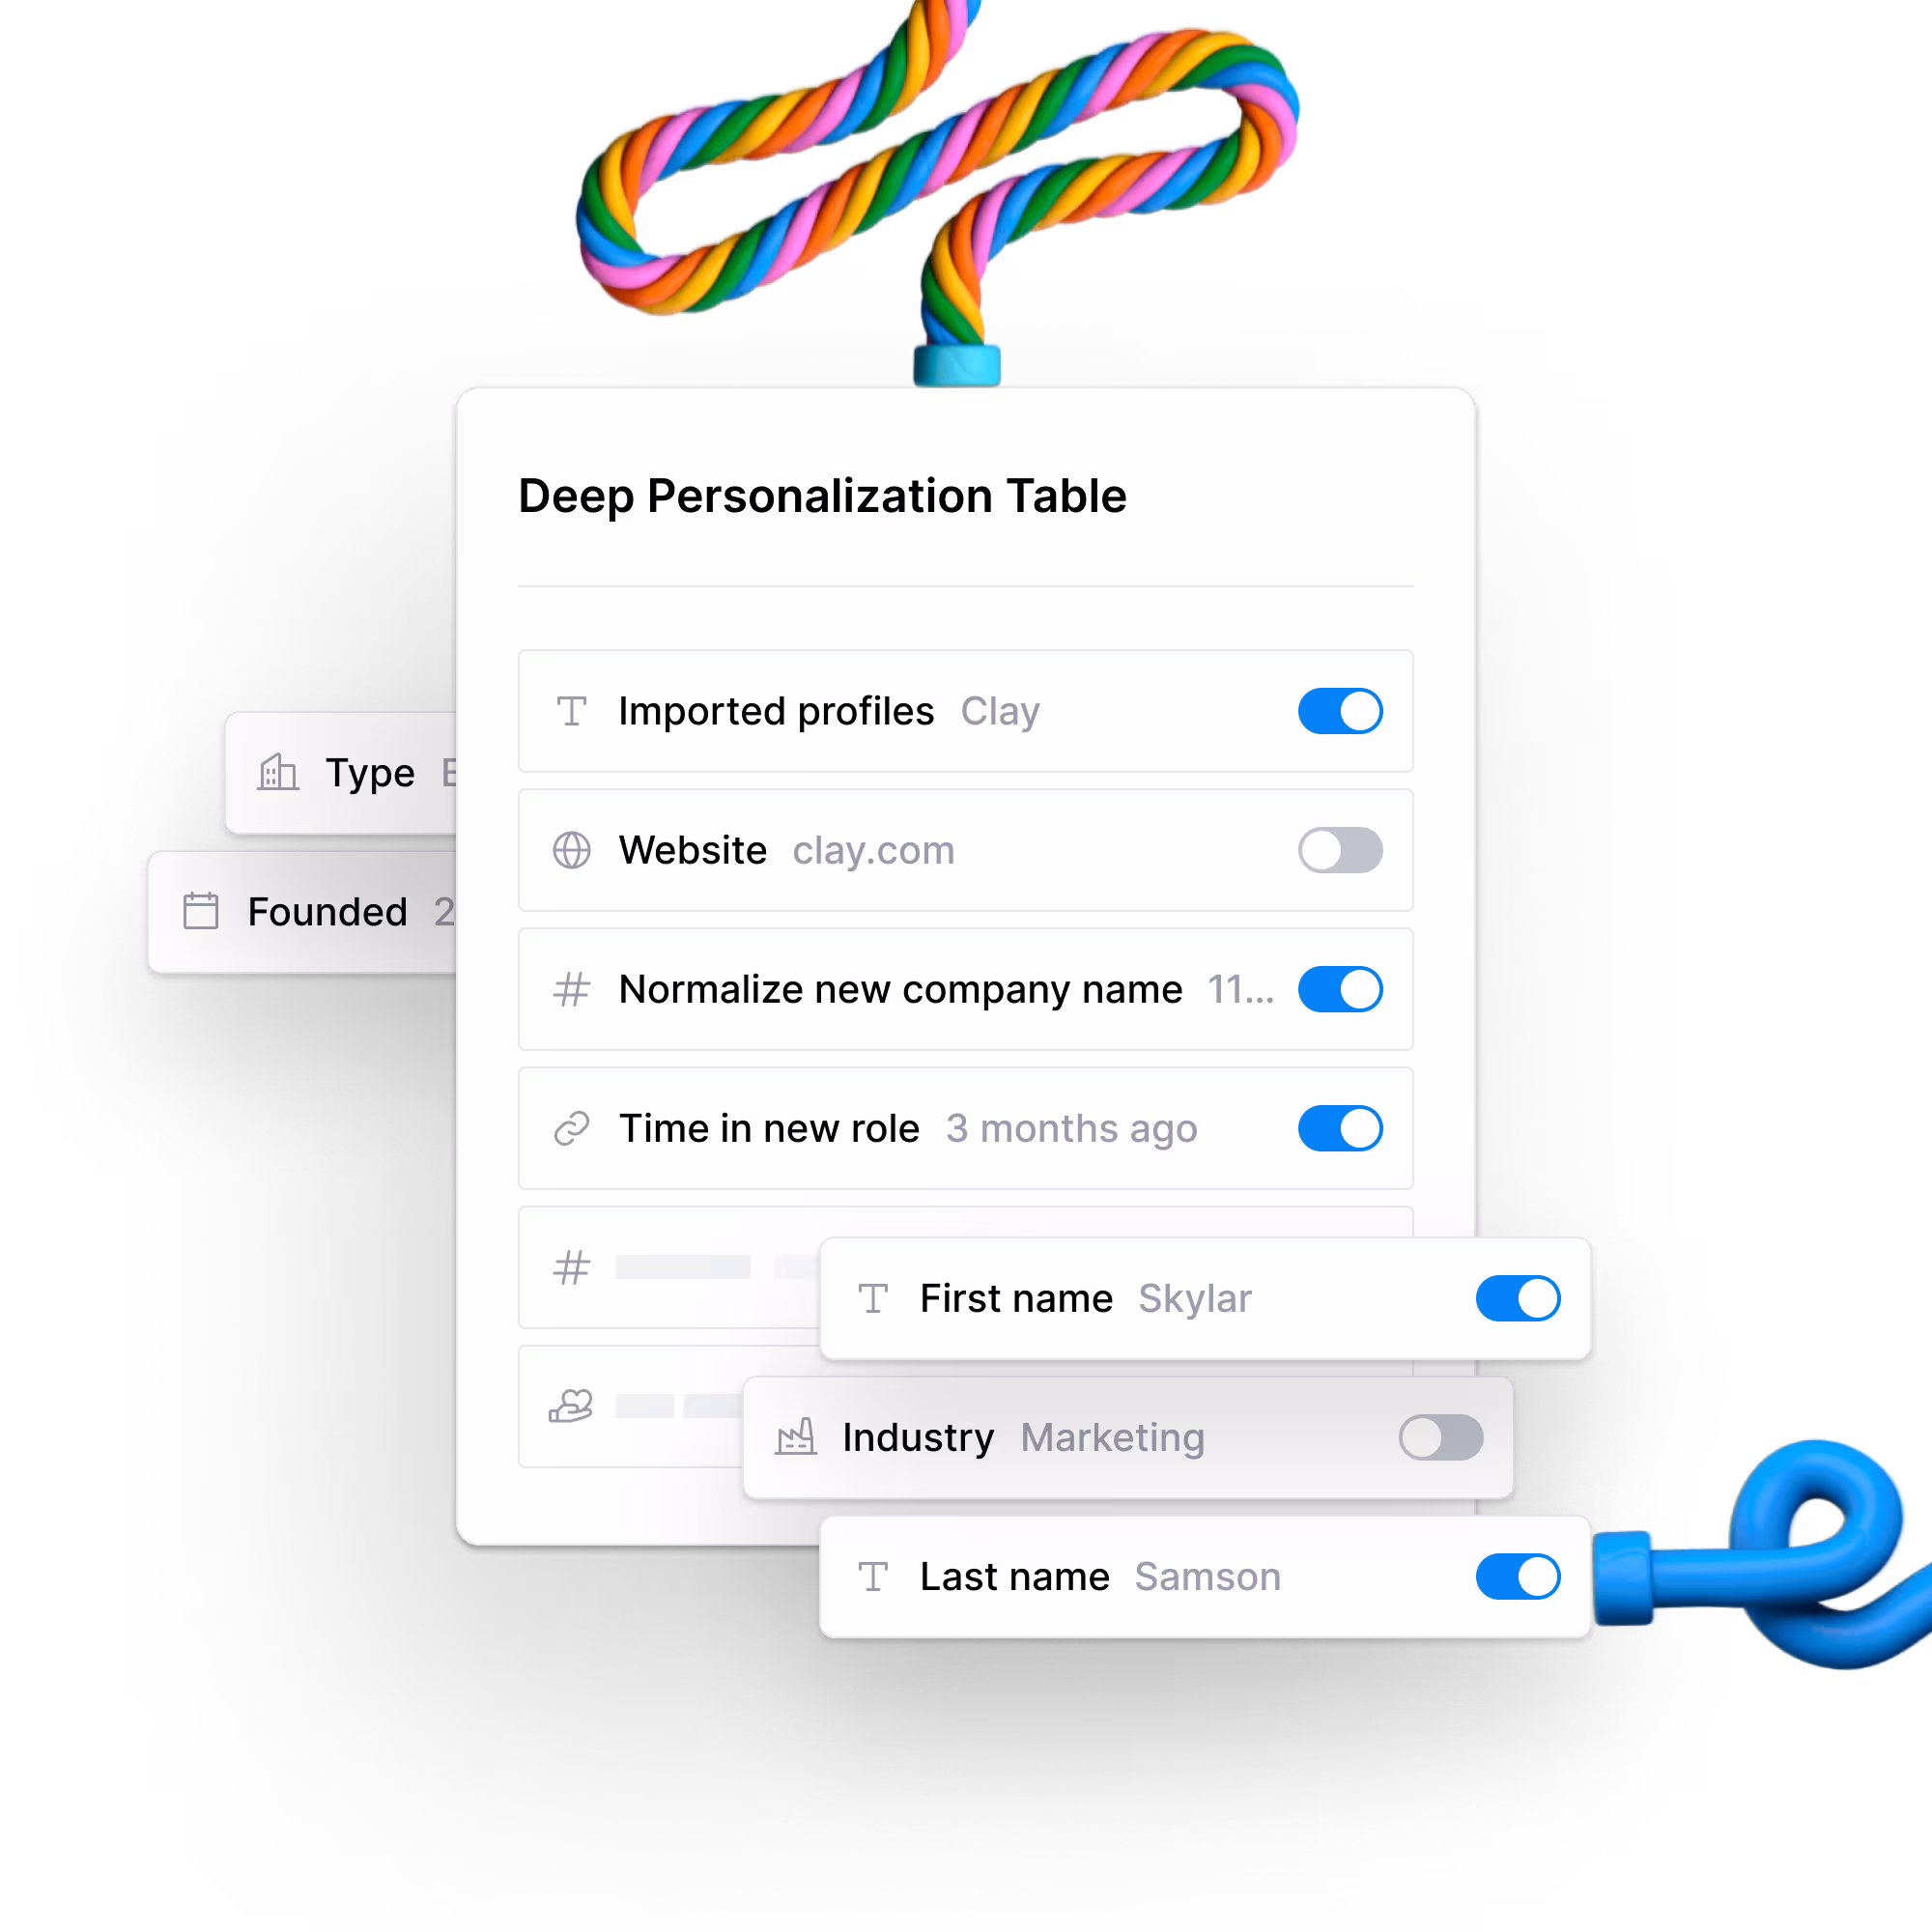
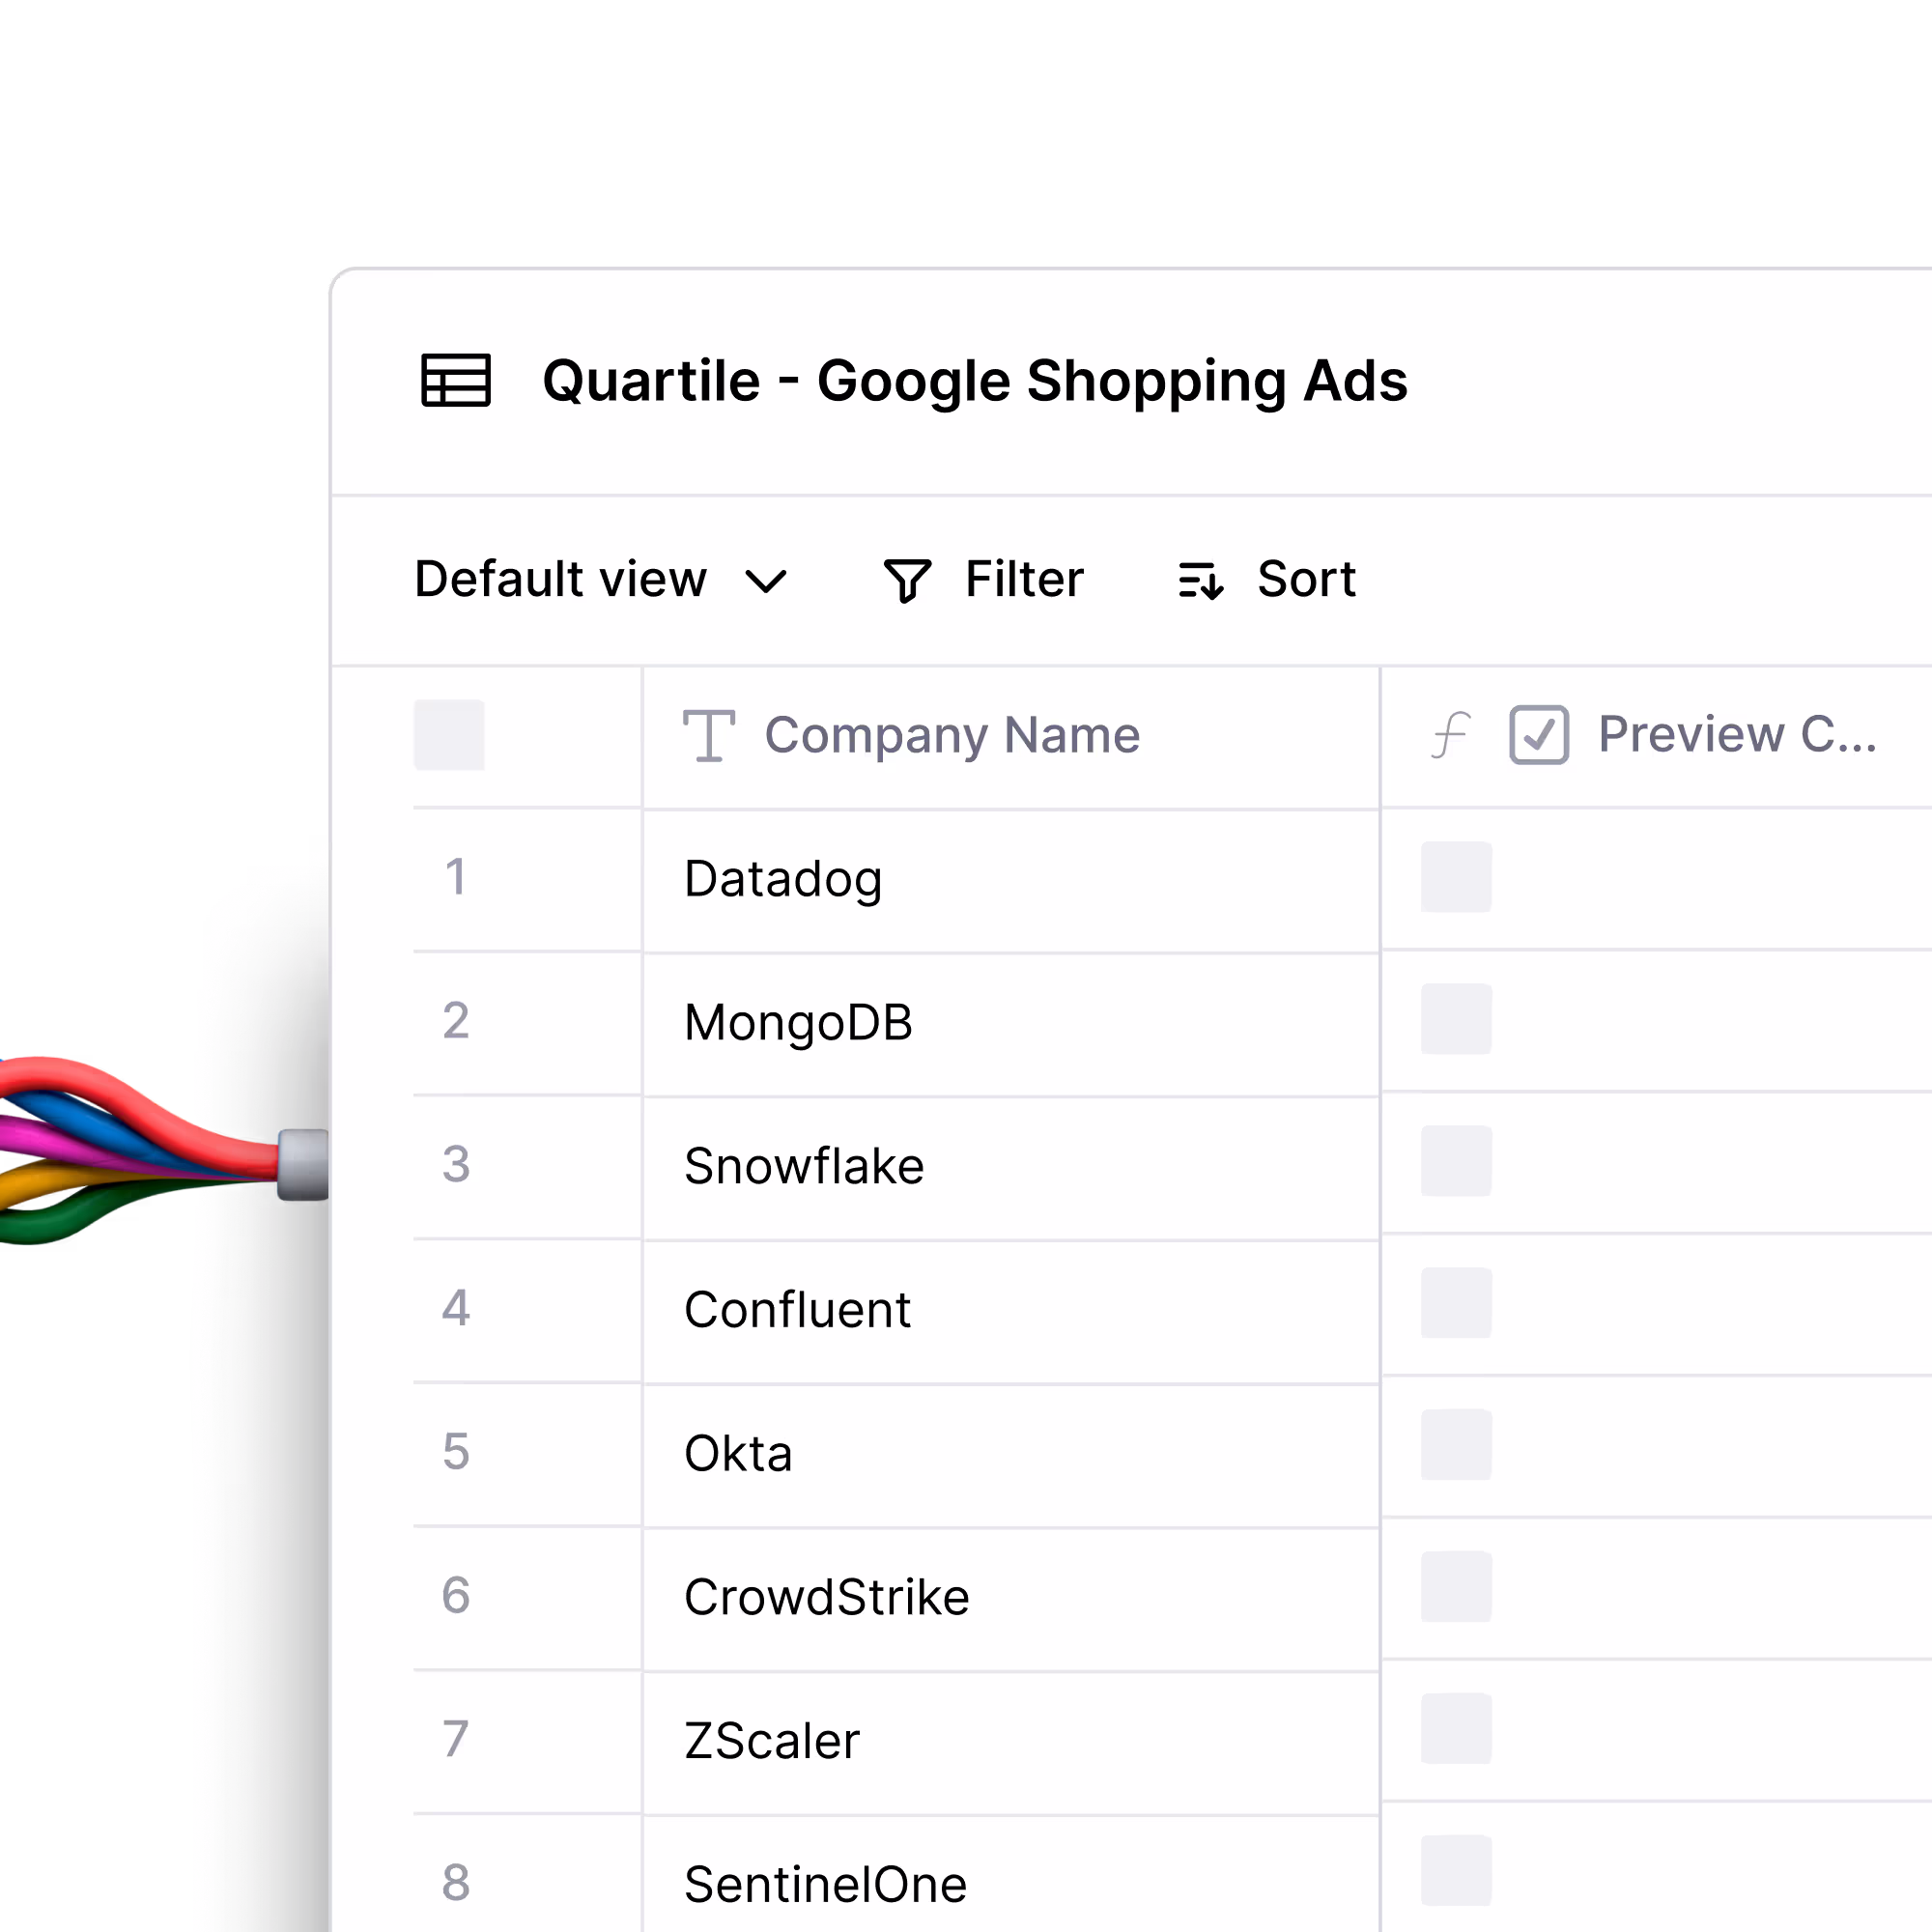
Clean CRM with accurate names, domains, headcount, and company-to-company associations if recently acquired
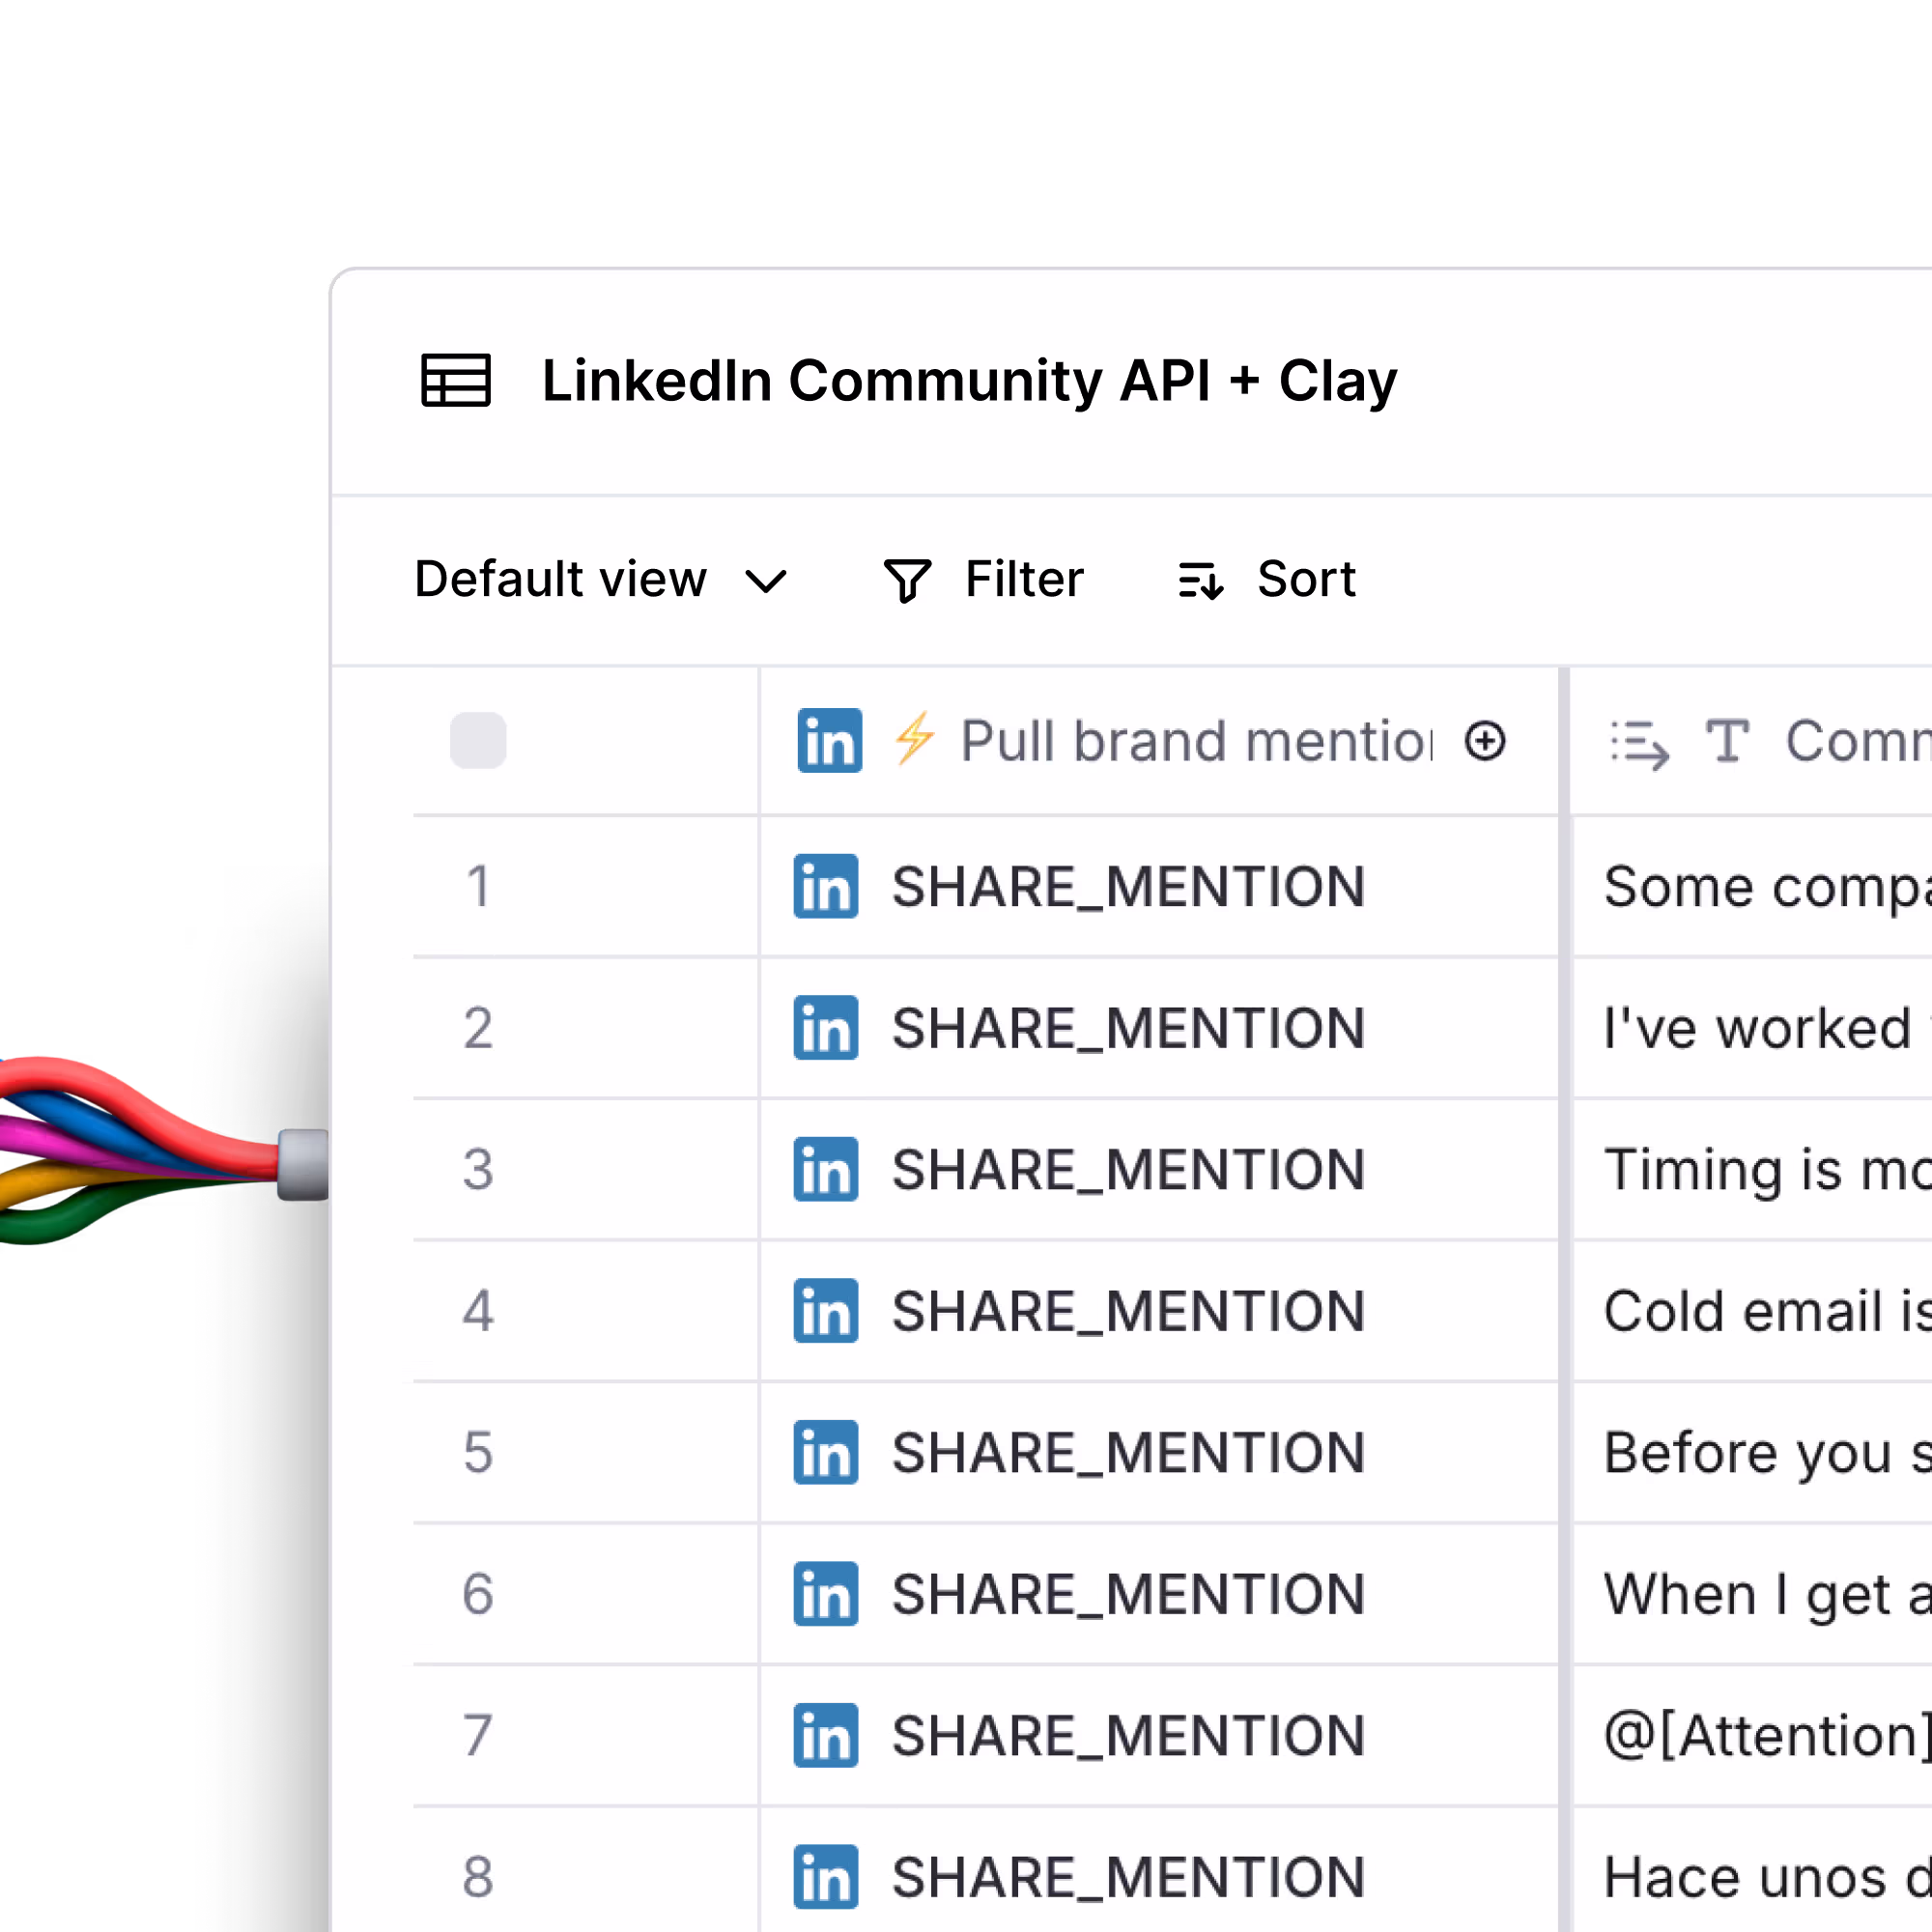
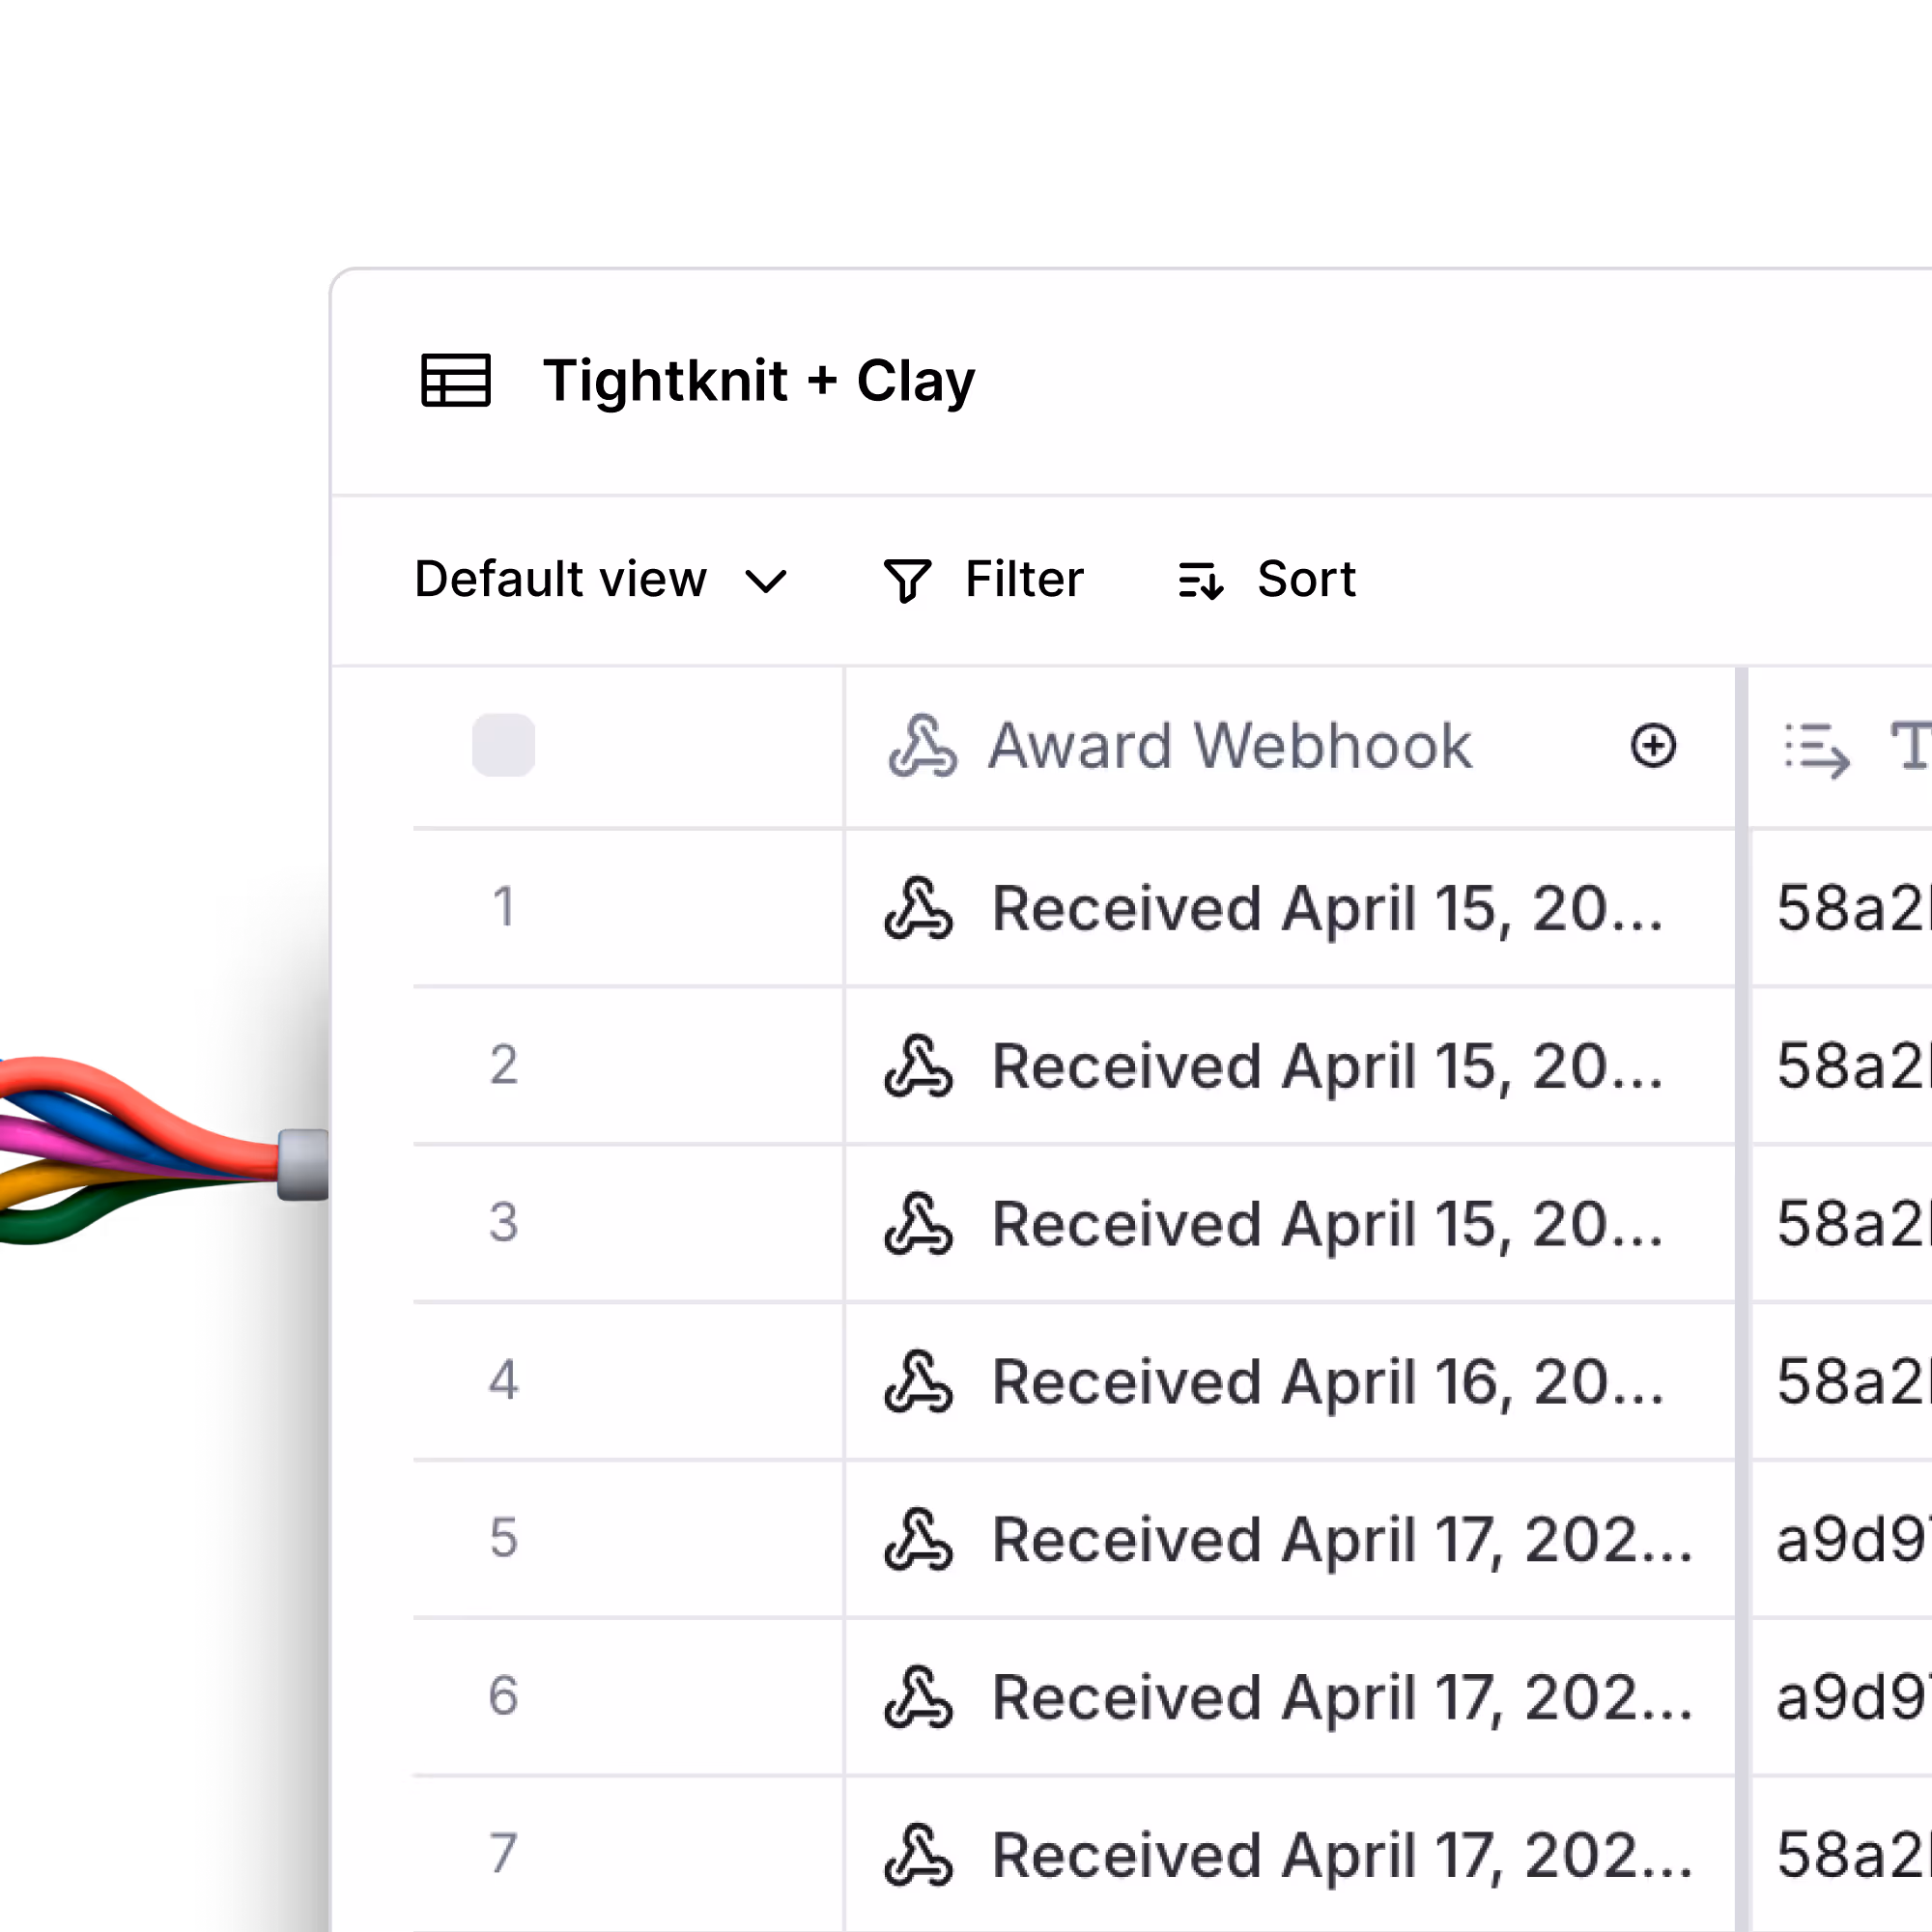
Find, qualify, and enrich people who liked LinkedIn posts that mention your company
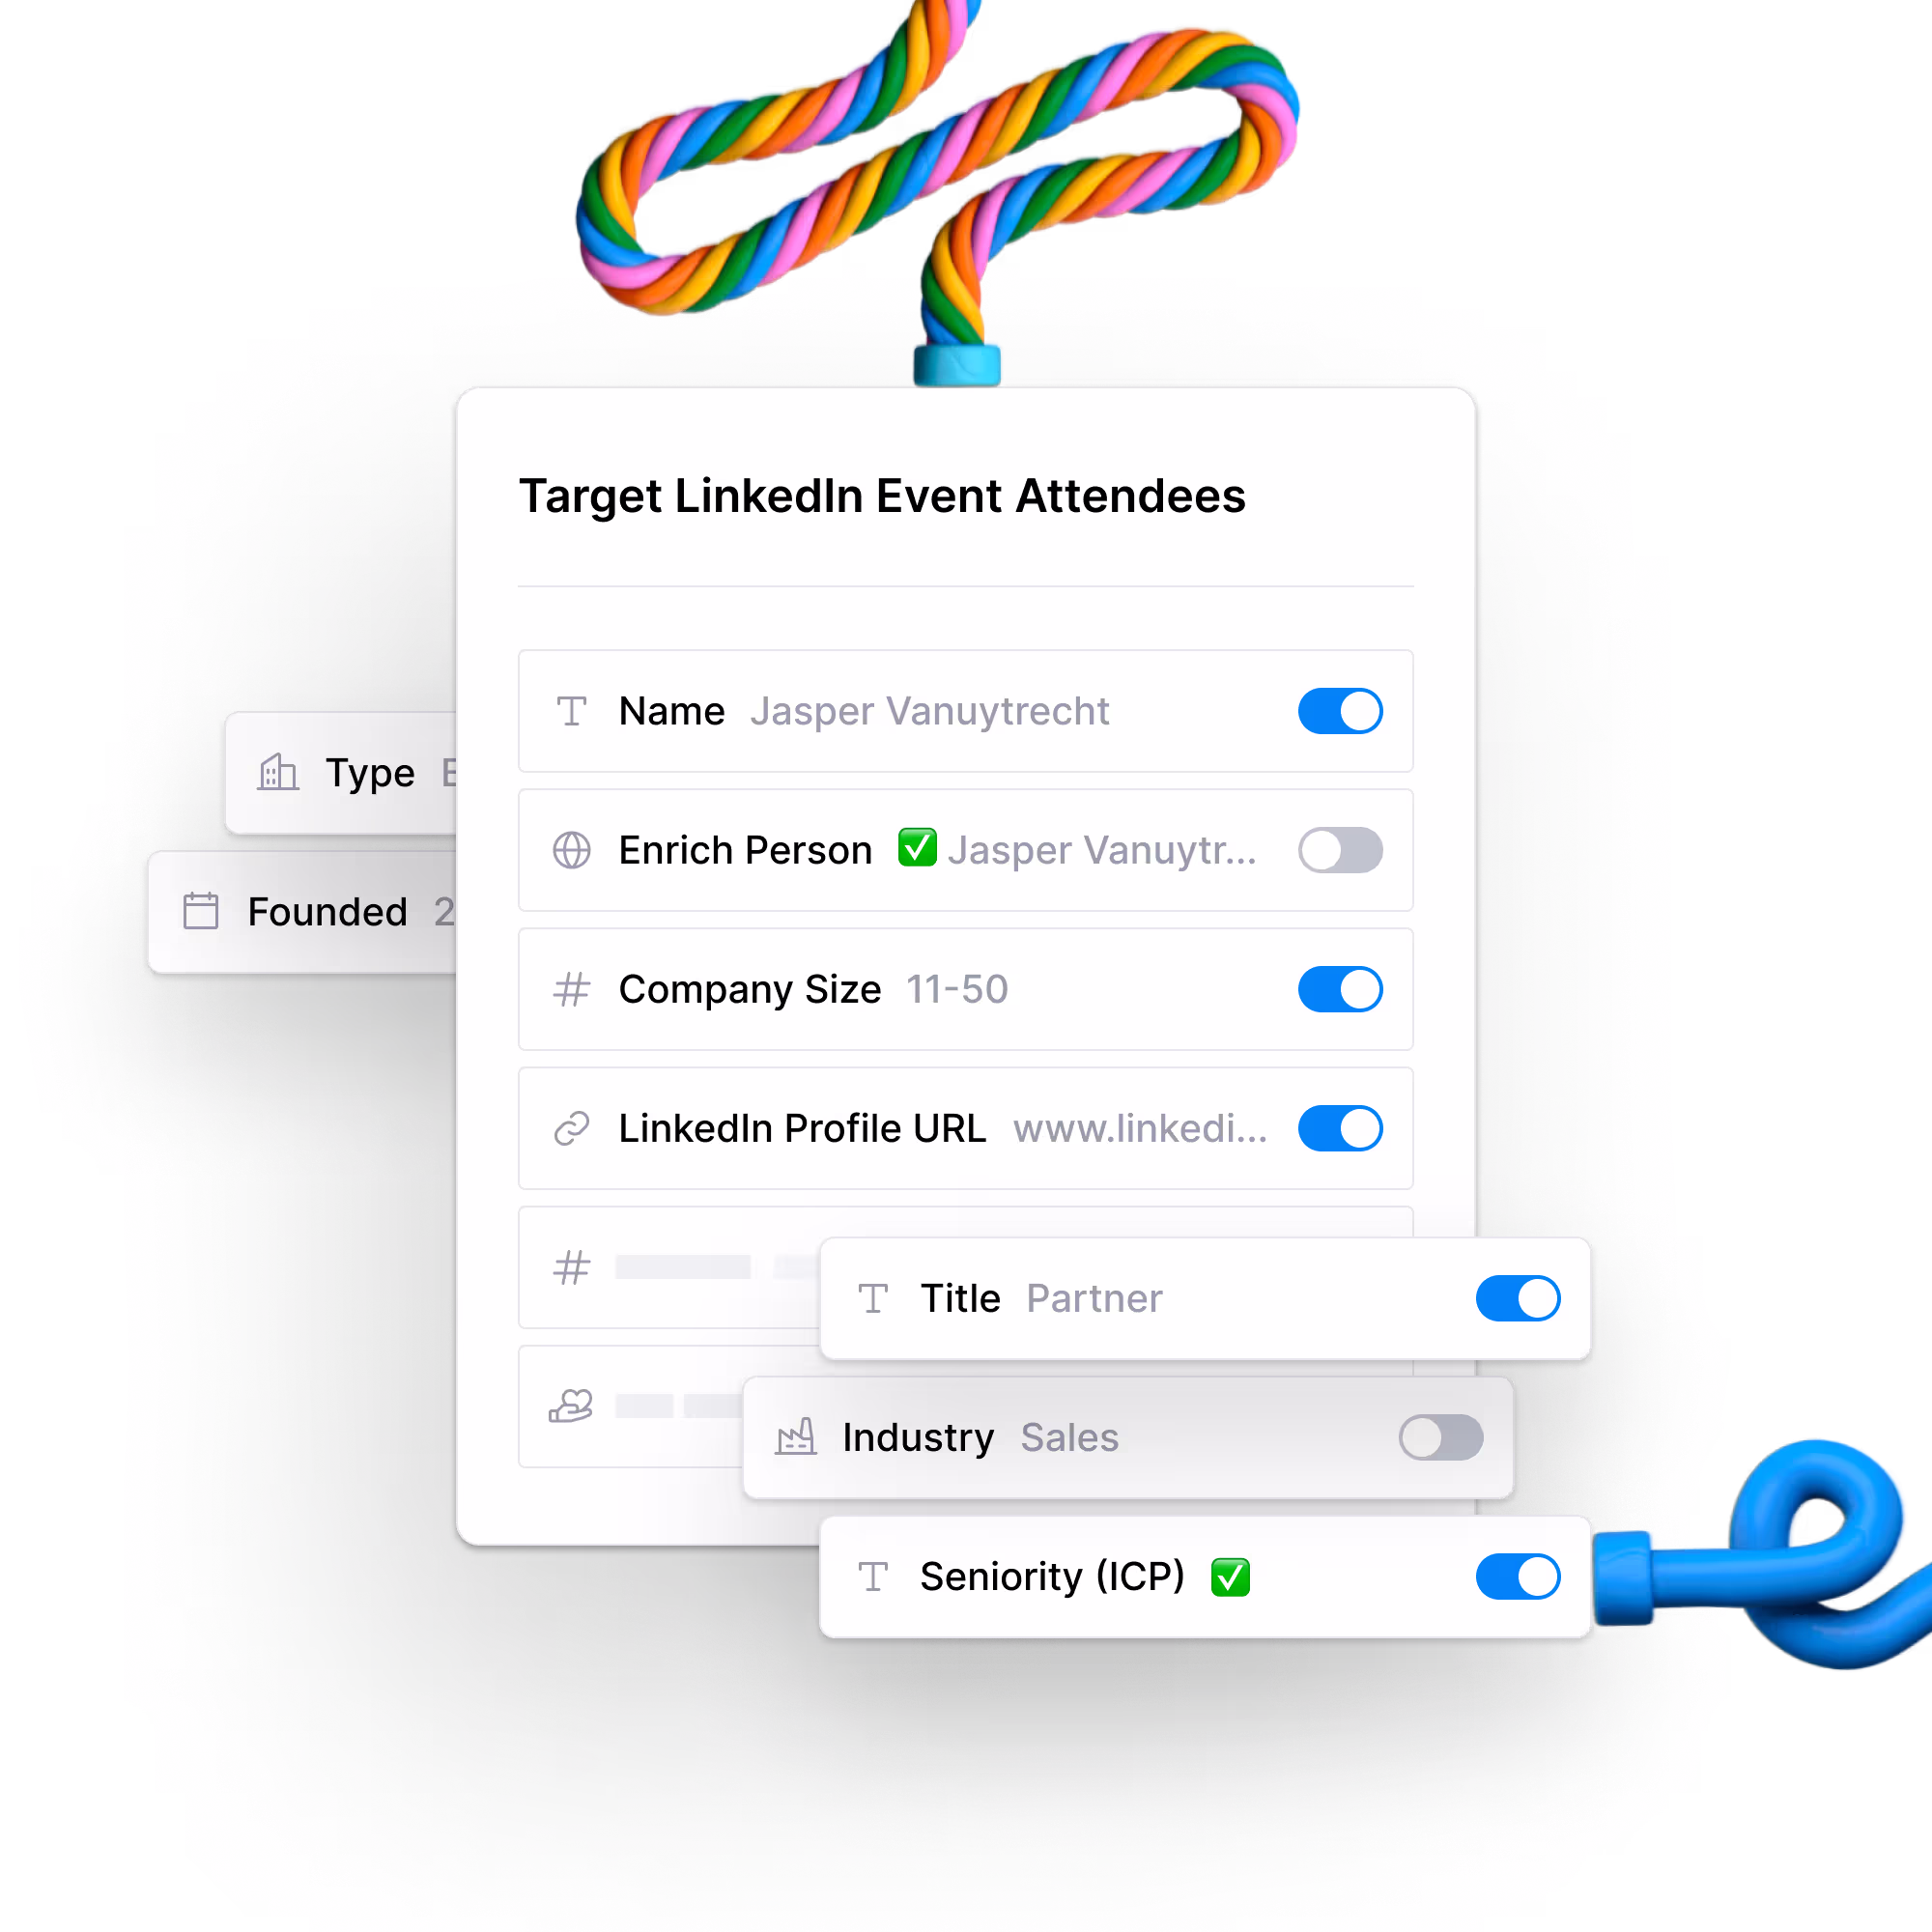


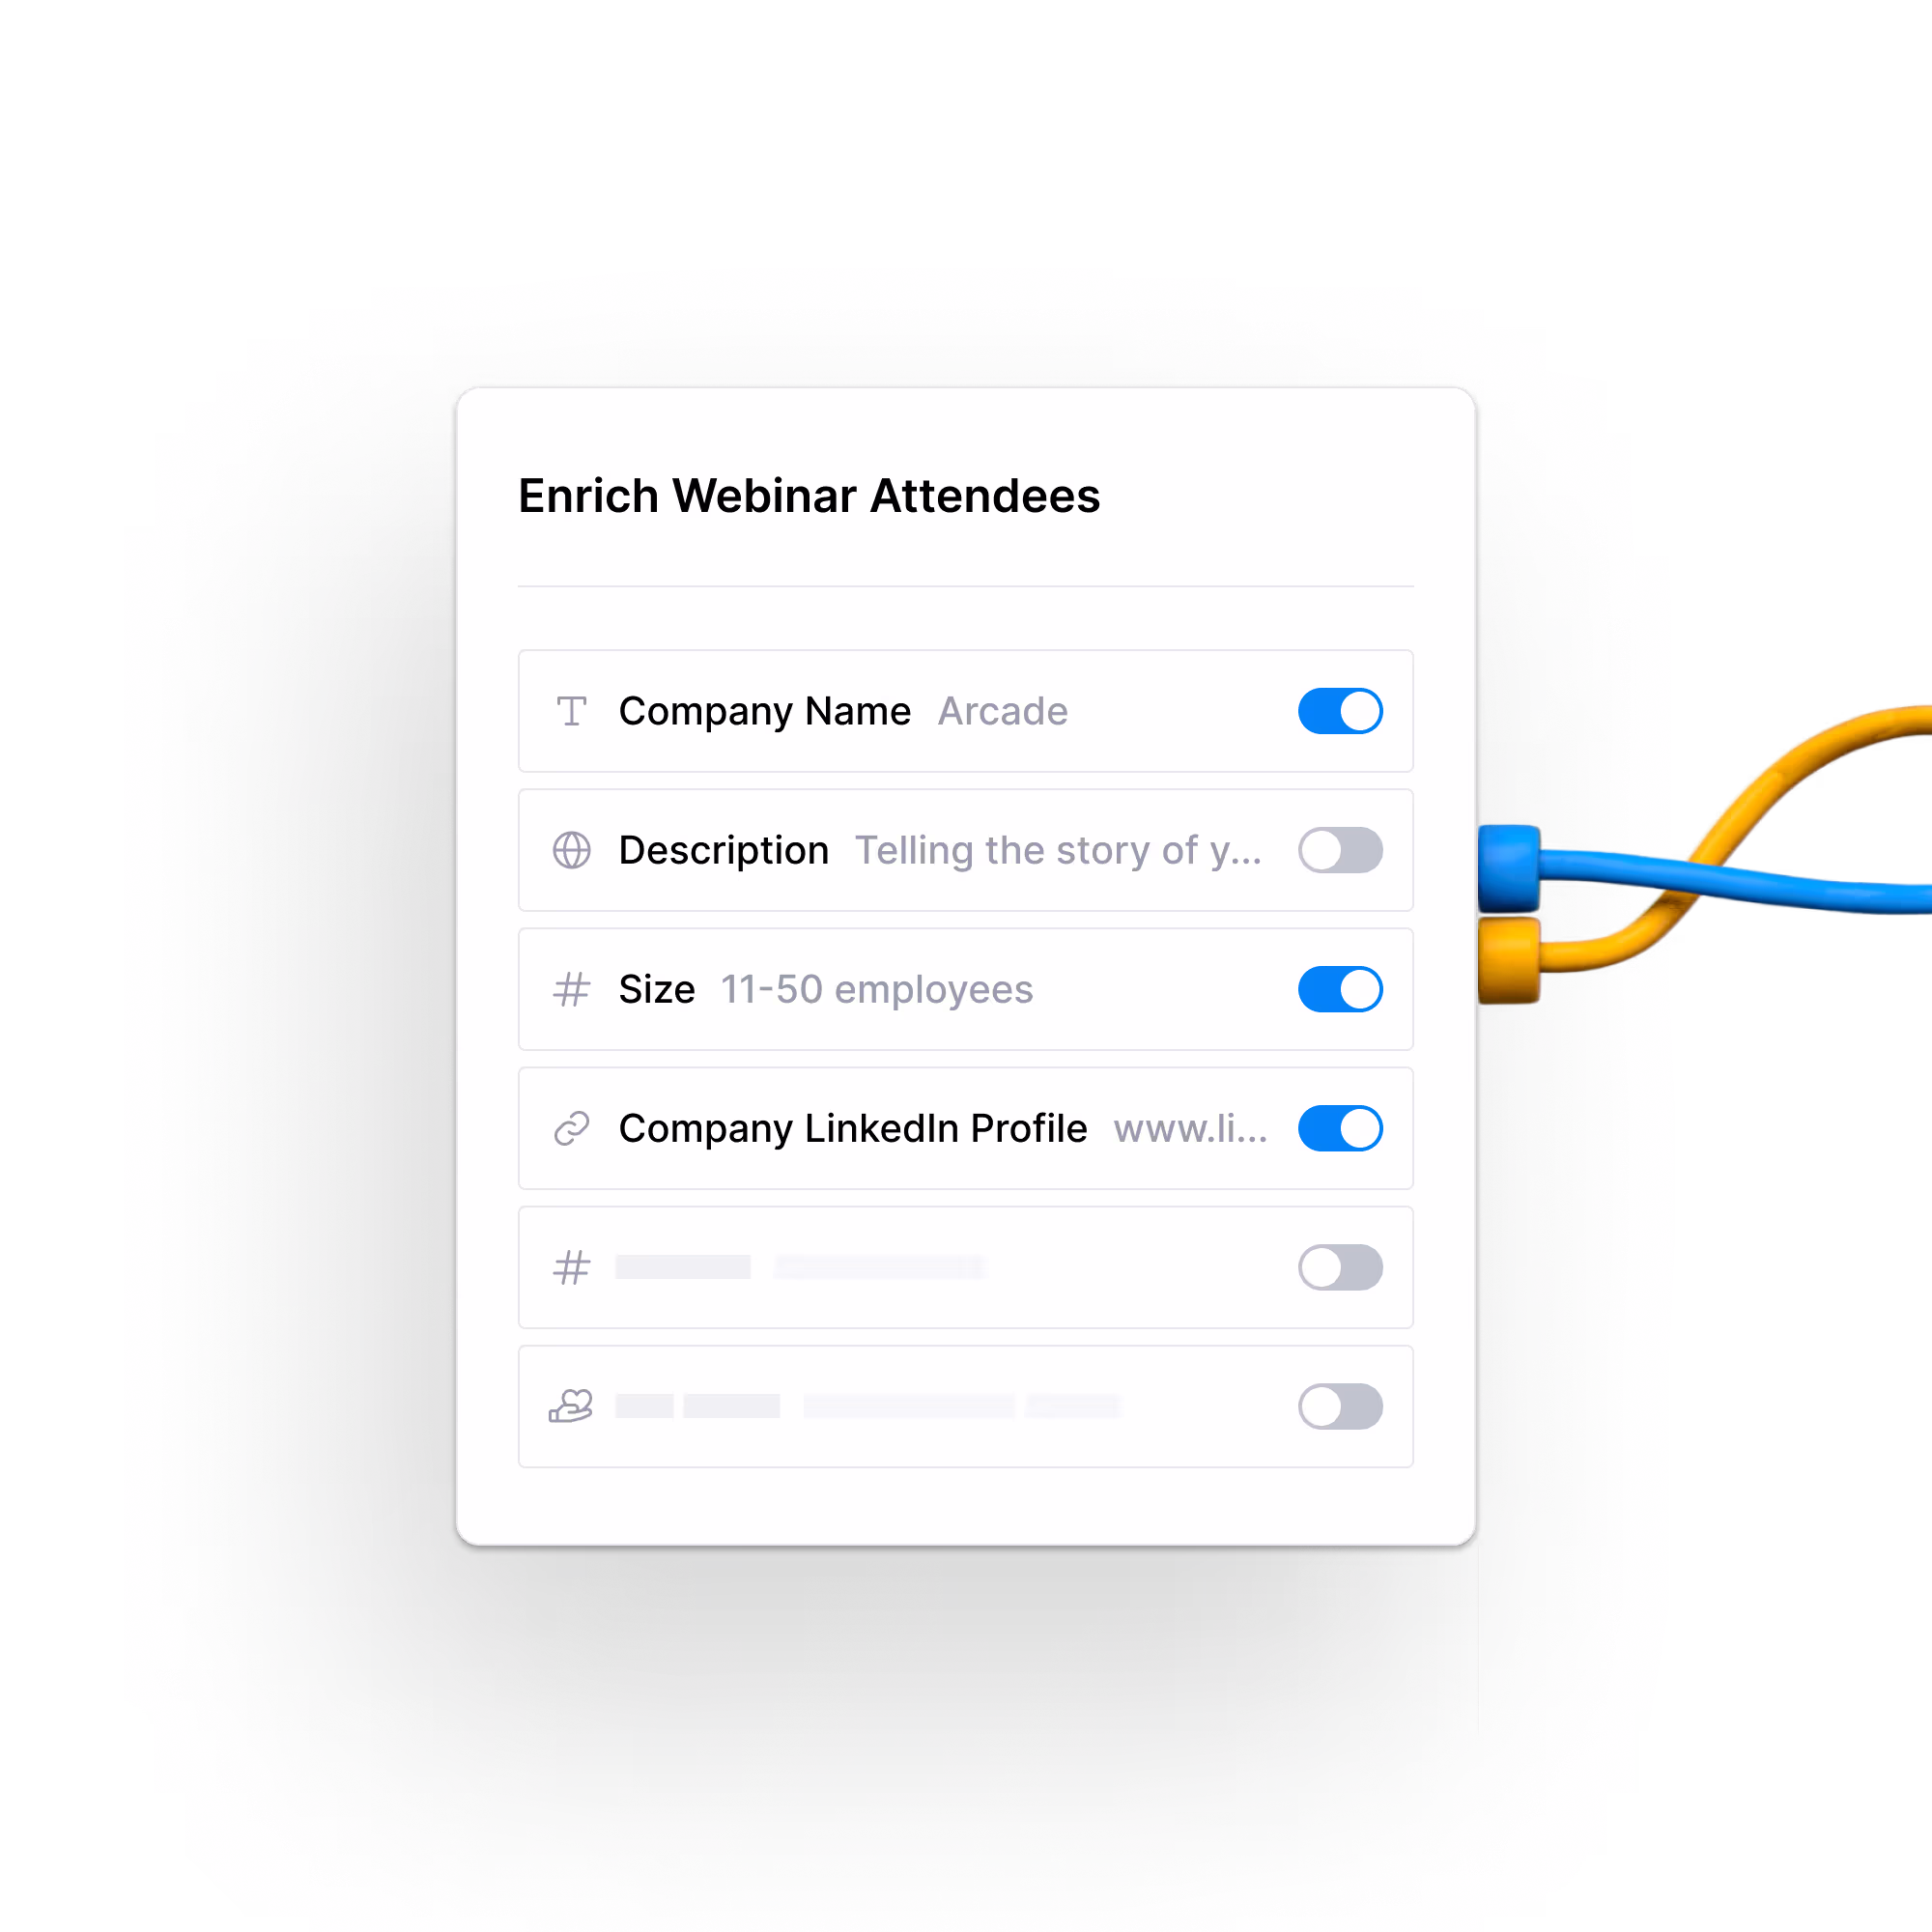
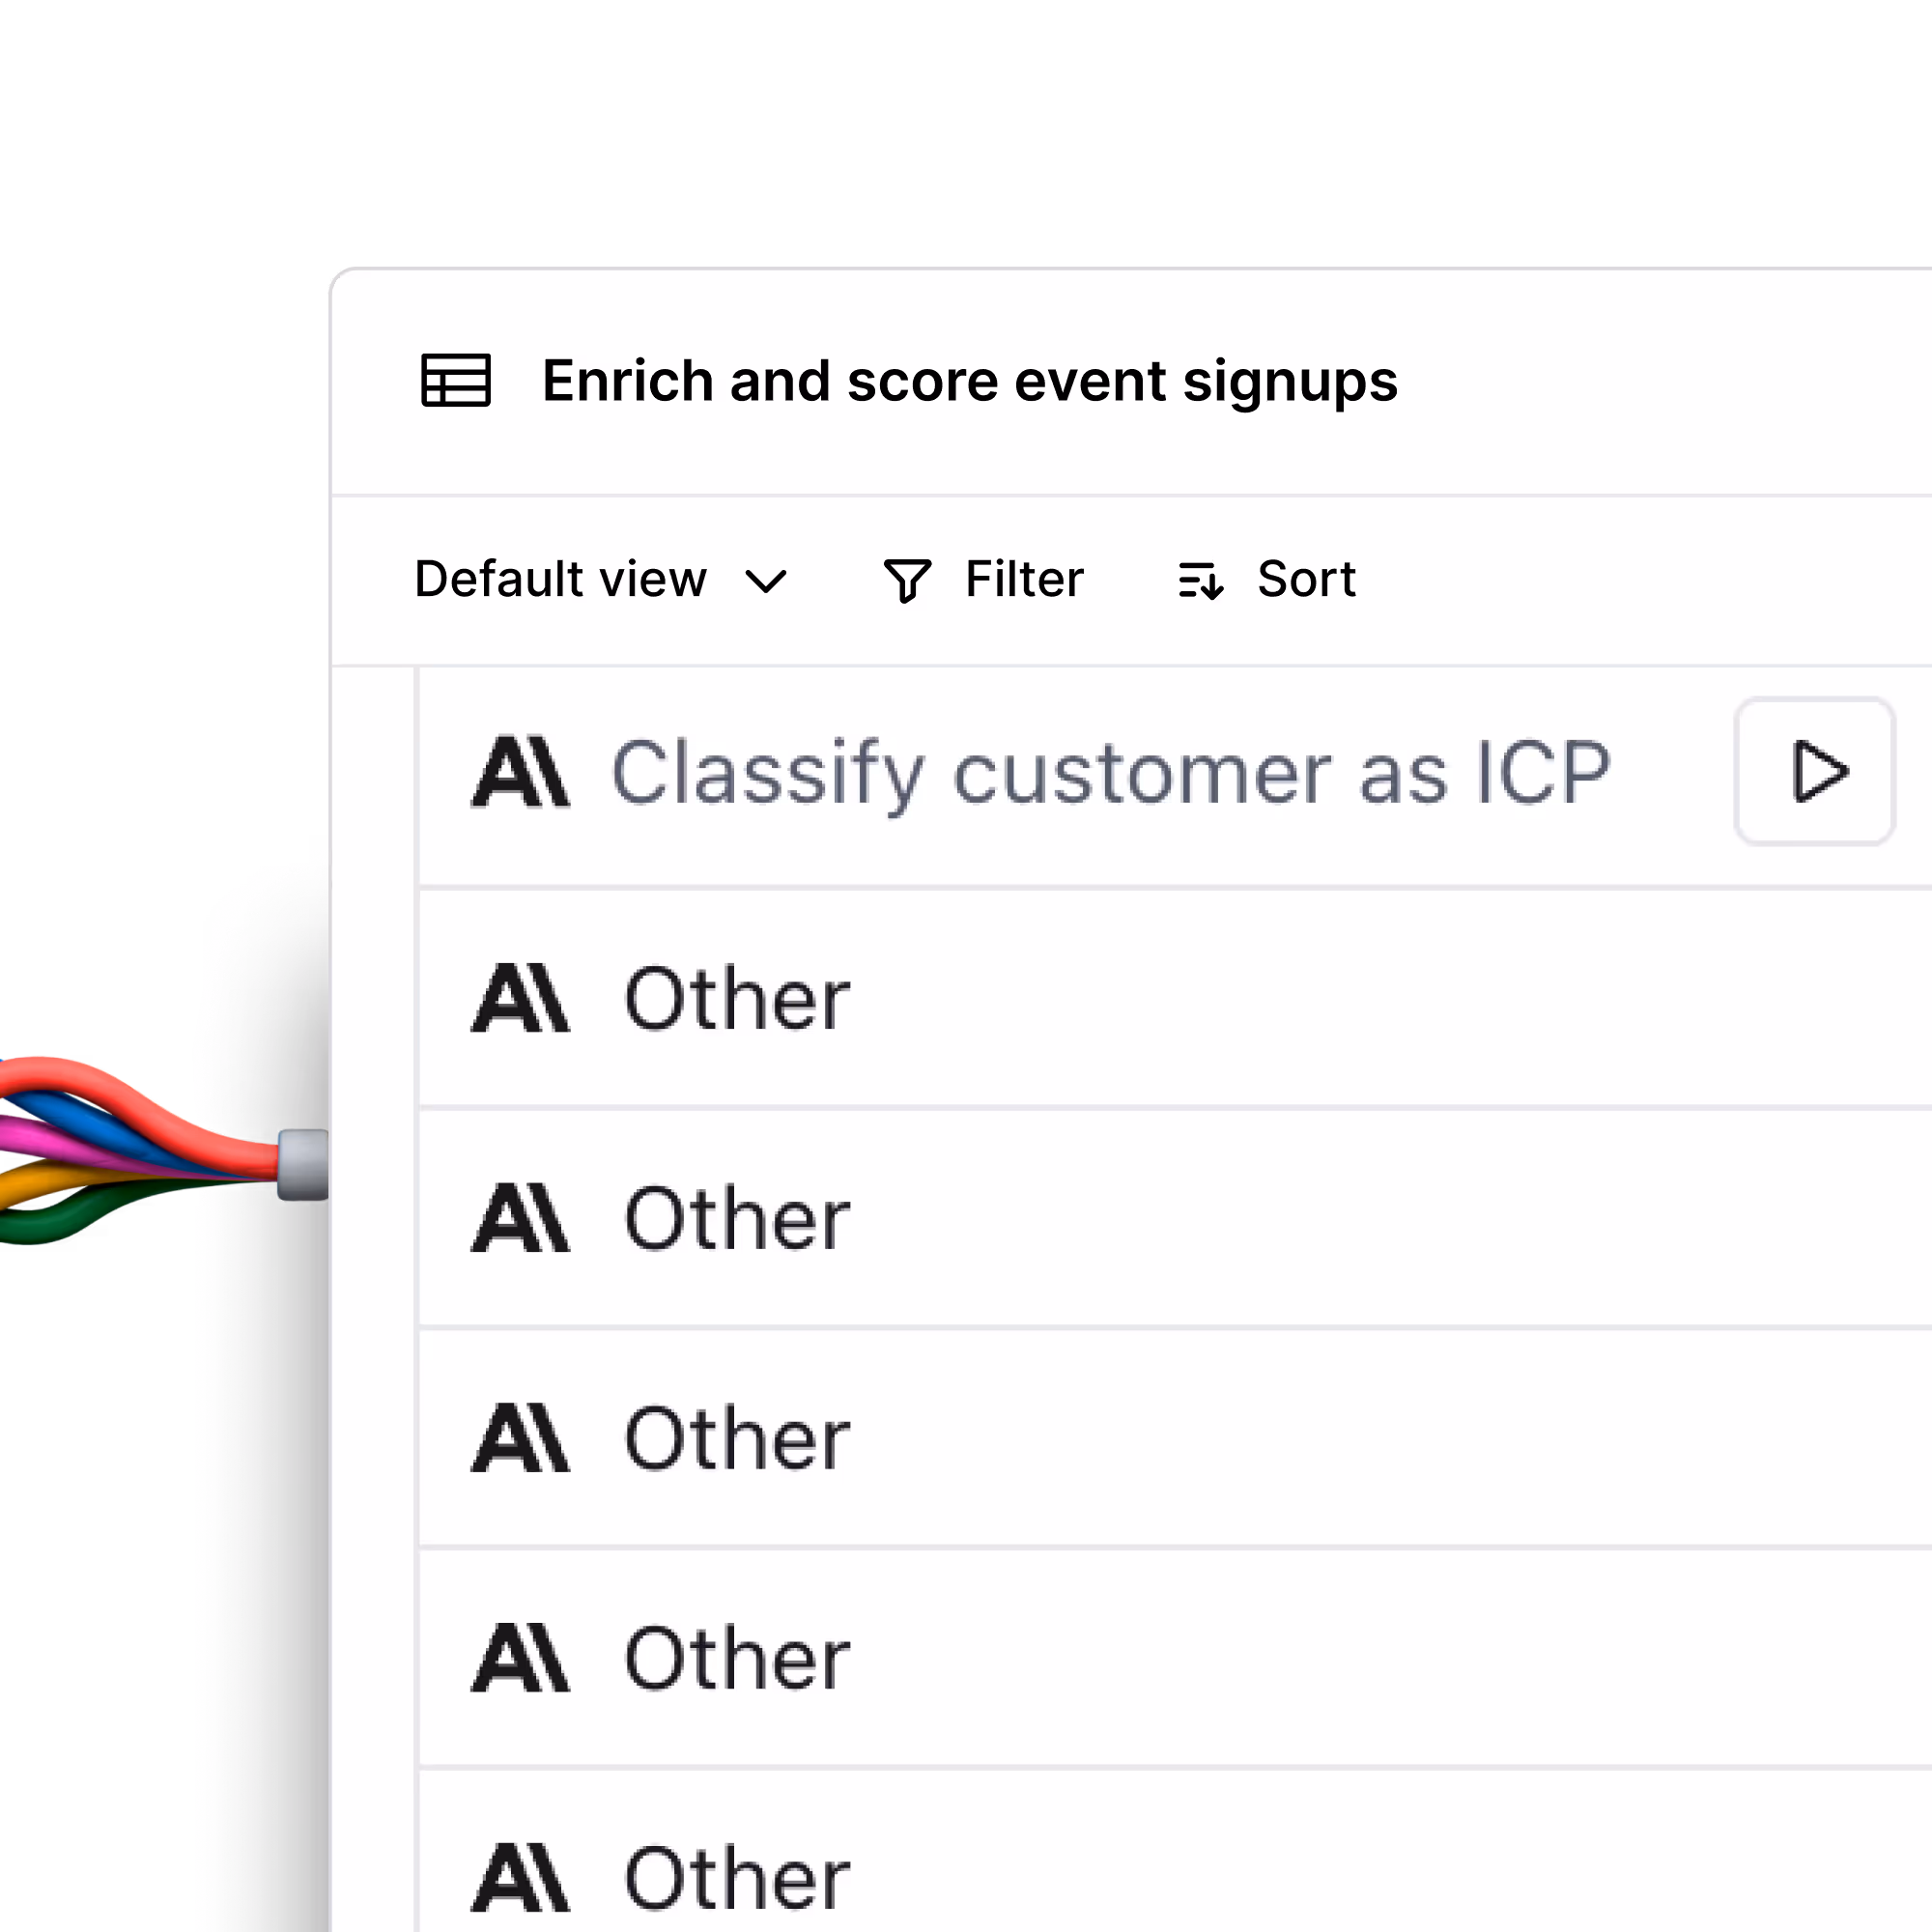
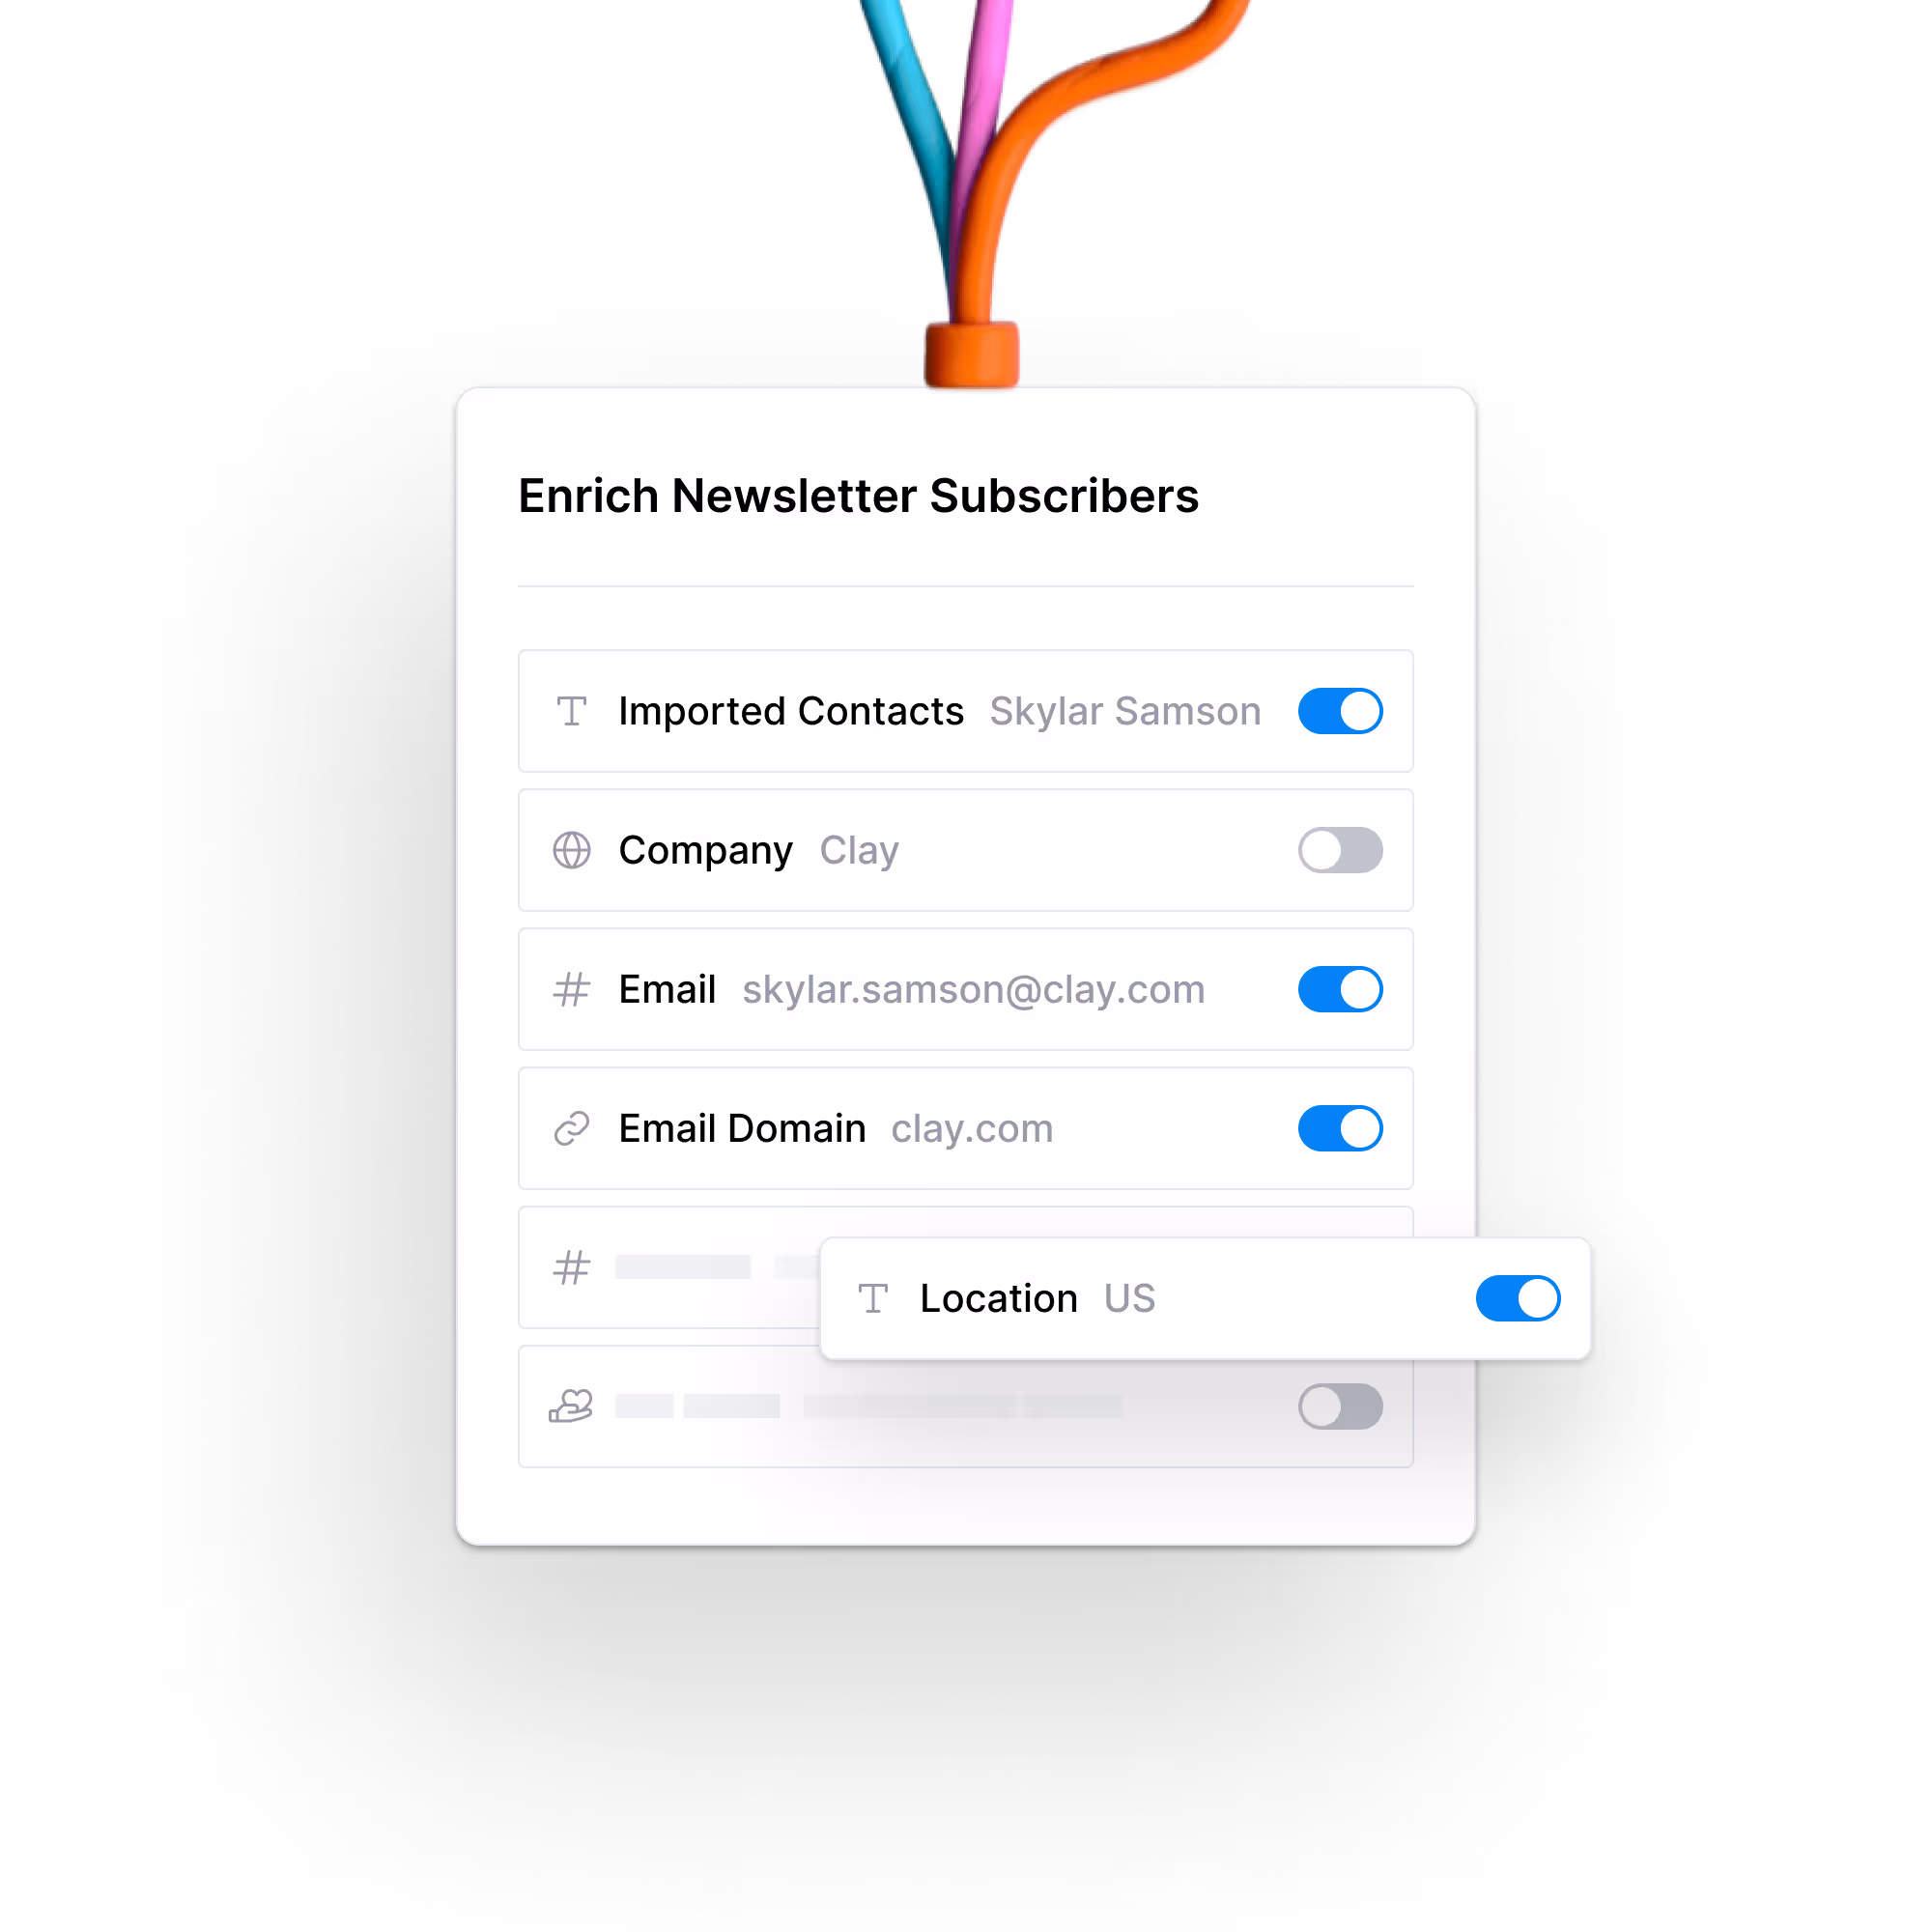
Enrich webinar attendees with verified emails, LinkedIn profiles, and company details


Use AI to draft outbound emails in the style of Seth Godin, David Ogilvy, and Leo Burnett


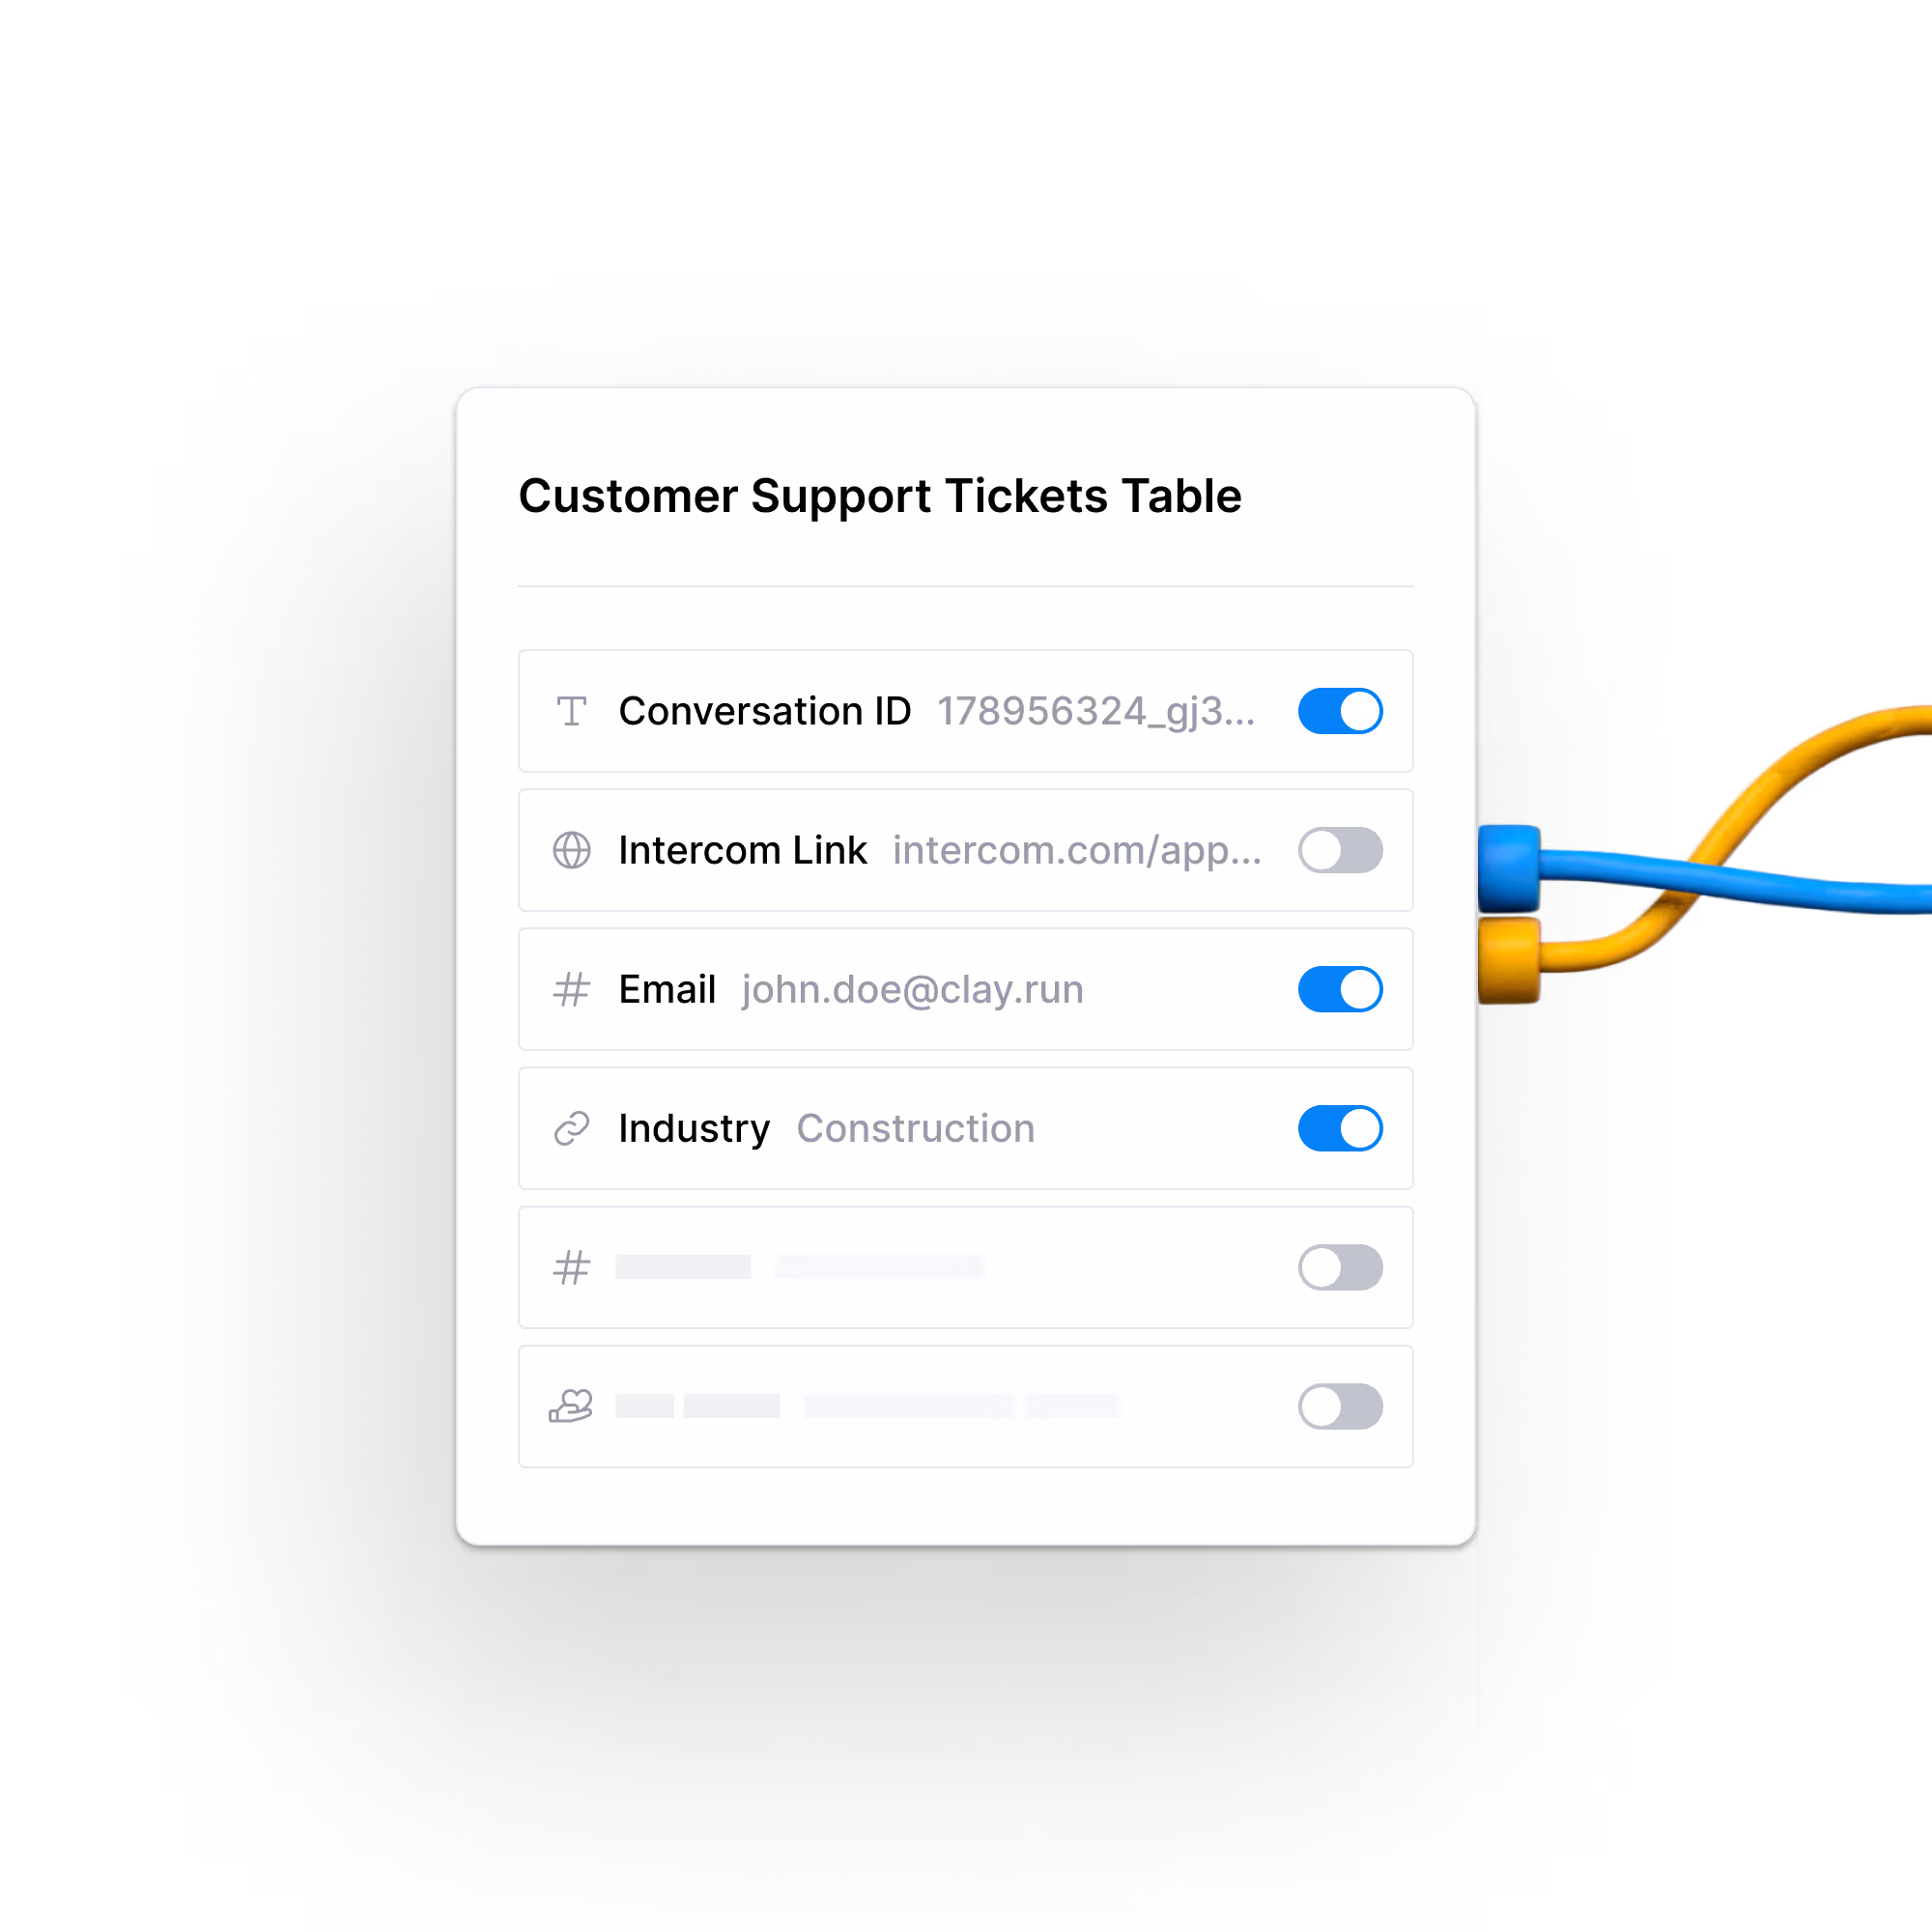
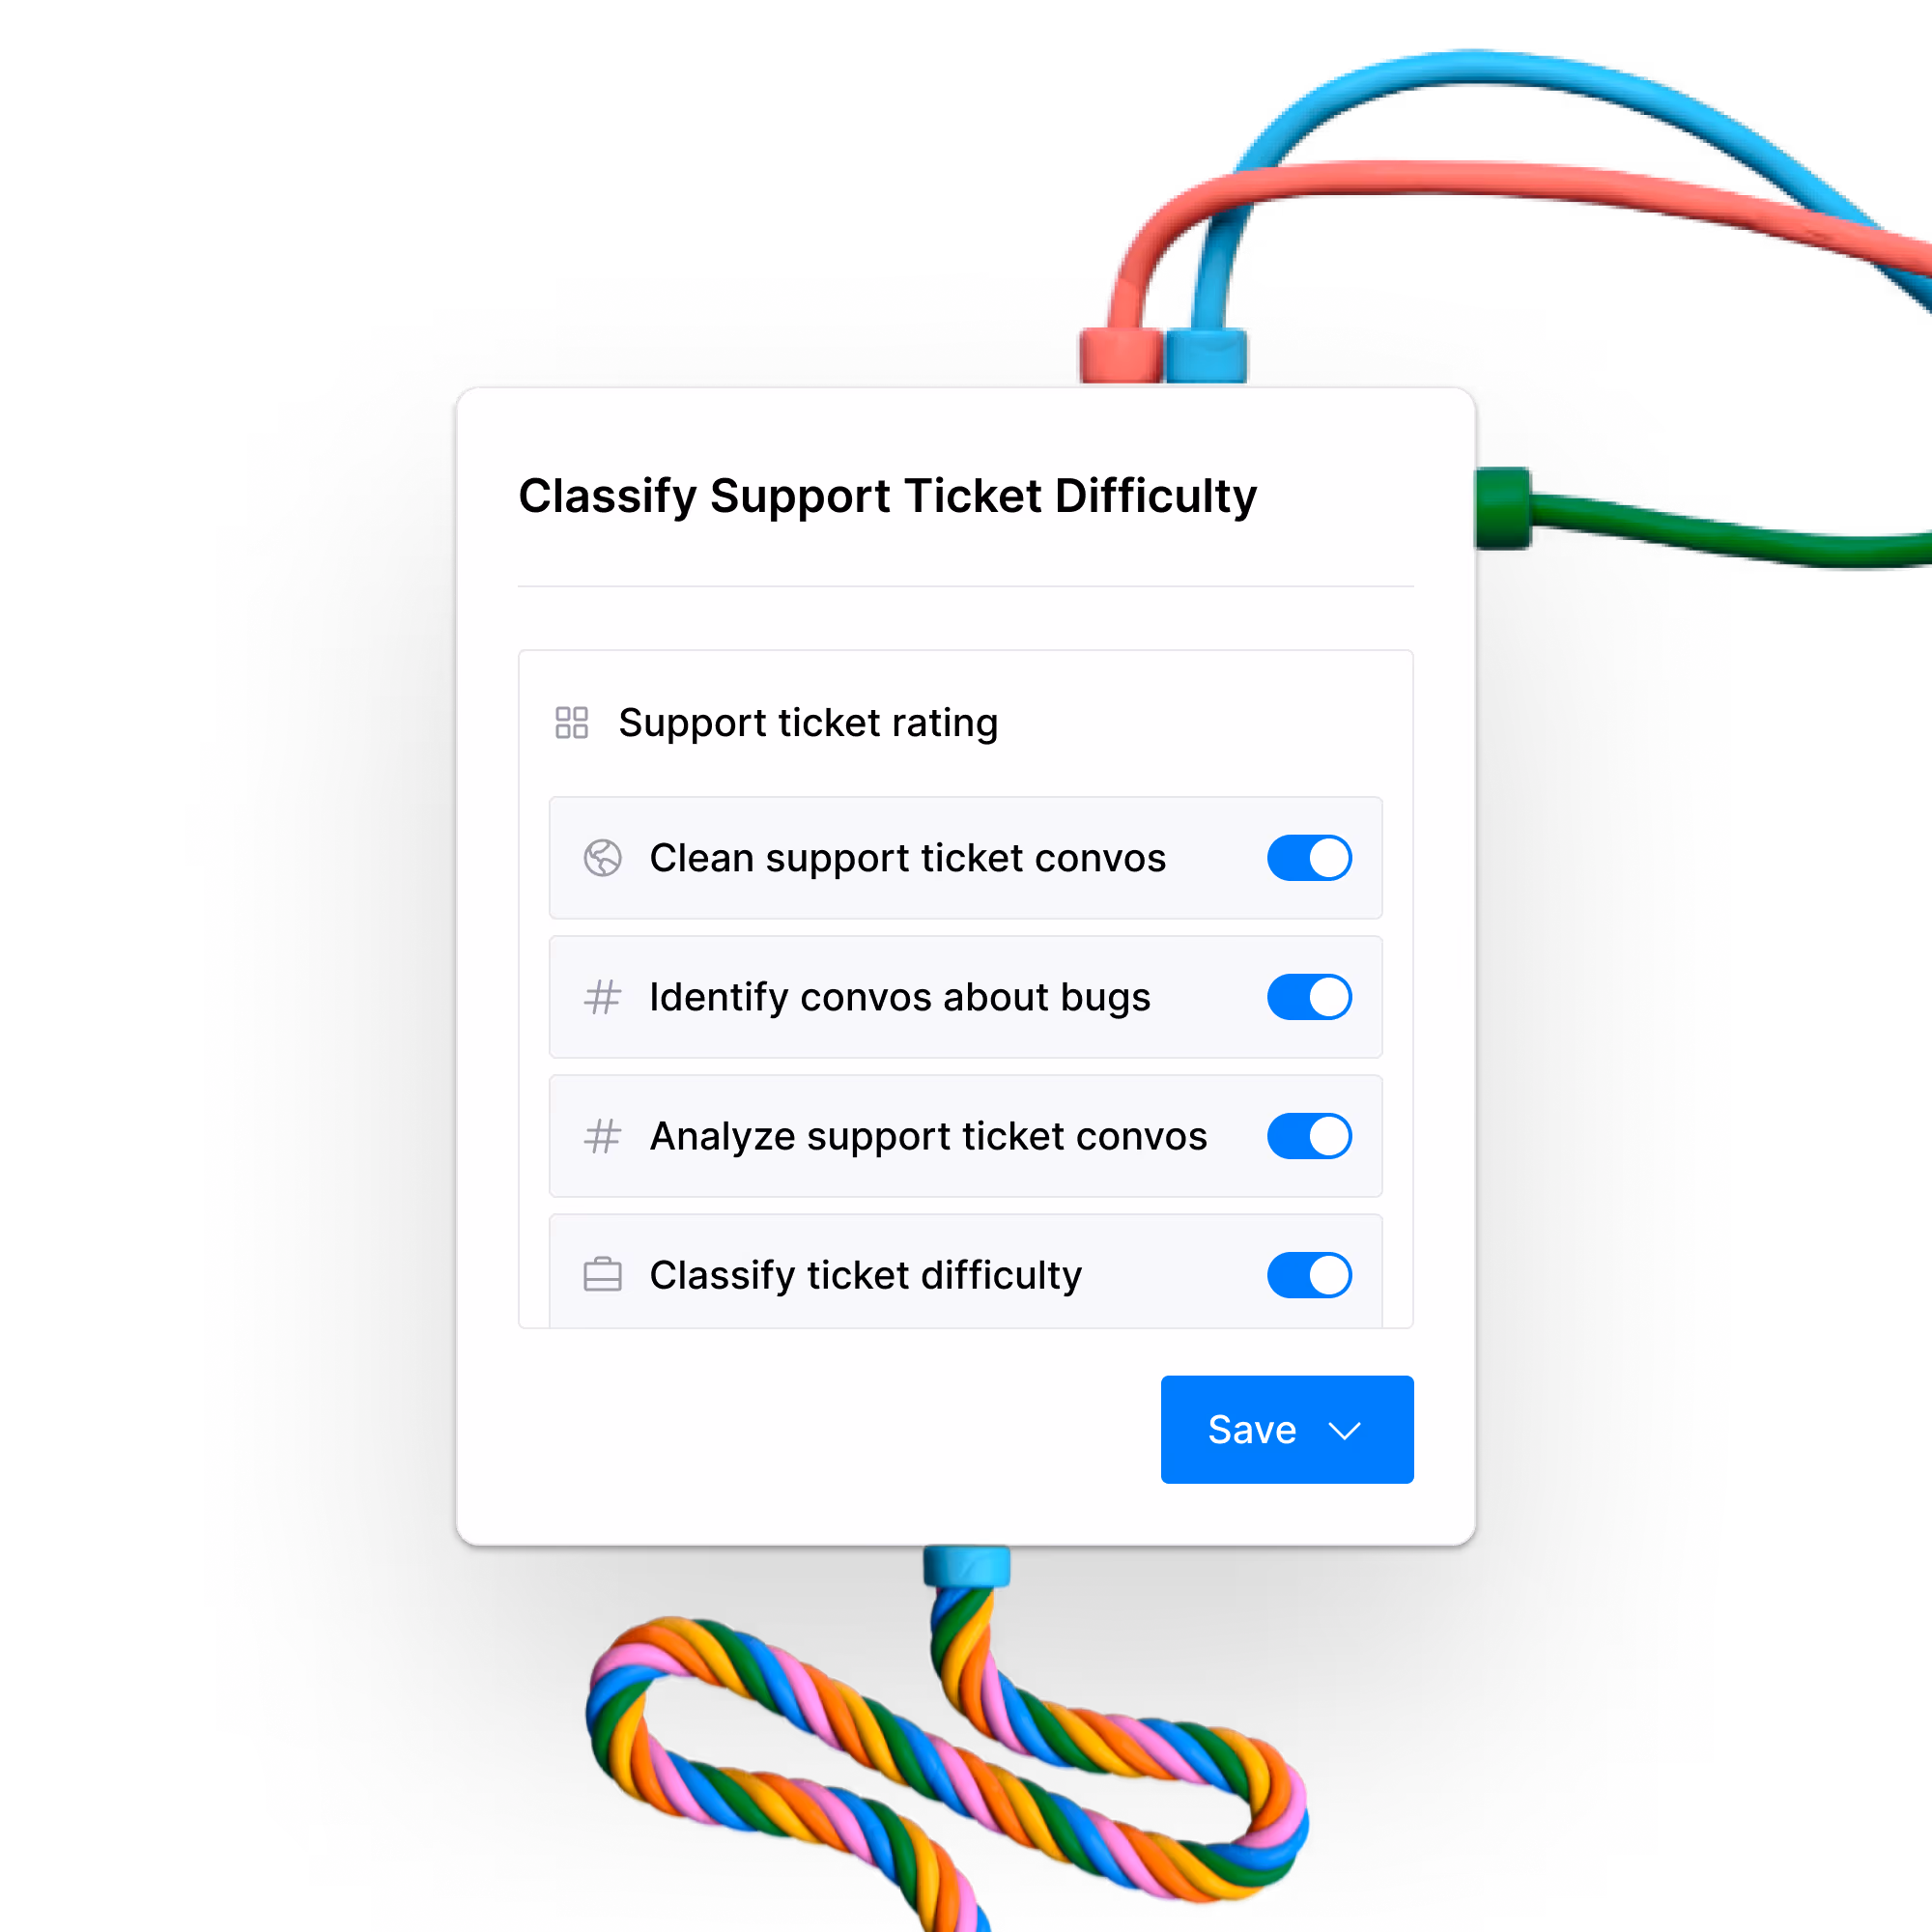
Instantly enrich Intercom support tickets, directly in your chat thread, in real time


.png)

Learn with our resources
Check out Clay University, read our GTM blog, or try out our top templates to transform your growth ideas into outreach in minutes.
Clay University
Master Clay in a few core lessons. Uplevel your data enrichment, craft better outbound messages, and book more meetings.

Go to market blog
Our best content on growing your GTM motion, from outbound sales automation to AI lead generation.

Integrations
Browse through all the integrations you can connect to Clay in seconds and discover what you can do!


Clay Experts
Hire a Clay Enterprise expert or find a Clay partner to help with your next project
Clay's Chrome extension
Clay’s Chrome Extension makes it wicked easy to find leads almost anywhere on the internet